I had another conversation recently where someone compared my photos with someone else’s. That someone else essentially has the same camera that I do (Canon Rebel). But according to the person I spoke with, this other person’s pictures aren’t nearly as good.
Because it’s not the camera.
And you know what? Sometimes it isn’t just the photographer, either. MANY of the pictures you see nowadays in magazines, on Web sites, in galleries, etc. have been enhanced with image editing software. This is commonly referred to as post-processing.
Photoshop is the most widely recognized name in image editors. It costs about $700. There are other high-end editors out there, but there are lots of less-expensive options, too. Photoshop Elements is what I use. It costs about $80. And it is soooooo worth it. (If you’re interested, read this interesting article about the Photoshop vs. Photoshop Elements debate.)
When looking through the work done by other You Capture participants, it’s cool to see the SOOC images (straight out of camera, i.e., no post-processing) some people show, while others post processed shots. Some images are obviously processed. With others, the processing is more subtle.
Why use post-processing? Because it’s fun to take an otherwise ordinary picture and enhance it however you like. It’s like the difference between serving Hamburger Helper prepared strictly according to the package directions with the ingredients provided and serving Hamburger Helper that’s been spiced up a bit.
I decided to show you a high-level overview of the steps involved in post processing. How an ordinary shot gets turned into something that’s more a work of art (in my opinion). This is just one example of what you can do.
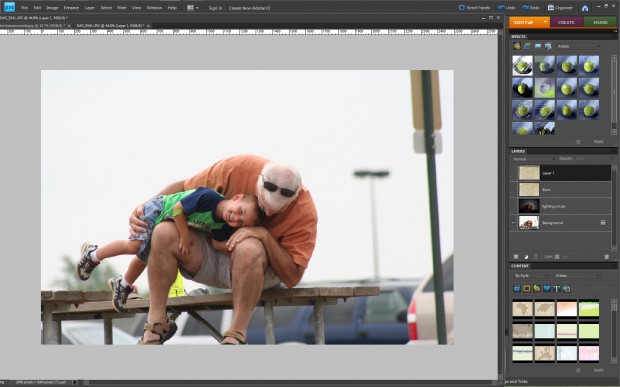
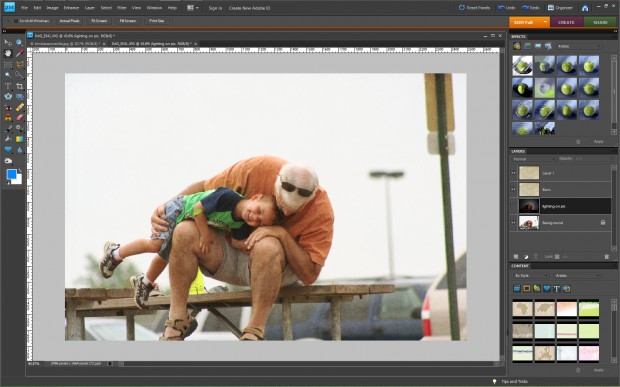
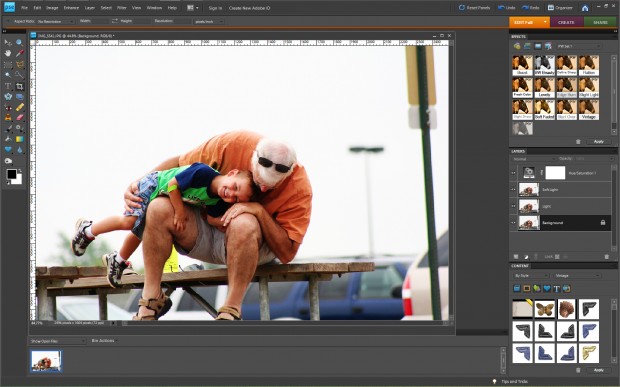
I started out with this otherwise ordinary picture. I mean, it’s cute. But it doesn’t really stand out for me.
The first problem for me is that it is too bright (over-exposed). Some people like bright pictures. I tend to prefer darker tones.
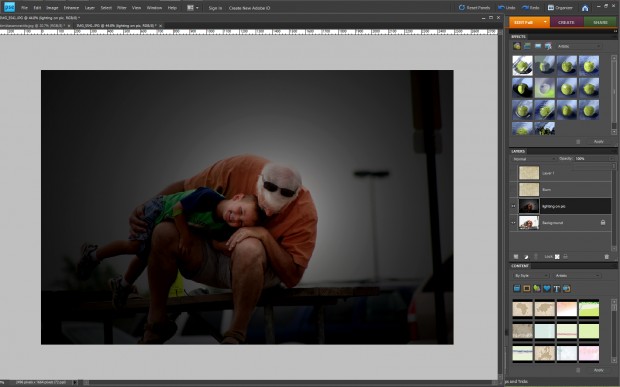
So I used the Filter/Render Lighting function to make it darker. Yes, I know it is now too dark. Bear with me here.
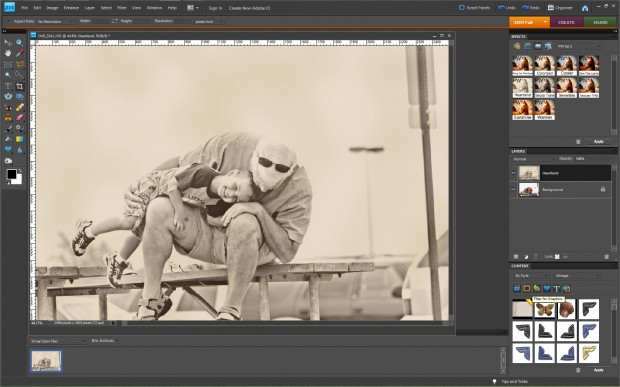
The important thing to note here is that I made a copy of the original image. The original becomes the background and the copy is the duplicate layer. It’s the duplicate layer that I made dark.
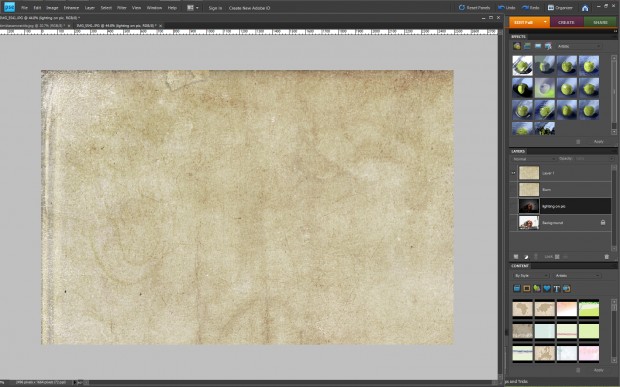
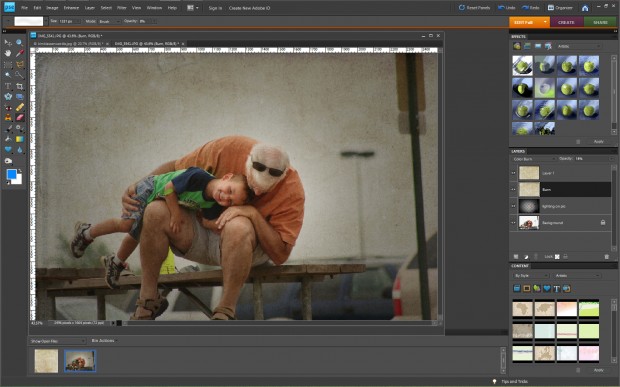
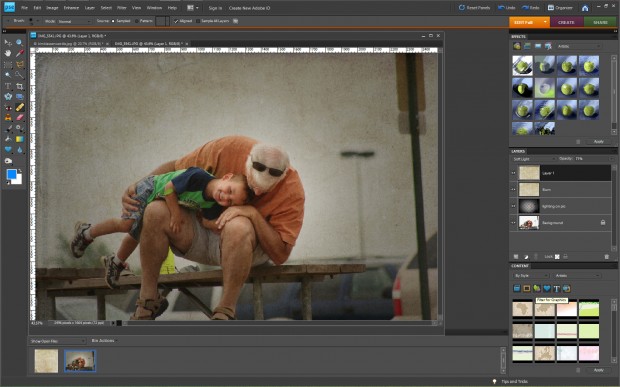
Next, I wanted to add some texture. So I added a texture layer and pasted a texture onto the shot.
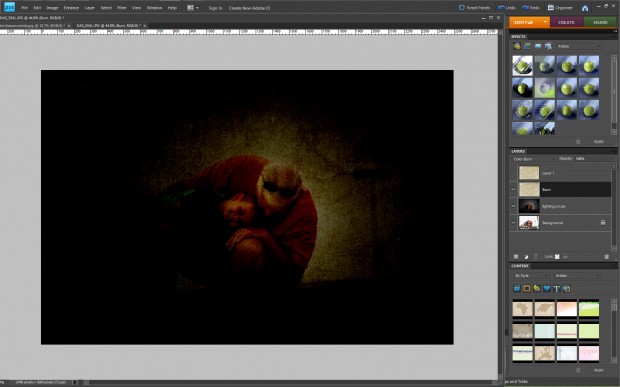
I wanted to change the lighting on the texture, so I applied something called Color Burn. I cannot possibly explain all of these steps in great detail here. Color burn makes the colors darker and more intense. This was the result.
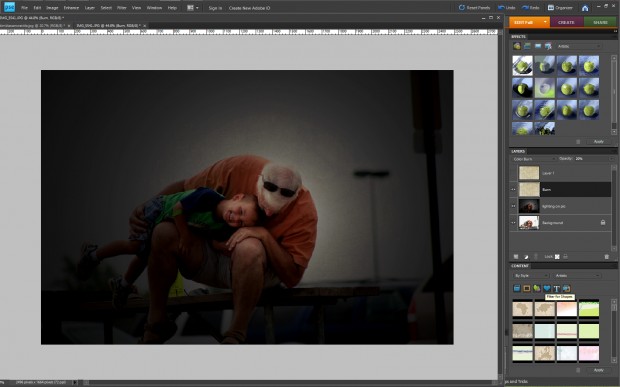
That looks pretty messed up, right? To fix it, I changed the opacity (degree of transparency) of that layer, which makes the underlying layer more visible. I still get the burn effect I am after, it’s just not nearly as extreme.
Even with my texture/burned layer at 20% opacity, it’s still dark. So I added a fourth layer so I could reapply the same texture. I got this again.
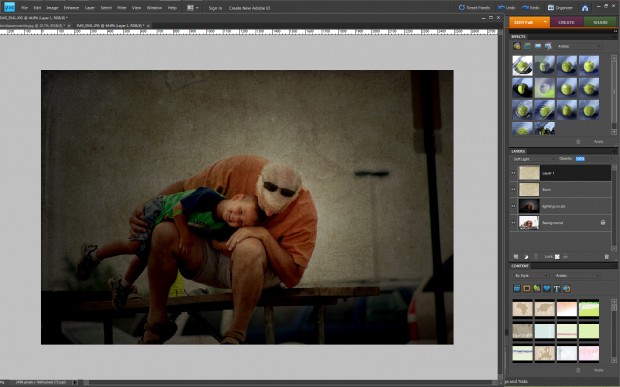
Instead of color burn, I adjusted this layer using Soft Light. I could see the image again.
To lighten it up a bit, I did not add another layer or adjust the light on that layer, I adjusted the opacity of the underlying layers until I got the result that I wanted. Not only can you adjust the opacity (how strong or weak that effect is), you can also turn a layer off.
I like the way it looks around the edges, but my subjects are still too dark. Since it has consistently been too dark, I’ll turn the lighting layer off.
Too bright again! So I turn the lighting layer back on. And just use my eraser tool to selectively erase the lighting layer that is making my subjects too dark.
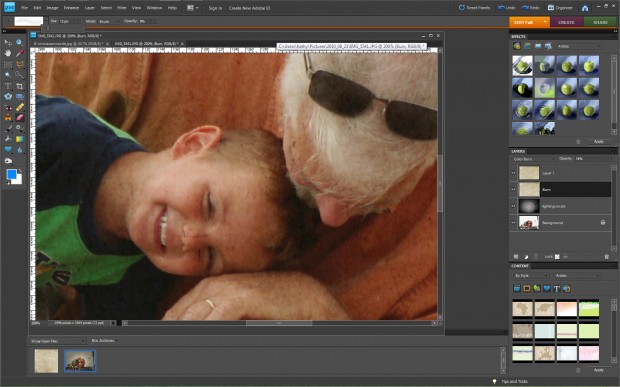
Much better, right? But there’s still one problem. I notice that my texture layer has resulted in a splotch of unwanted color smack in the middle of Joey’s nose.
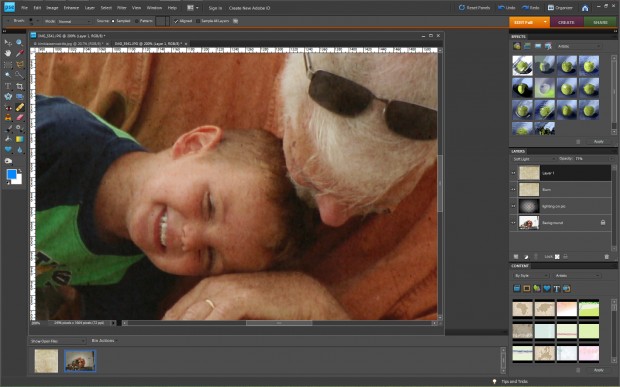
I zoomed in so you could see what I mean. I tried the eraser on a couple different layers, but didn’t like the result. You gotta love UNDO! Instead I used something called the healing brush, which corrects little boo-boos like that one.
No more ugly splotch. I zoom back out so I can see the whole picture and realize I’m liking what I see. My editing is almost done.
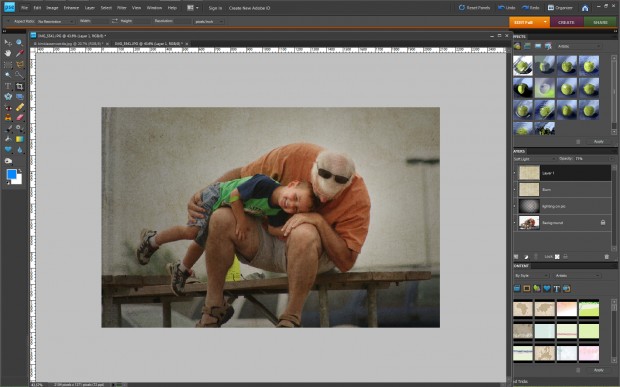
Looking at the whole picture now, I realize I don’t like seeing the back of that car or the signpost. So I crop those things out. Cropping is basically resizing the image to remove unwanted stuff around the edges.
Much better, right? Cropping alone is a very powerful tool. Especially if you are the type who can’t compose shots through the lens, while shooting. You can compose at your computer.
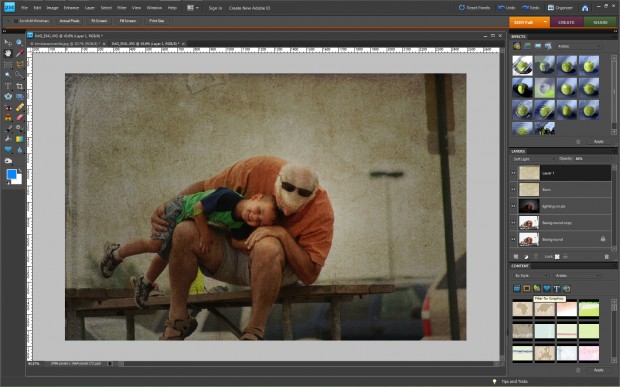
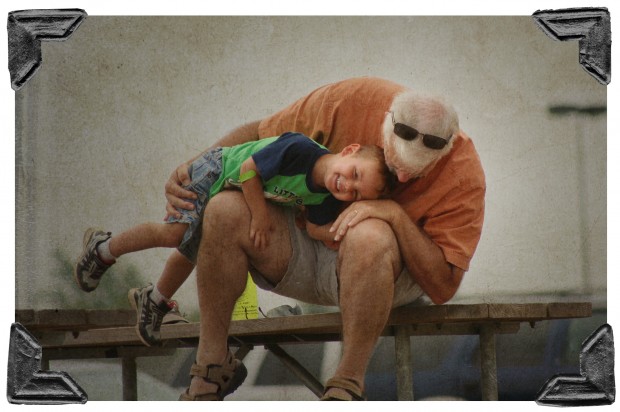
I decided to get even more creative and add a frame. I tend to favor white frames with thin black lines around them (like this one), but I didn’t really like the way it looked. So I added some little corners (a basic Photoshop Elements effect).
None of this is rocket science. It is all simple stuff. You just need to do some homework to learn how to use these functions and techniques. And you need to practice. It does take a lot of time, but I think it’s worth it.
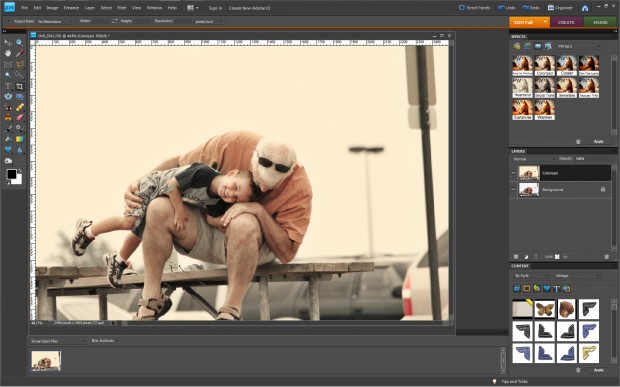
Or, you can take the easy way out, and use something called actions. Think phone apps. Actions are effects where all of the steps I described here are pre-recorded and applied to your photo with a simple double-click of the mouse.
Here are some examples of the same otherwise ordinary picture with three different, free, Pioneer Woman Actions for Elements applied.
Colorized
Heartland
Fresh Color
You can learn all about using Photoshop Elements, applying actions, image editing in general, etc., at various places all over the Web. If you want me to point you in the right direction, let me know and I’ll do a future post on the topic. My goal, really, was just to show you what post-processing can do and the different steps involved.
Here’s the end result again.
Now that I see what it looks like on the Blog, I’m not all that crazy about those dark, black corners. But it’s just an example, so I’ll leave it at that for now.
Great tutorial; thanks!
I knew Photoshop was very expensive but didn’t know about PE. I want to improve my pictures in small ways and that program seems to be the answer.
Then again there is GIMP, which is basically the same as photoshop… except it’s free! GIMP rocks! Am I the only one on the planet who uses it?
You were very kind to put so much time into this post ToadMama. I’m sure it will be a great help to a lot of people. I also enjoy looking at other photographer’s work/editing. There are so many different editing styles out there (and I’m one who prefers the bright look).
Kathy, you make photoshop sound so easy. I asked my brother about it, he knows I’m techno challenged and said it was HARD he suggested GIMP to me and I’ve just recently started using GIMP. I’ve not done much with editing of photos yet as I can’t figure out the layering. I think this post will definitely help me. I have created a “FREAKIN AWESOME” in his words, original piece of artwork with it. (I hate the reading part, it’s still very geek to me) Thanks so much for this blog It explains some of the layering and I think I can easily refer back to this one when trying it again in GIMP now that i have an idea of what to look for.