Are you ready?
It took a while. First, I had to decide on a color. Then I had to make the time.
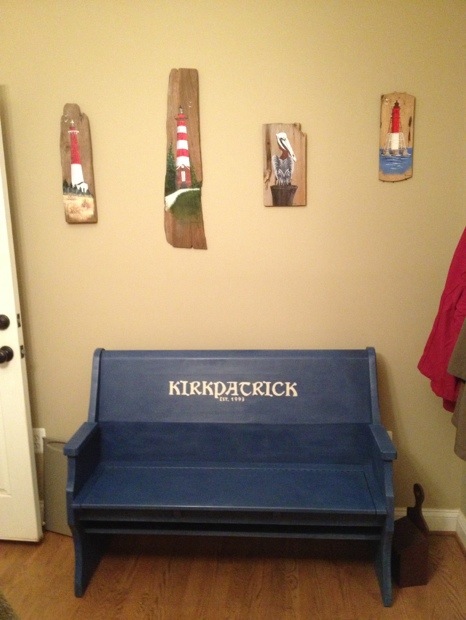
Originally, I was going to do the bench in black. Or red. Or some combination of the two. But then I decided to borrow a blue from one of my lighthouse images.
This is what I started with.
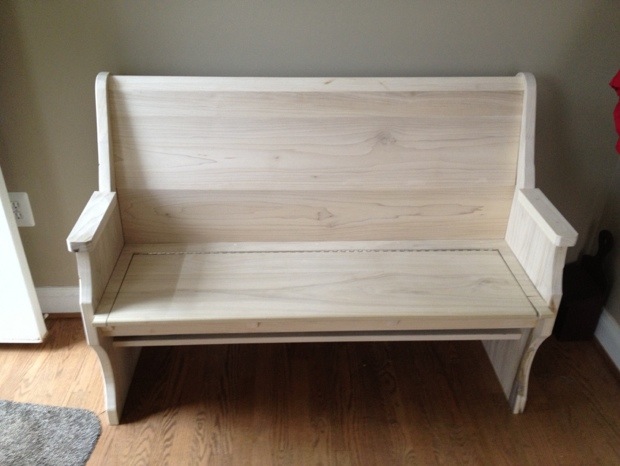
Hubby is very proud of this bench. As he should be. He designed and built it from scratch. Using raw, un-milled lumber.
The shoe compartment is quite clever, don’t you think?

It makes that corner of our breakfast room much more orderly. And that’s just what he wanted.
I didn’t use any special techniques. It’s just Napoleonic Blue Annie Sloan Chalk Paint finished with Clear Wax. I sanded it lightly after waxing, intending to apply Dark Wax, too, but I like the way it looks as it is.
The thing I like about painting items is that they evolve as you paint. I hadn’t planned on adding any decorative elements. And I thought I was going to make the armrests white.
At the last minute, I decided the armrests should be the same color as the bench. The more I looked at the bench, the more I thought it needed some sort of design. So I decided to stencil our name on the back, along with the year we were married.
Of course, I didn’t have any stencils, so off I went to see Janet Metzger, my favorite ASCP Stockist, to get some letter stencils.
She didn’t have any in the size I needed. I told her I’d just run to Wal-Mart, but then she said, “You don’t need a stencil. Just do your letter on paper, rub chalk on the back, and trace on the front to transfer the stencil.”
It sounded easy enough. But after I did what she said, I ended up with a scary, chalky mess.
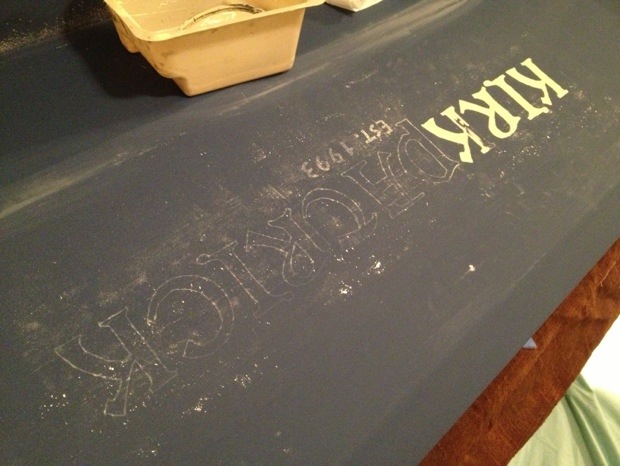
Honestly, at that point, I was scared that I’d wrecked the piece. Or at least did enough damage to require another coat of paint.
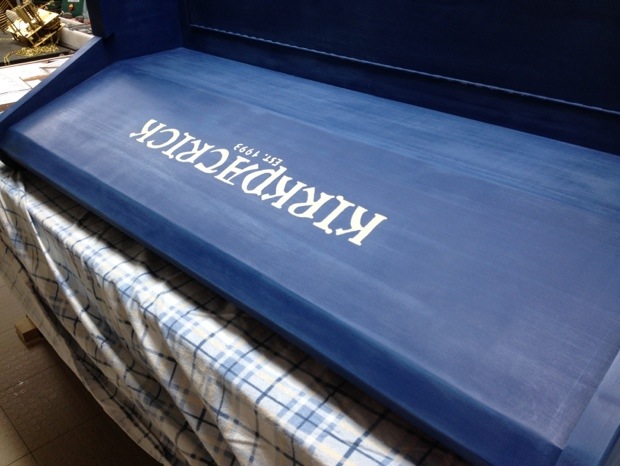
The outlines were there, though, so I pressed on. I had to do some freehand painting to fill in the letters, which was a slow process requiring a steady hand.
When I was finished, and sure the paint was dry, I cleaned the bench off with a barely damp paper towel.
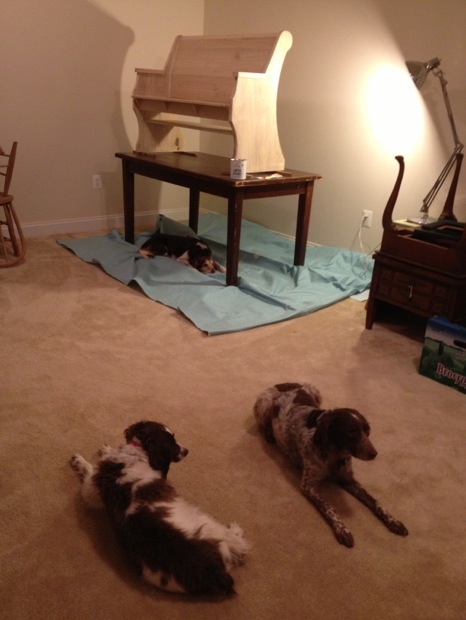
Then it was time for wax.
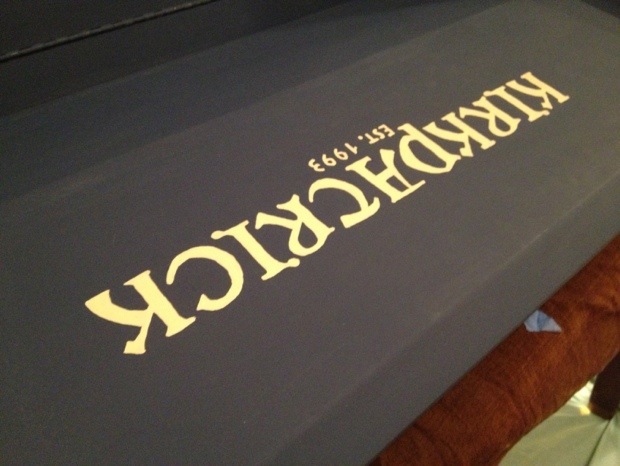
I am really very pleased with the end product.
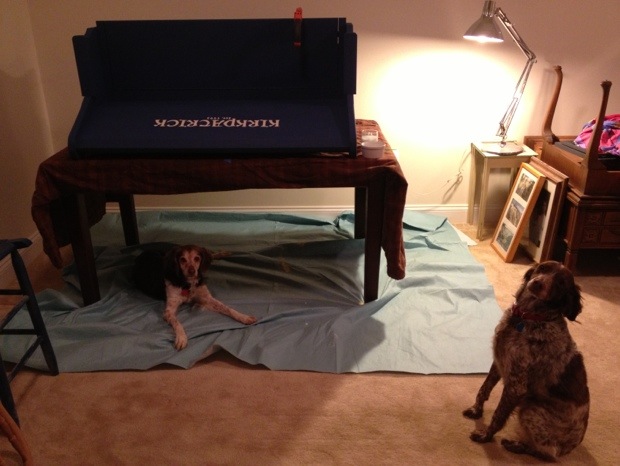
And here’s the bench, again, in its place.
Do you love it as much as I do? 🙂
Ha…I neglected to tell you about the few moments of SCARY time…you figured it out beautifully. Really LOVE the bench and the stencil is exactly what it needed…well done!!!
janet xox
The Empty Nest
Thanks. 🙂
It really did clean up well. The only other issue I forgot to mention was my small brush sucking up and getting clogged by the stencil chalk. But I made it through. Thanks for being such a good mentor!
Wow..turned out great!
A family heirloom for sure.
Thanks, Trace. 🙂
Kathy:
I just love it ; the blue, the stencilling, the “EST”
it looks great ! you are so creative
bob
Riding the Wet Coast
It looks great! Can’t wait to see it in person!
Thanks, Bob! 🙂
Amy, I can’t wait either. Because that means when you see it, I’ll be seeing you! We might even let you use it. 🙂
Pretty snazzy, I dig it! I also like how K looks like she’s about to tip over backwards in that one pic. 😉
Thanks, Shan. K’s long legs do that to her. She’d much rather be sitting with her rear on a step.
Wow! So much better than I expected. The font is amazeballs. So unusual and so pretty. Great job, Kathy.
Thanks, Buddy. I do think I found the perfect font. It really sets the thing off. 🙂
Wow, the lettering turned out fab! What a great chalk-transfer trick. I would have been scared that the chalk residue would keep the paint from adhering… but it really looks great!