Last Updated: 
 October 10, 2007

    WV Place Home   


Counter & Bedroom Work

August 31 - September 6, 2007


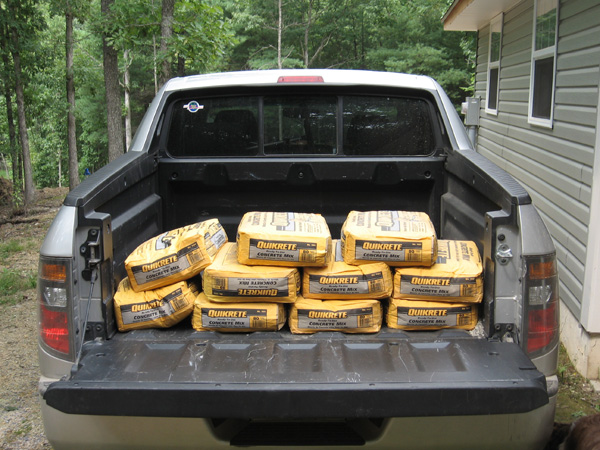
We went up Thursday night with grand plans. We were to head to town early
in the morning on Friday for breakfast and to buy the concrete mix, which we
did. It may not look like much, but that is 800 pounds of concrete.
Then we were going to start mixing as soon as we got back. Unfortunately,
Allegheny Power picked that day to update transformers in the community
so we had no electricity until about 1:00 PM. No A/C, no fans ... it was
sort of hot that day, too. It was an omen of things to come.


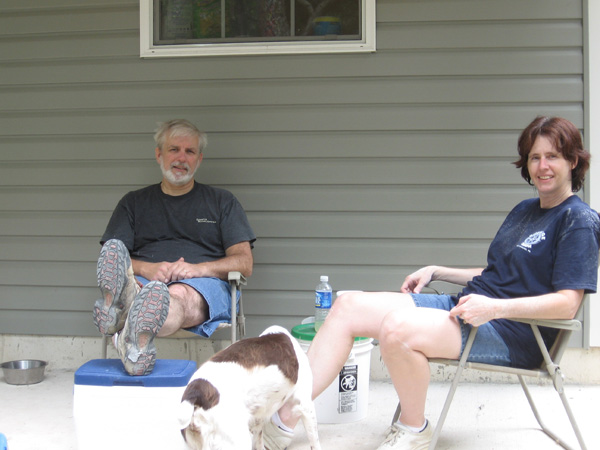
Taking a break on the front porch.


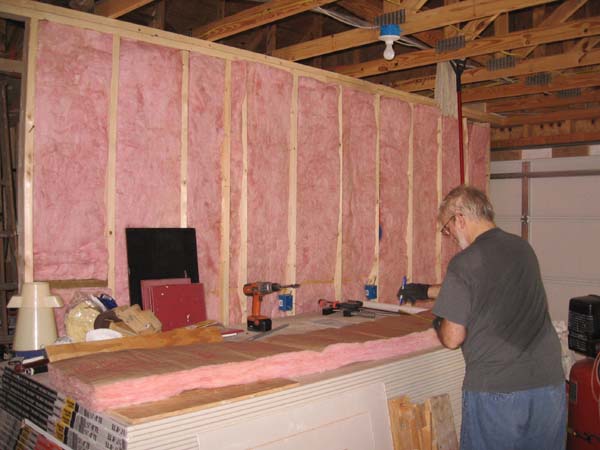
Mike worked at cutting insulation for the spare bedrooms ...


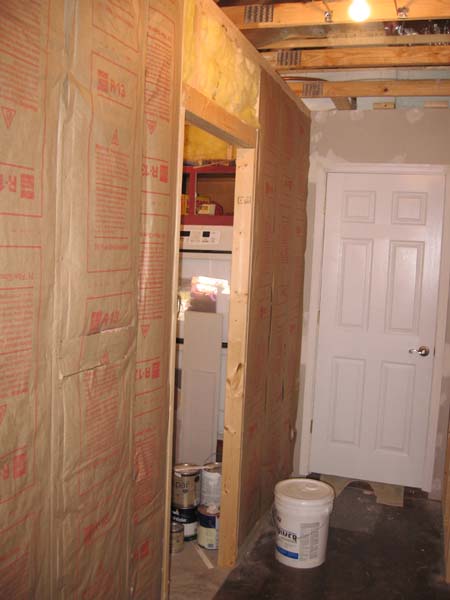
... and the hallway.


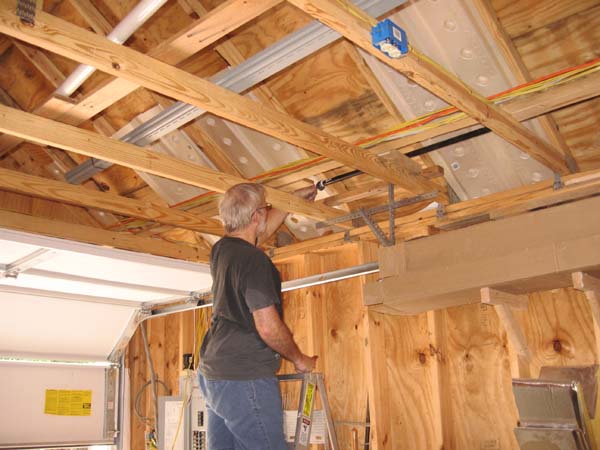
He worked on gas piping, too. This is for the future propane hookup.


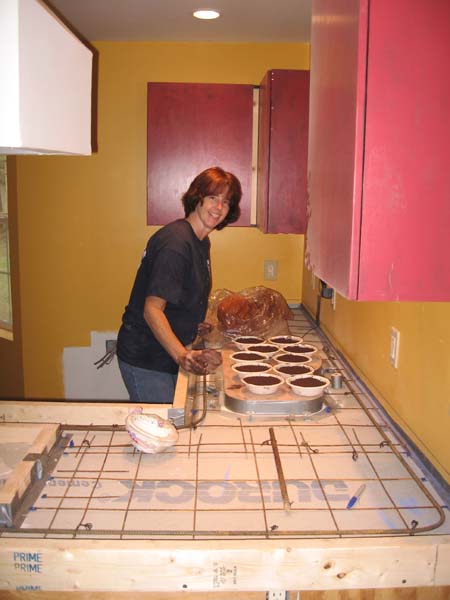
Meanwhile, I goofed off in the kitchen making mud pies.


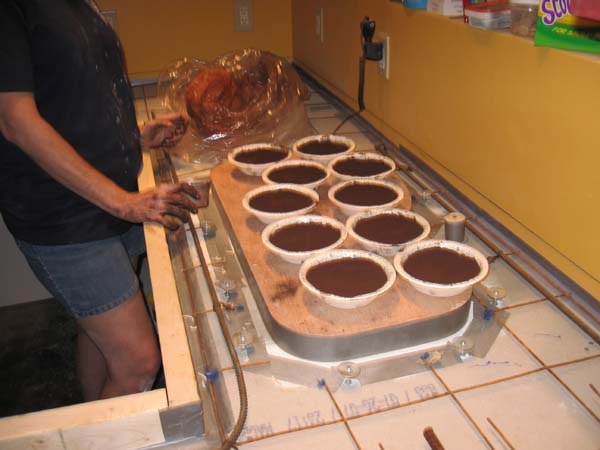
It isn't really mud. It is pigment for the concrete countertop.
You have to add even amounts of pigment to each bag of
concrete as it is mixed. We could only do 3 bags at a time.


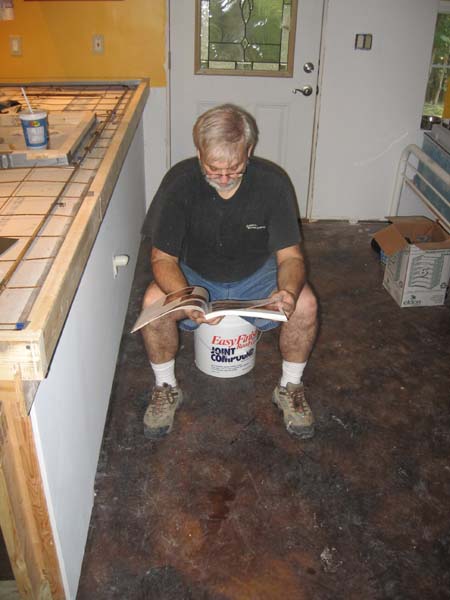
It may look like he's on the potty, but that is a mud bucket. Mike
is brushing-up on the technique for concrete counter fabrication.


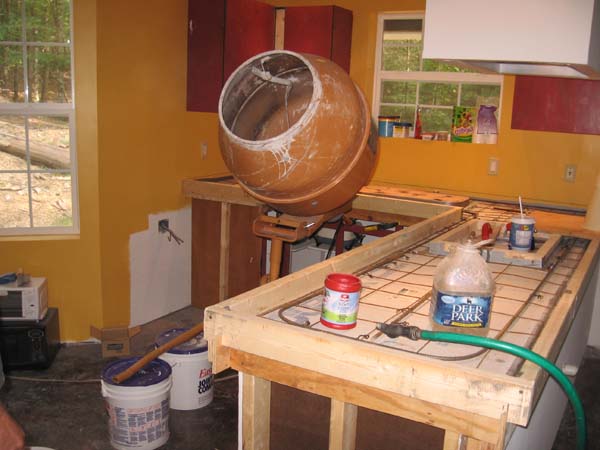
The mixer is all ready to go.


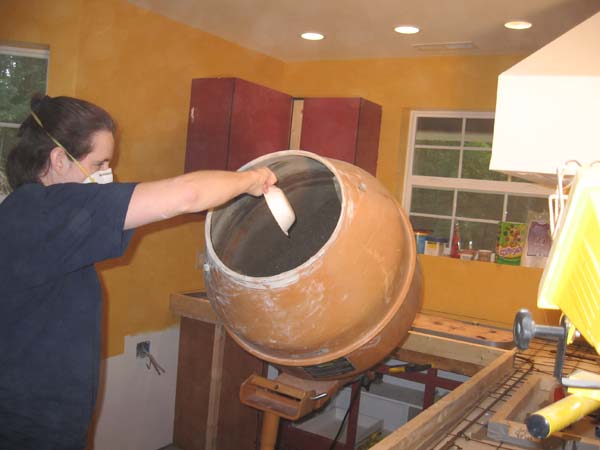
Here I am -- Mixmaster Kathy -- adding pigment to the mix.


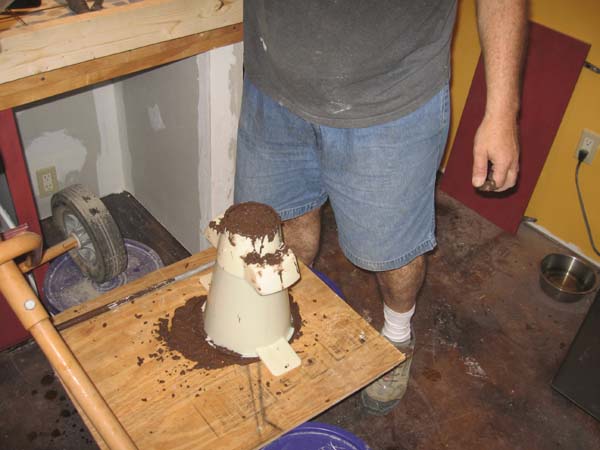
This is a slump cone, which is supposed to help gauge when you have
gotten the mix wet enough. That's the thing about concrete, the amount of
liquid in the mix is very important. Too much and it won't cure properly.
Too little and it is next to impossible to smooth out to a nice finish.


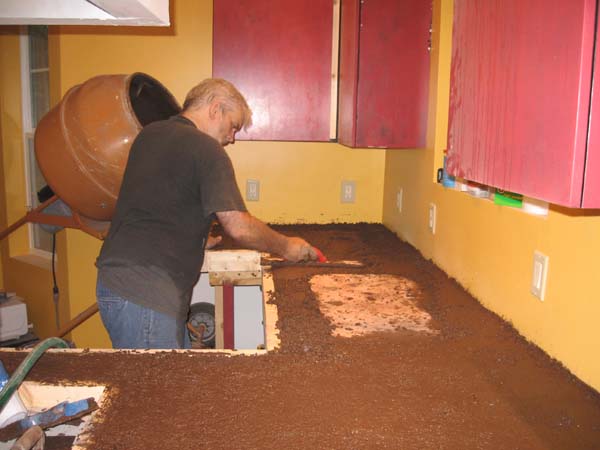
It looks like a big pan of brownies being made.


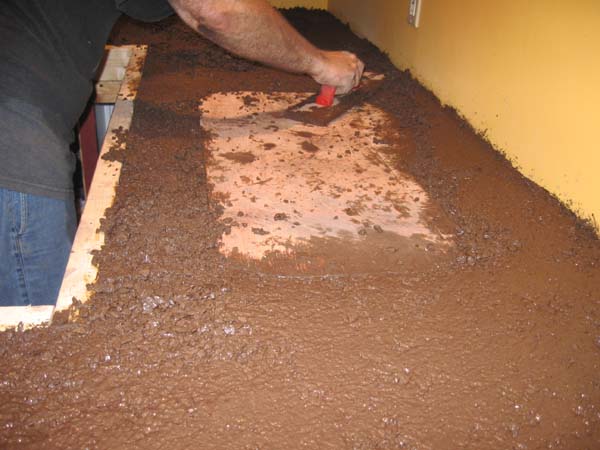
I'm not sure if the amount of water was the issue or the fact that
neither of us have much experience pouring concrete. It was a mess.
It was so ugly, you won't see any more pictures until we fix it.


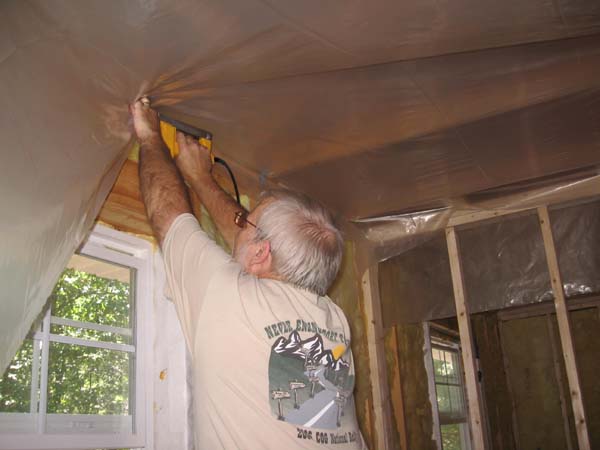
On to better things... hanging the vapor barrier on the ceiling
and exterior walls. We were preparing to hang more drywall.


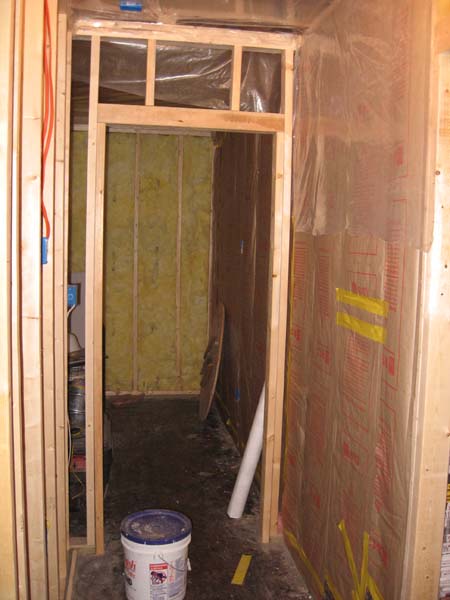
Vapor barrier is required before hanging the drywall, but only on exterior
walls and interior walls separating areas that are not both temperature controlled,
like the attic and garage. I'm not sure I explained that correctly.


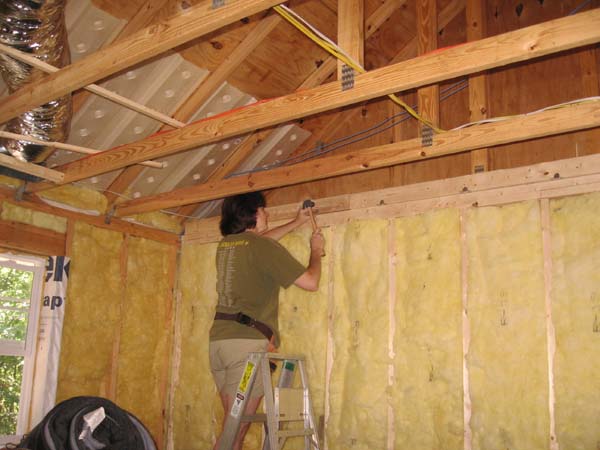
Here I am hanging drywall clips. They serve as extra support for
places where there are no studs/joists to nail the drywall into.


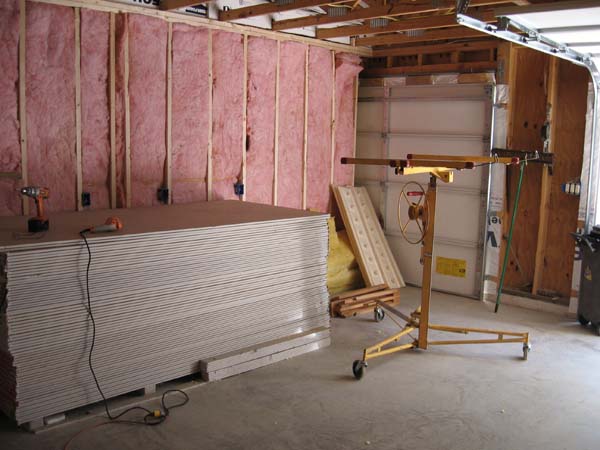
Sunday was a new day. Reinforcements, in the form of my Dad, were scheduled
to arrive in the afternoon. We rented this cool tool (drywall lift) again, too.
Notice the height of the drywall pile? You'll see it slowly diminish.

Note: if you ever hang ceiling drywall, rent one of these. ESPECIALLY
if you are hanging the heavy 5/8-inch stuff at 100-pounds per sheet.


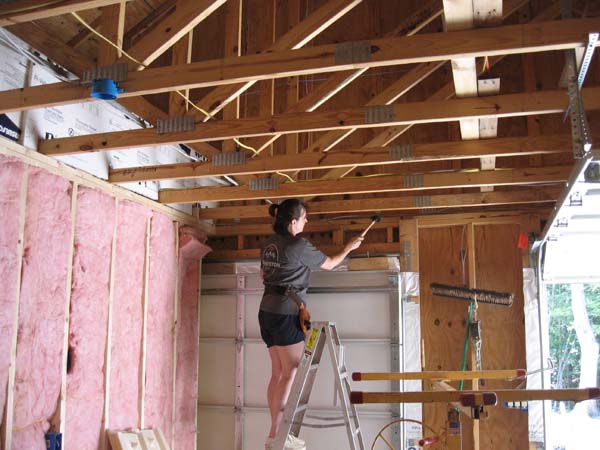
I'm either hanging more drywall clips or pretending to work.


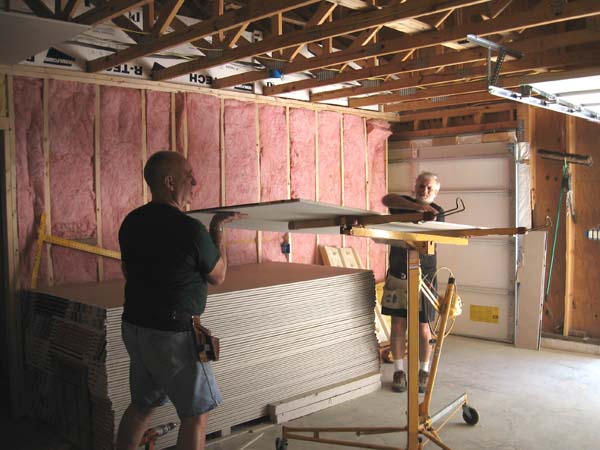
Dad and Mike putting the first sheet of drywall onto the lift.


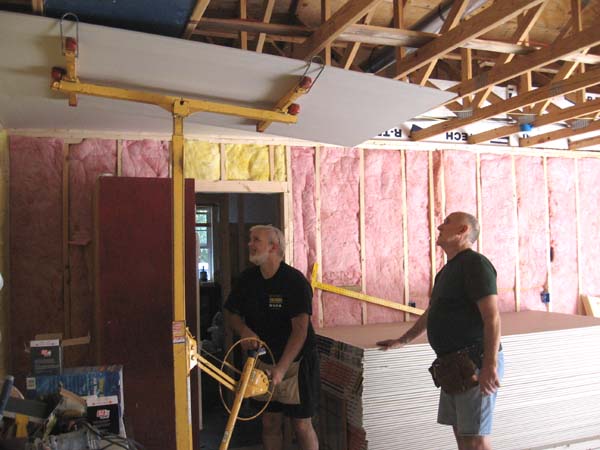
Here's Mike cranking a sheet into place. The next
step is screwing it up. Uh, I mean screwing it in!


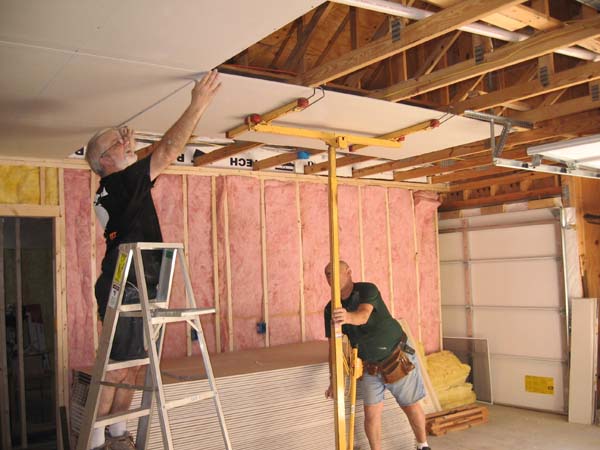
Oops, I forgot that proper positioning is required before screwing.


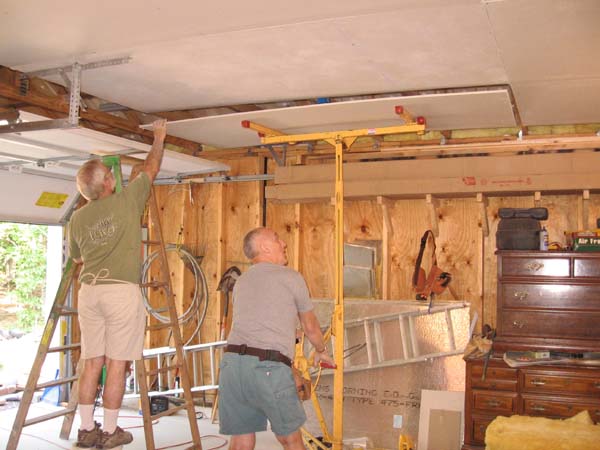
First thing on Monday, the final full sheet of drywall was installed
on the garage ceiling. We have some small pieces that we'll fill in later.


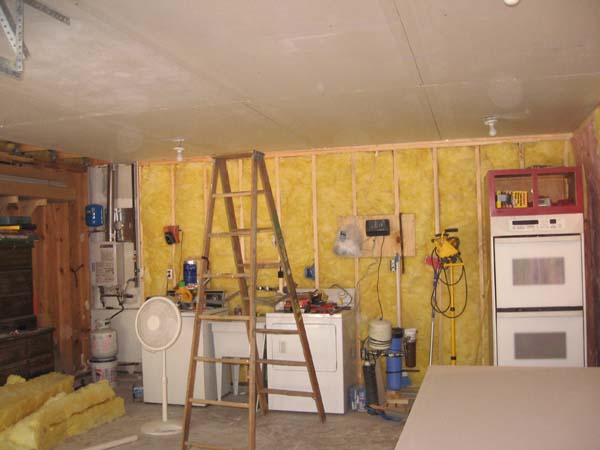
The nice, new ceiling.


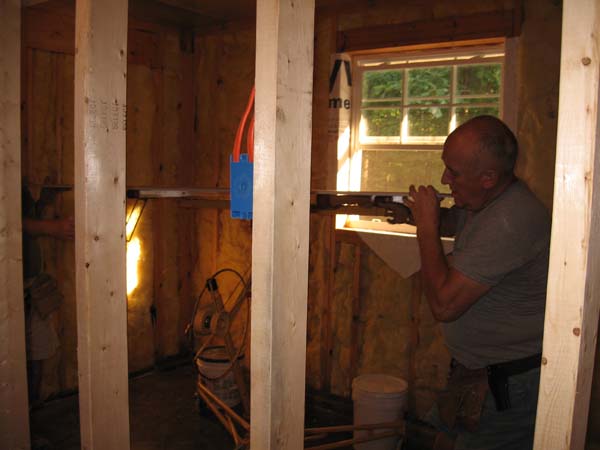
Then we started on the bedroom ceilings.


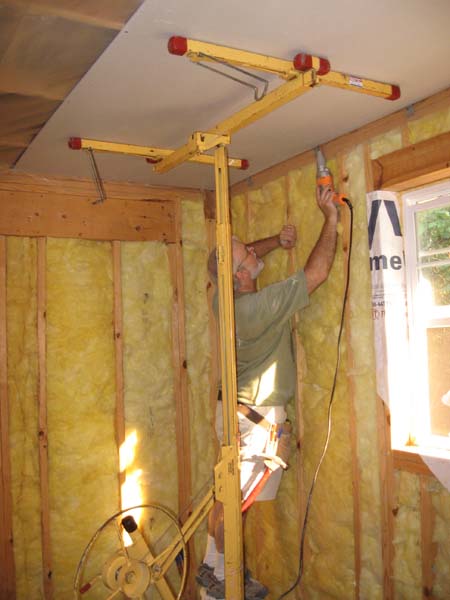
After each sheet was screwed into place (4-6 initial anchor screws) ...


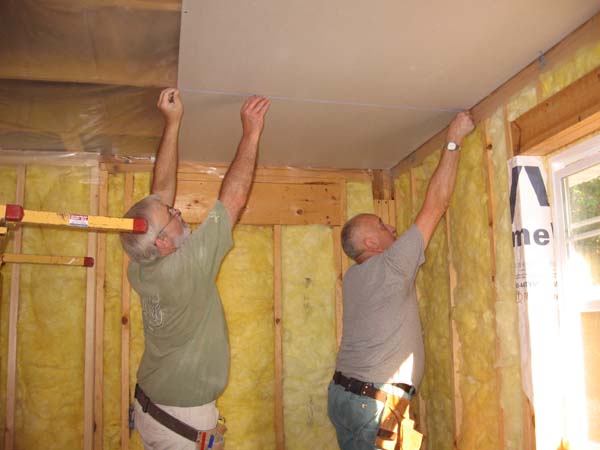
... Mike and Dad used a chalk line to mark the position of the joists.
That is so we would know where the rest of the screws needed to go.


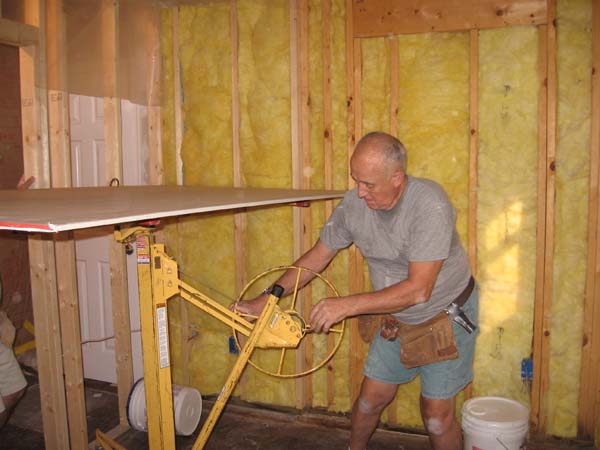
Once fastened securely enough, they took the lift down and left
me to install the final screws. They moved on to the next sheet. The
work went faster that way. Here's Dad cranking the sheet into place.


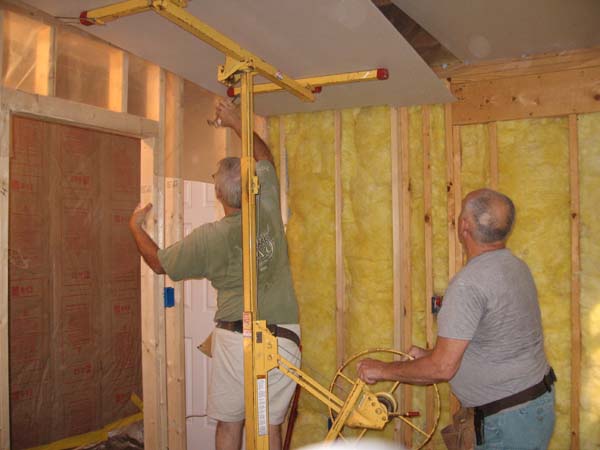
Mike using a pry bar to finesse the sheet into its final position.


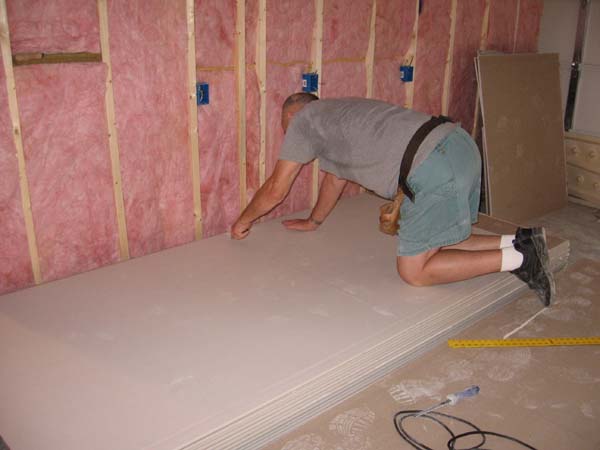
Here's Dad cutting more drywall. See how small the pile is?


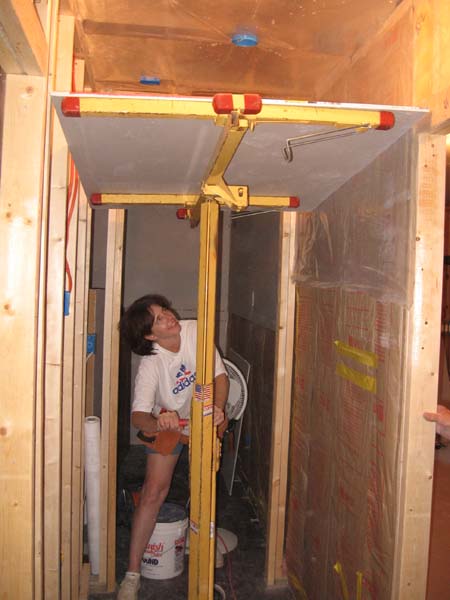
Finally, a picture of me doing something!


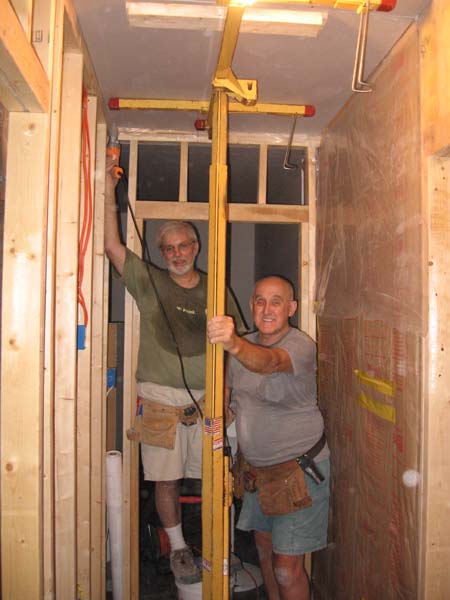
The final sheet of ceiling drywall was been installed. It was
my job to return the lift to the rental place in Cumberland. I had
to shop for provisions, too. Dad and Mike kept right on working.


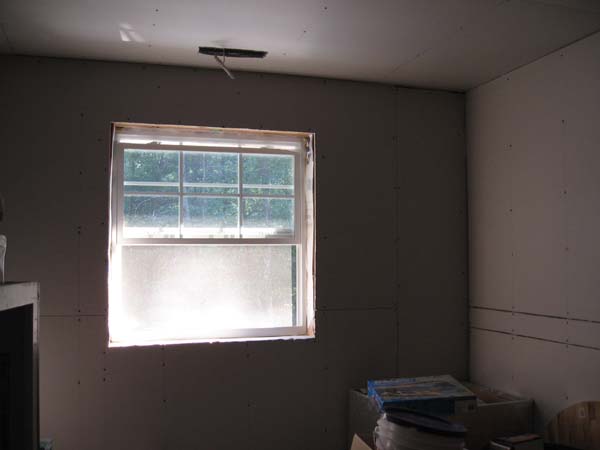
They finished one of the bedrooms without me.


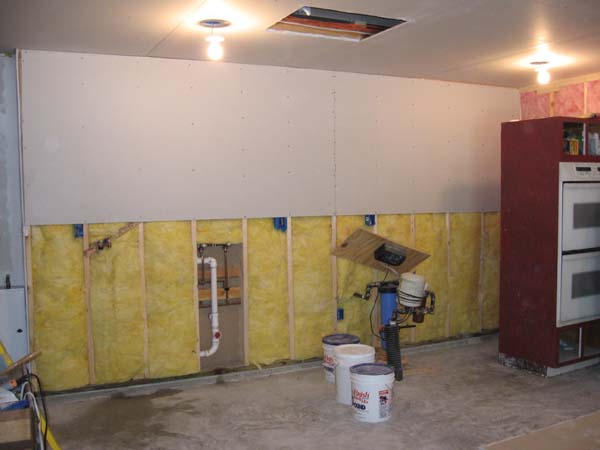
Then it was time to cover the garage walls.


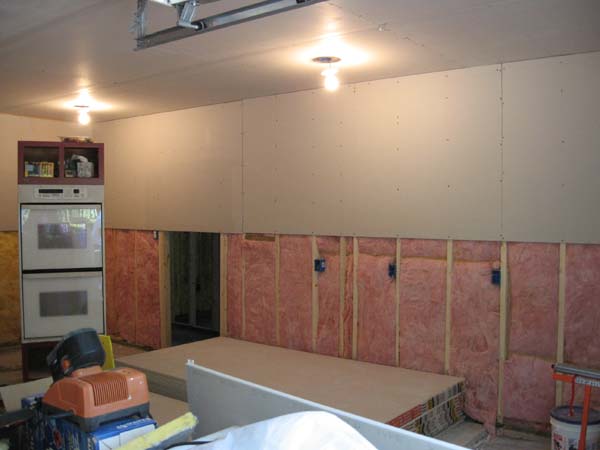
The wall between the garage and hallway to the spare bedrooms.


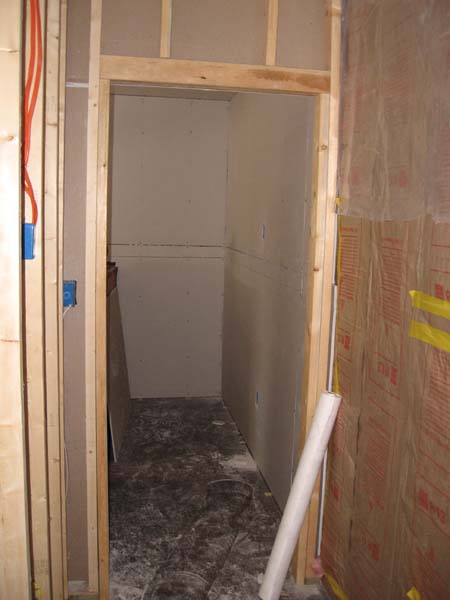
The back bedroom is the one that is complete.


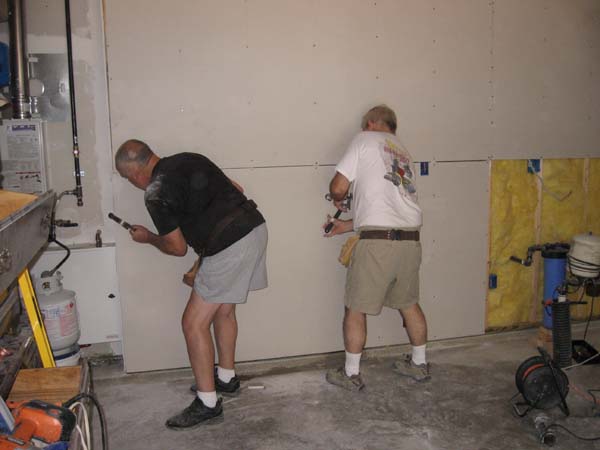
Dad and Mike banging some nails in. Sheets on the ceiling get screws.
Screws hold better. Sheets on the walls get nailed into place.


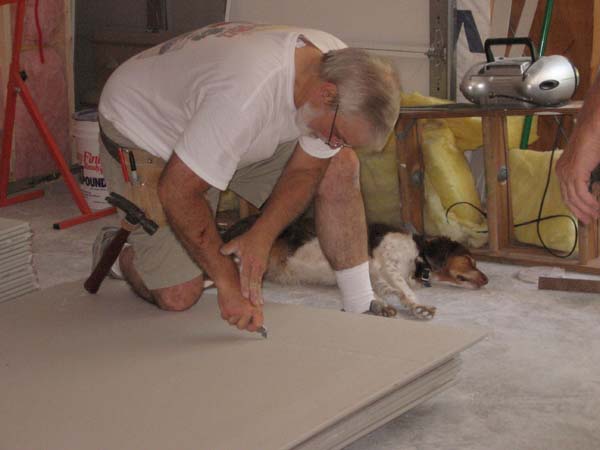
Mike makes a cut while Meg naps in the background.


She will sleep anywhere. Even in piles of dust, as you
may have deduced judging by the dust on her ear.


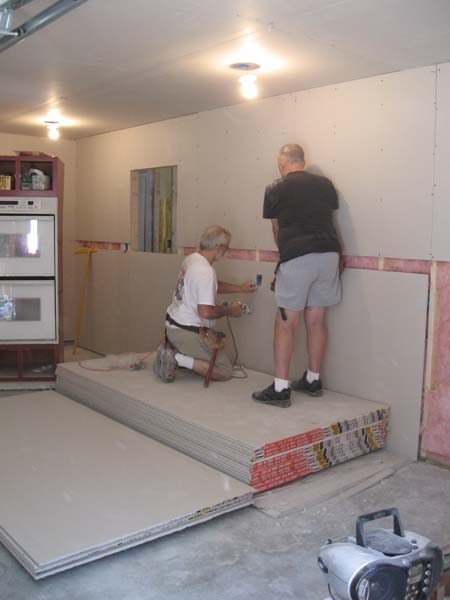
Hanging drywall on walls is much easier
than hanging it on ceilings.


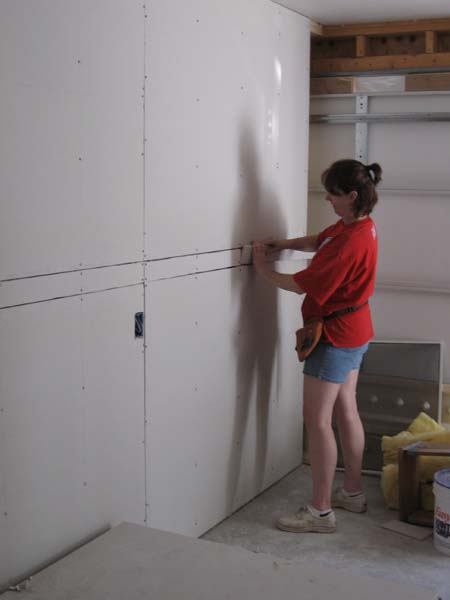
They let me put the last piece into place.


Another wall done!


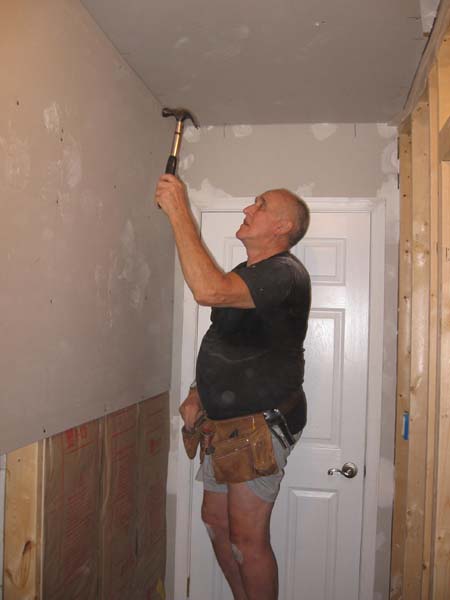
Dad working to finish the hallway.


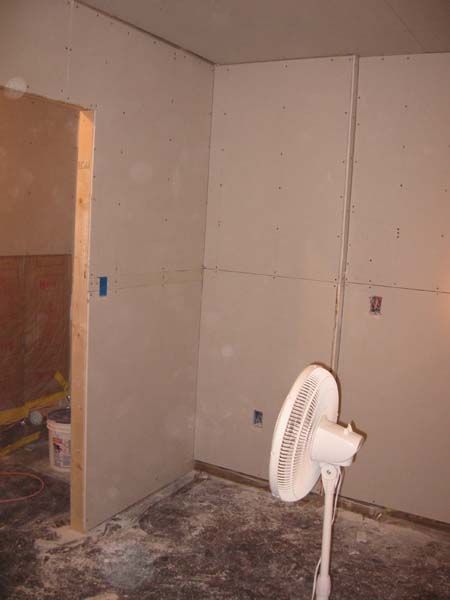
One side of the bedroom is done.


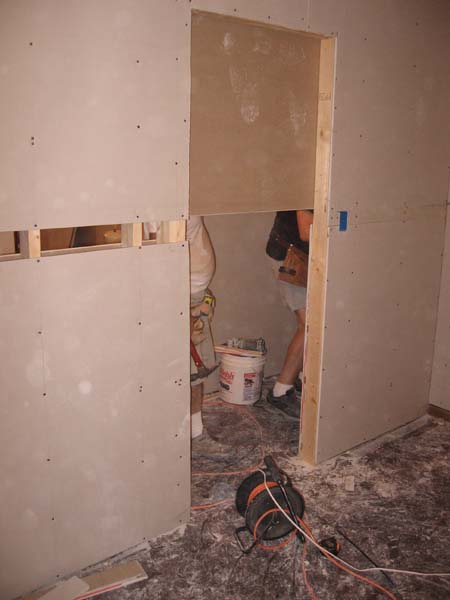
Dad and Mike hanging drywall in the hallway.
I wondered if they were going to seal me in.


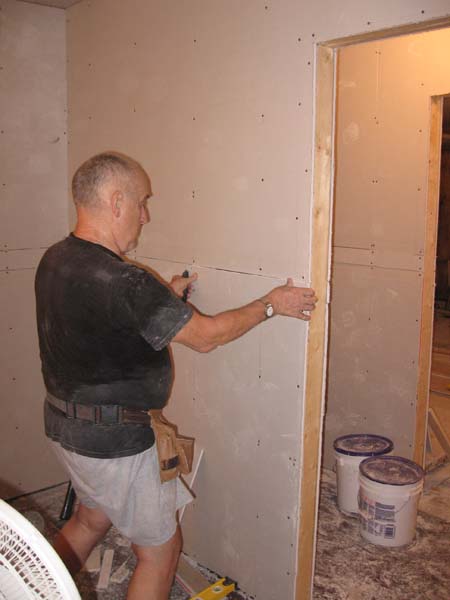
Mike was nice enough to let me out. Which is good
because I had to get this shot of Dad putting the final
piece of drywall into place. We were done!

As I mentioned earlier, we have a few small pieces yet to install.
But the major drywall-hanging is done. Unless we decide to build
an extra piece of wall to hide the garage door. Remember, the
spare bedrooms are only temporary. It will become a full garage
again if we ever decide to add an addition onto the house.


    WV Place Home   


Web Site Created
by ToadMama Designs


Free Gifs and Animations - Everything needed to build or enhance your Web site.