I’ve actually been enjoying the job hunt. I’ve been , reconnecting with former colleagues as well as people I’d never met. I’ve had some really good conversations and have come across a couple of very interesting folks. Plus, having to sell myself again forces me to look closely at how much I have learned and accomplished over the years. And I’ve had time for blogging. 🙂
Life really is all about how you look at things. Something that’s changed for me as the years have passed is the amount of patience I have for people who bitch and complain about stuff, but do little or nothing to improve or at least change the way they look at their situation. I am an empathetic soul by nature. I tend to give people the benefit of the doubt, ponder how things must look from their perspective, and try not to judge. But some sort of conclusion, positive or negative, is inevitable. One cannot help people who can’t or won’t help themselves.
 Anyhoo… I did not intend for this post to become a philosophical discussion about life. I meant for this post to be about ART, specifically a rather cool artwork I stumbled across at Imperial Beach in San Diego.
Understanding and appreciating art, visual and written, really does depend on how one looks at things. Some art can only be appreciated if you look at it from a specific angle. Look at it from the wrong angle and all you see might be a jumbled mess. It may still be pleasing to your eye, but you might not be seeing what the artist intended for you to see. It’s a complex idea, I know, which is why I am not going to try and explain it. Here’s a Wikipedia post that does a pretty good job, if you’re into reading that sort of thing.
One of the things I enjoyed while dog-sitting in SD last year was visiting some of the MANY beaches the county has to offer. I have no idea exactly how many beaches there are in SD–you can read about the top-15 here–but I visited quite a few. It was a very relaxing way to get Jasper (the dog) out of the house. Not all of the beaches are dog-friendly. Of those that are, I liked Imperial Beach (IB) the best.
IB is the southernmost beach in SD. It’s adjacent to a wetland nature space and is just a couple of miles from the US/Mexico border, which means you could literally walk to Mexico if you wanted to.
Like many places in SD, it’s pretty artsy, too. I hadn’t done much research on the place before going, so I was surprised and delighted to see just how artsy.
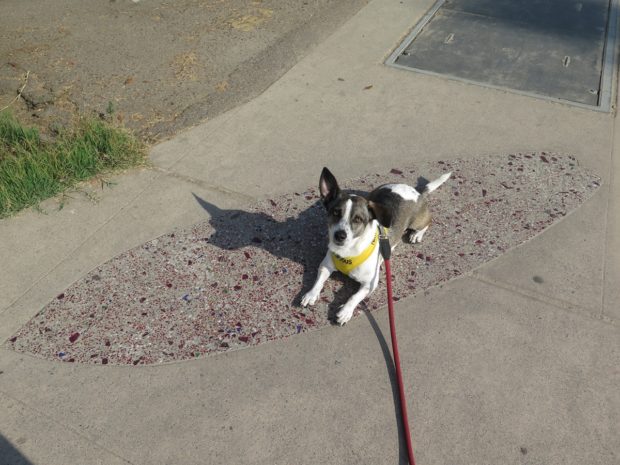
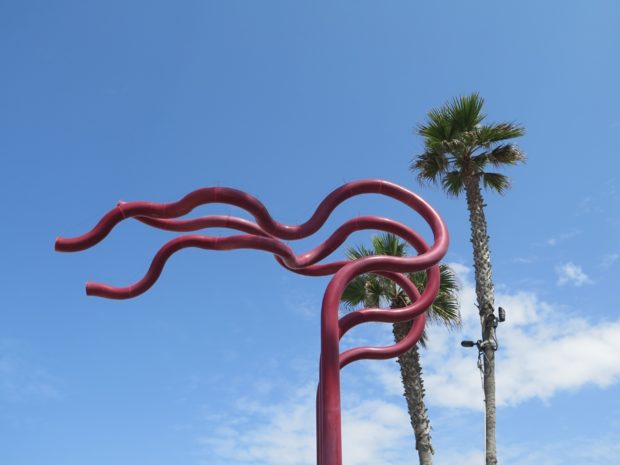
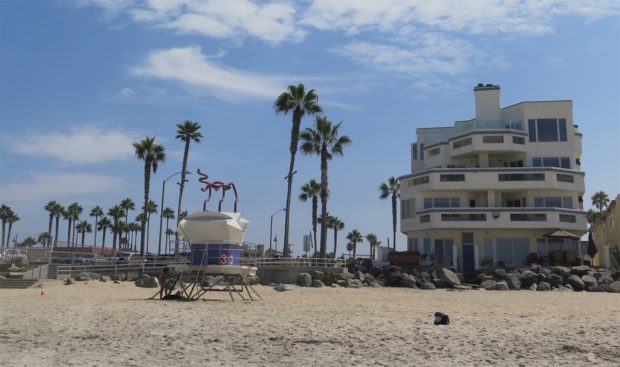
There were municipal works like the IB sign in the first image and the crushed glass/concrete surfboard as well as other shapes embedded in various spots along the sidewalk. There were also colorful storefronts, murals/street art, interesting houses, funky souvenir shops, you name it. And there was this weird-looking red thing.
I’m pretty sure I said “that’s weird” aloud to Jasper when I saw the tall, red, metal squiggles. He was unphased. The more I looked at it, the more I liked it.
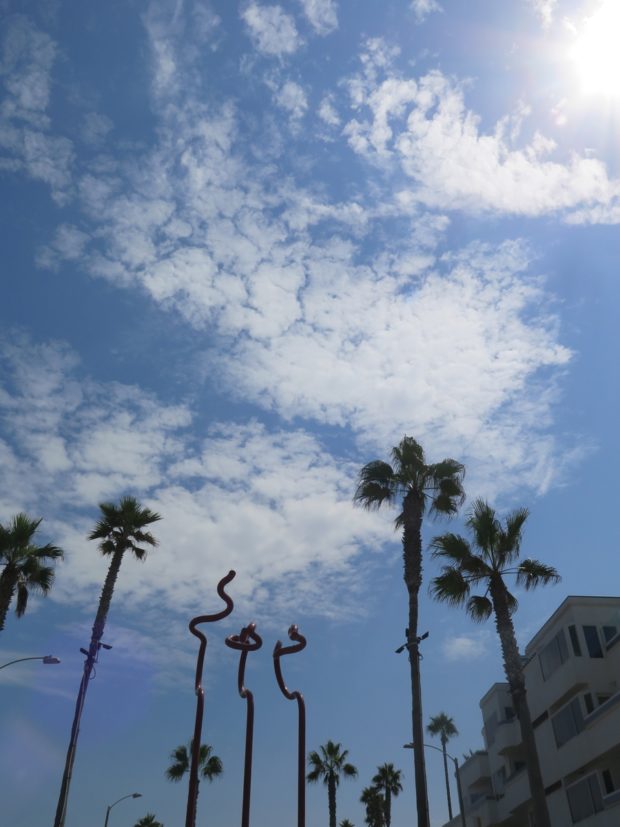
I’m not sure why it repeatedly drew my attention as we strolled along the beach, but it did.
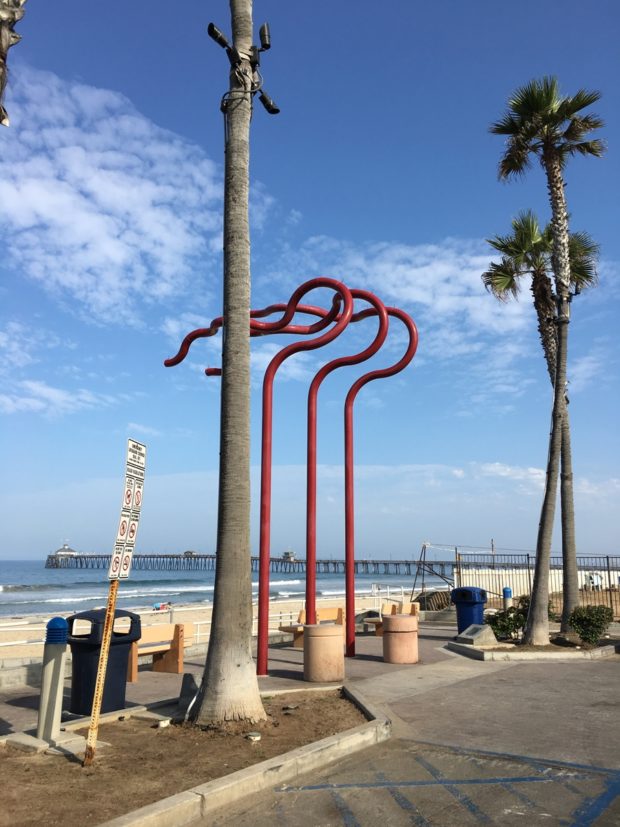
It even created interesting shadows!
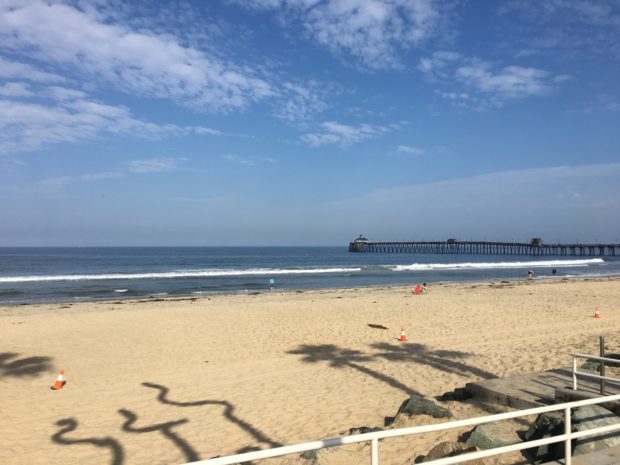
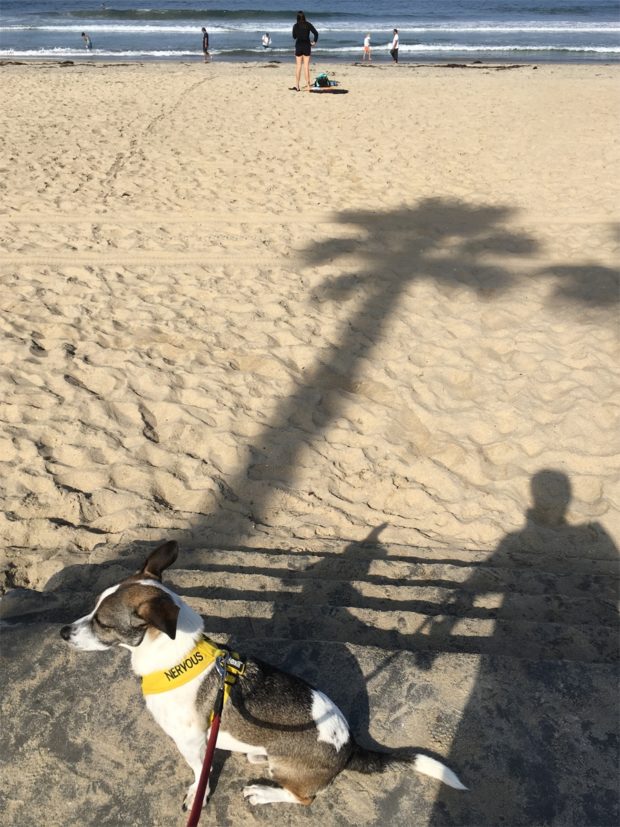
Cool, right? It gets better.
It wasn’t until later, after we’d made our first failed attempt to walk to Mexico, that I realized just how cool the thing is.
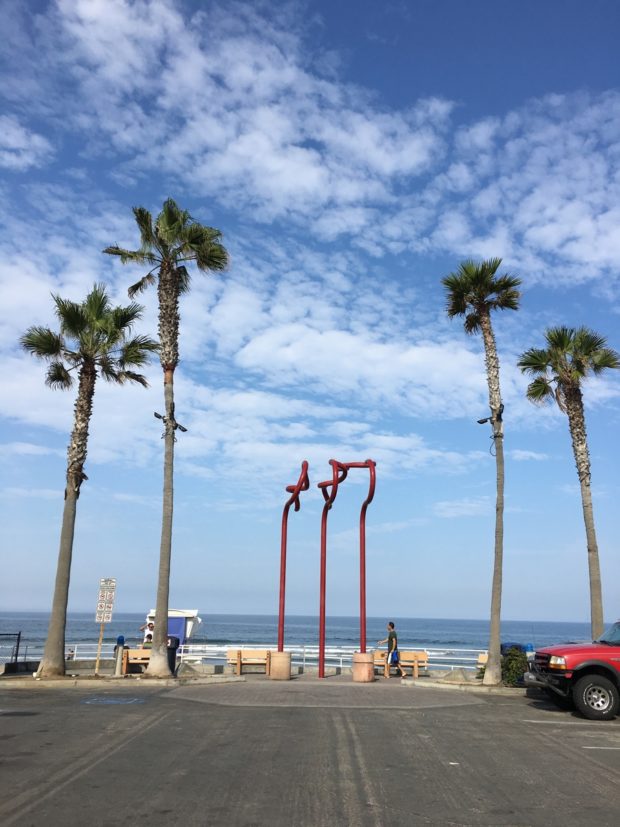
It looks different, depending on how you look at it. More specifically, WHERE you are standing when you look at it. That point dawned on me when I saw this…
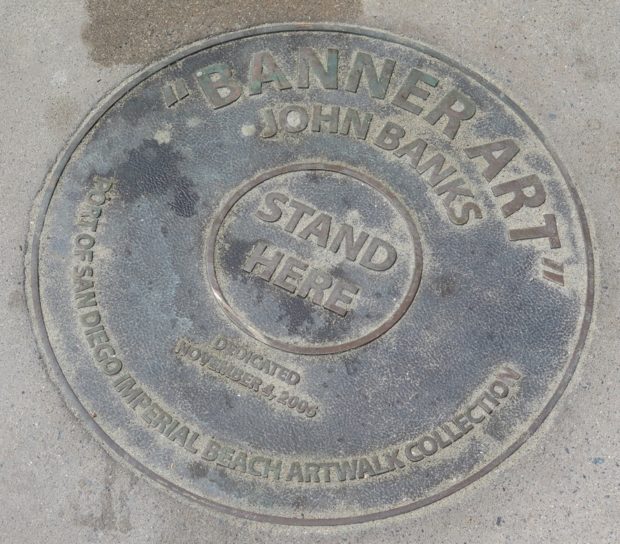
At first, I thought someone was being a smart-ass. Until I stood on that spot and looked up.
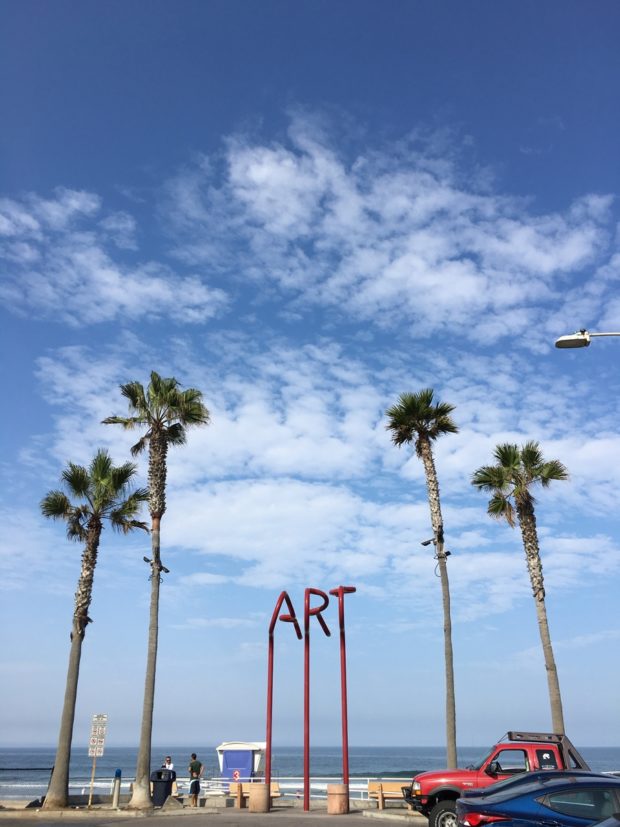
How cool is that? It’s probably cooler in person, especially if you don’t know about the piece as I hadn’t.
Look familiar? The artist, John Banks, has installed similar works in other locations.
I’m curious to know if others have stumbled across and been similarly impressed by this sort of art.
