
The key ingredient is Annie Sloan Chalk Paint (ASCP). No, I haven’t tried other brands of chalk paint. Why would I? This stuff is fabulous. It’s versatile, sticks to just about any surface you can imagine, can be used to achieve a wide variety of looks… rustic, modern, distressed, white-washed, pickled, etc… comes in all sorts of cool colors. And the wax, formulated to work with the paint, it wonderful, too.
I am not just recommending ASCP because I really happen to like Janet, my local stockist, and her shop (The Empty Nest). I seriously love this stuff. I’ve tried lots of different paints on furniture before. Regular later house paint, spray paint, acrylic craft paint, etc. But have never been able to achieve satisfying results. Oh, how much nicer those wood cabinets in our WV kitchen would have looked if I’d discovered ASCP years ago.
Wanna learn more about ASCP? CLICK HERE.
I never know what my project will look like when finished. I mean, I start with a base color I love.But once you start applying the wax, the piece changes. I always tell people, when I am doing a piece with ASCP, I feel like it is evolving before my eyes. The clear wax, although thinly applied, gives the paint so much more depth. And the dark wax? Oh, I love me some dark wax. Even if it is messy as all get-out. The dark wax is what really gives the piece character.
I’m getting ahead of myself, though.
First, I had to find a small table. I got soooo lucky. It only took three stops before I found this ugly, but perfectly sized kitchen table at a local thrift shop. It set me back a whopping $25. The legs are real wood, but the top is Formica-covered.

Janet assured me I’d just have to rough-up the top a bit to give the paint a surface to grip. The sanding took about 30 seconds. Literally.
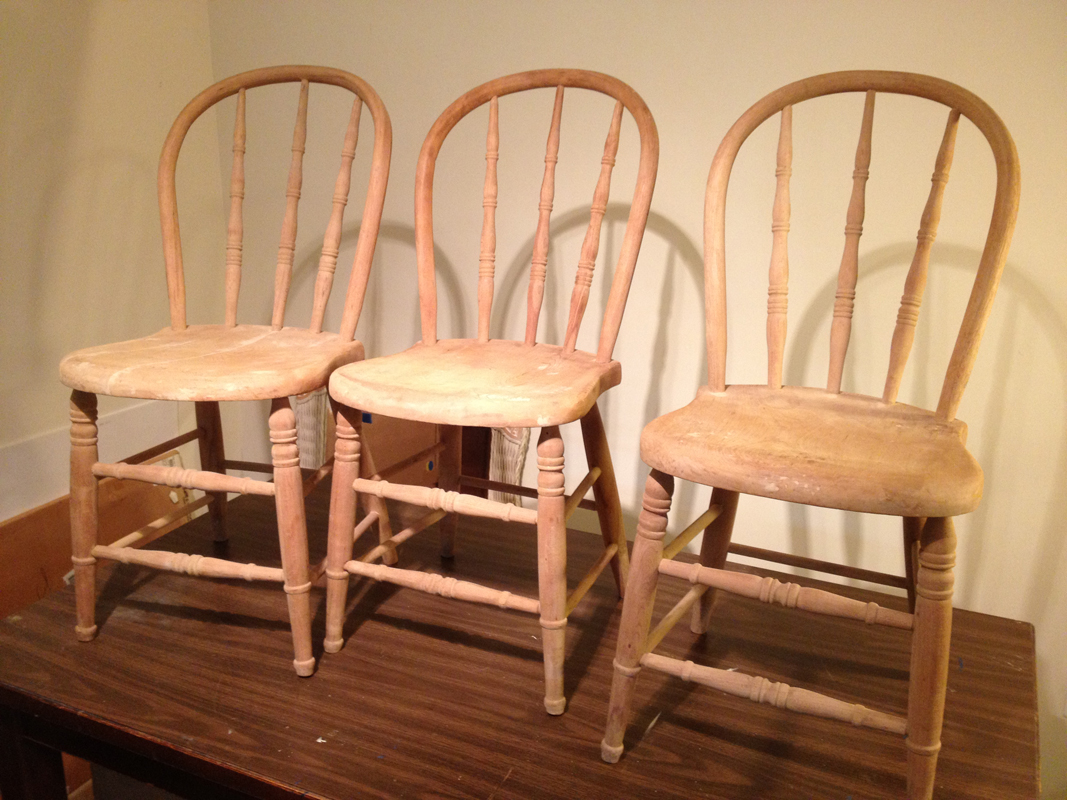
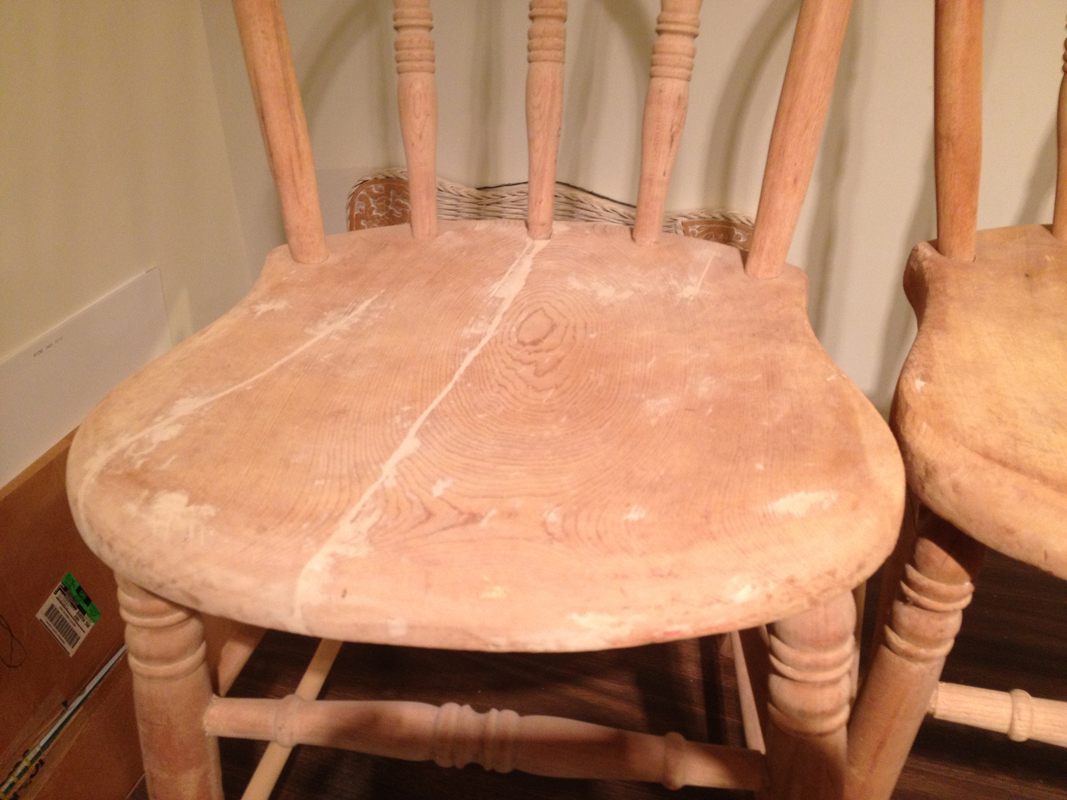
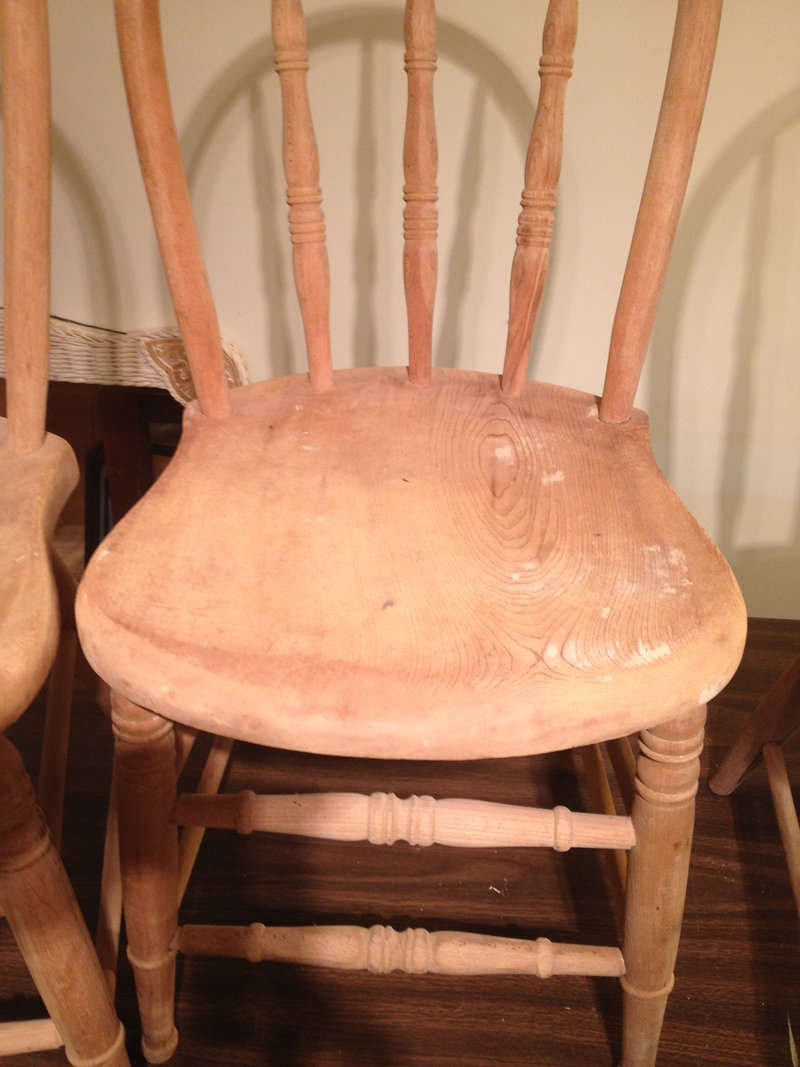
I’ve had these chairs in my basement for a while. I didn’t have a specific use for them when Dad gave them to me a while back. But I knew he didn’t have a use for them either, and he was clearing out, so I took them. They belonged to his grandfather, Pappy. Dad had gotten them stripped years ago and had tried repairing them, but they were in rough shape.
They would have looked absolutely horrible stained. And, to be honest, I was afraid they would even look bad once painted.
I sanded the chairs a bit first, since there were so rough, but sanding is rarely required with ASCP (depending on the surface).
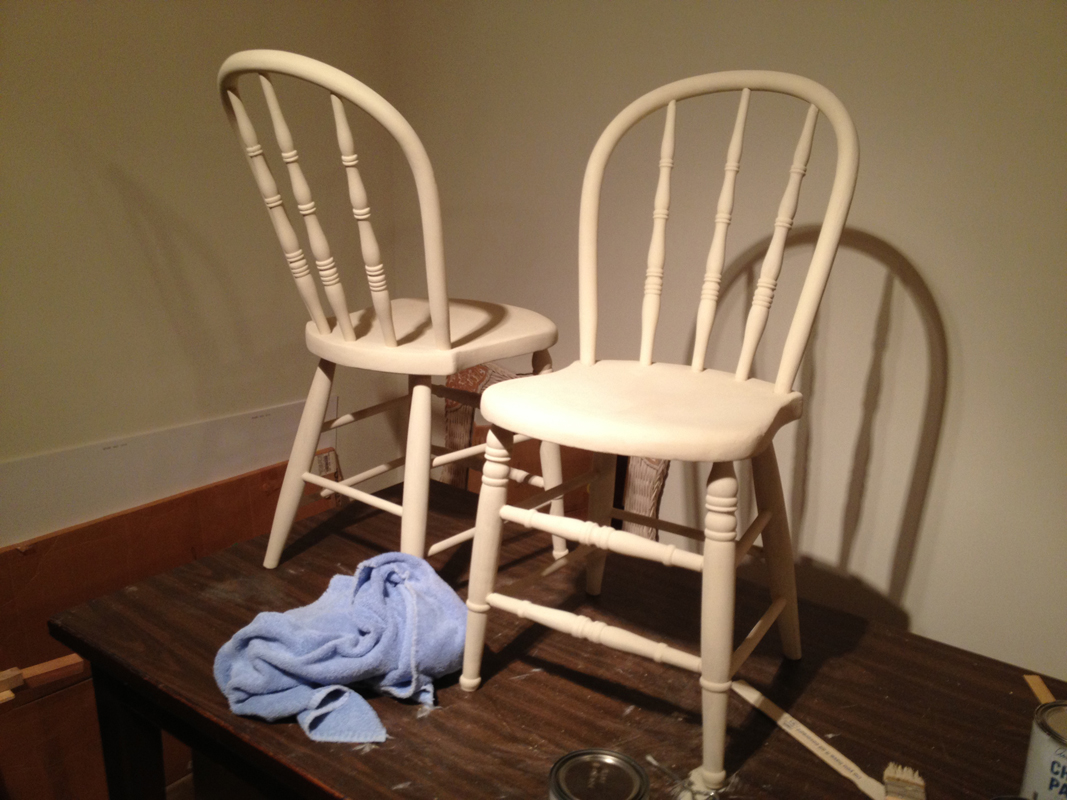
They actually took the paint quite well. Even though I was using a light color of paint — Old Ochre — you couldn’t see all the wood putty and other imperfections under the surface.
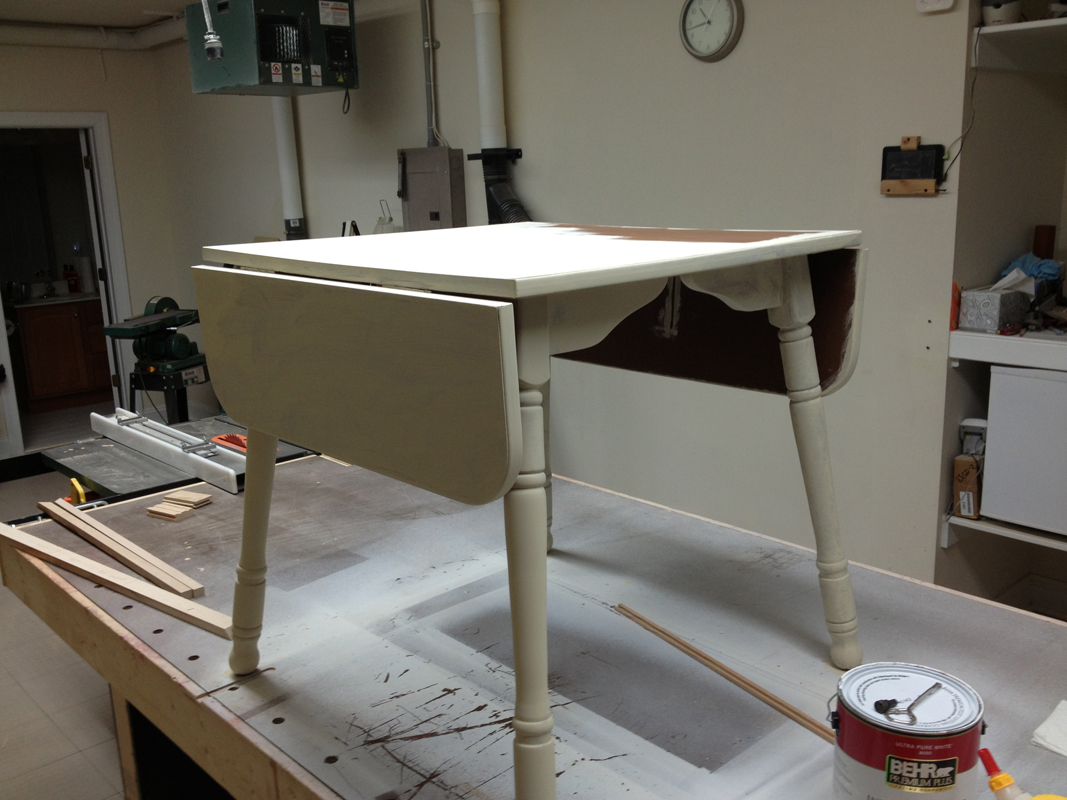
Ignore that Behr paint on the workbench. Hubby was using it for some other project. It is NOT on my furniture. It is his workbench, after all.
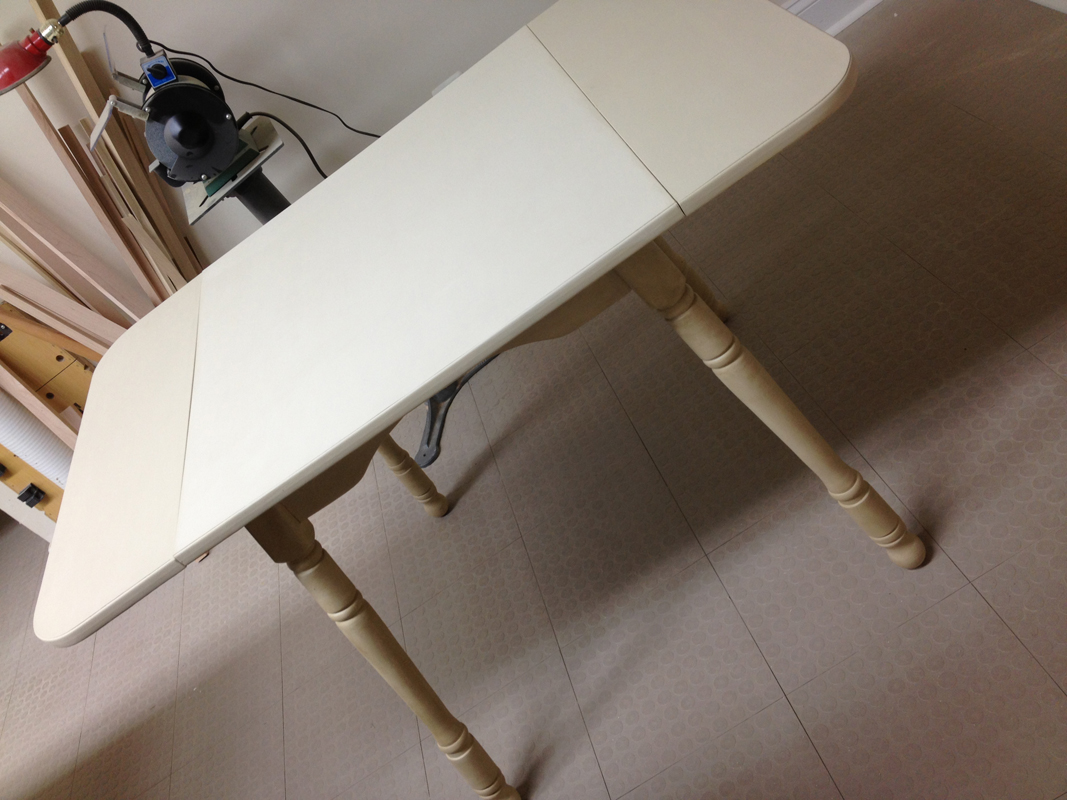
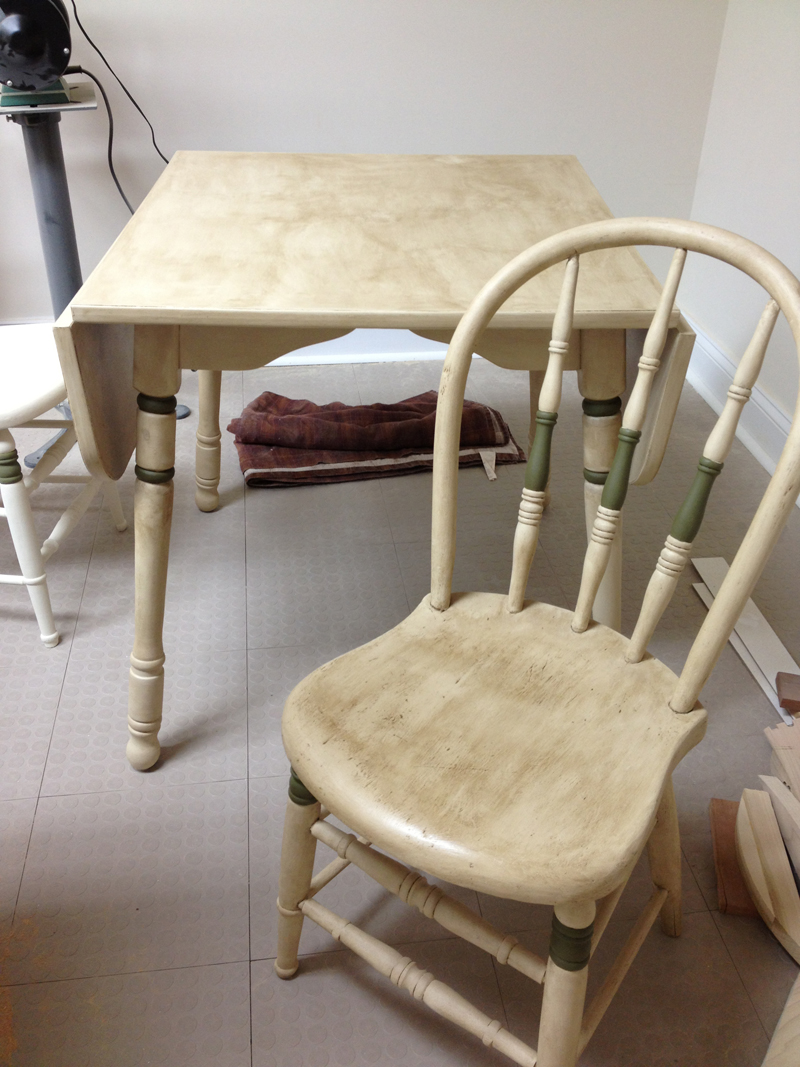
The table took the paint beautifully.

I had to take a picture so you could see the difference between one coat and two coats of paint (toward bottom).
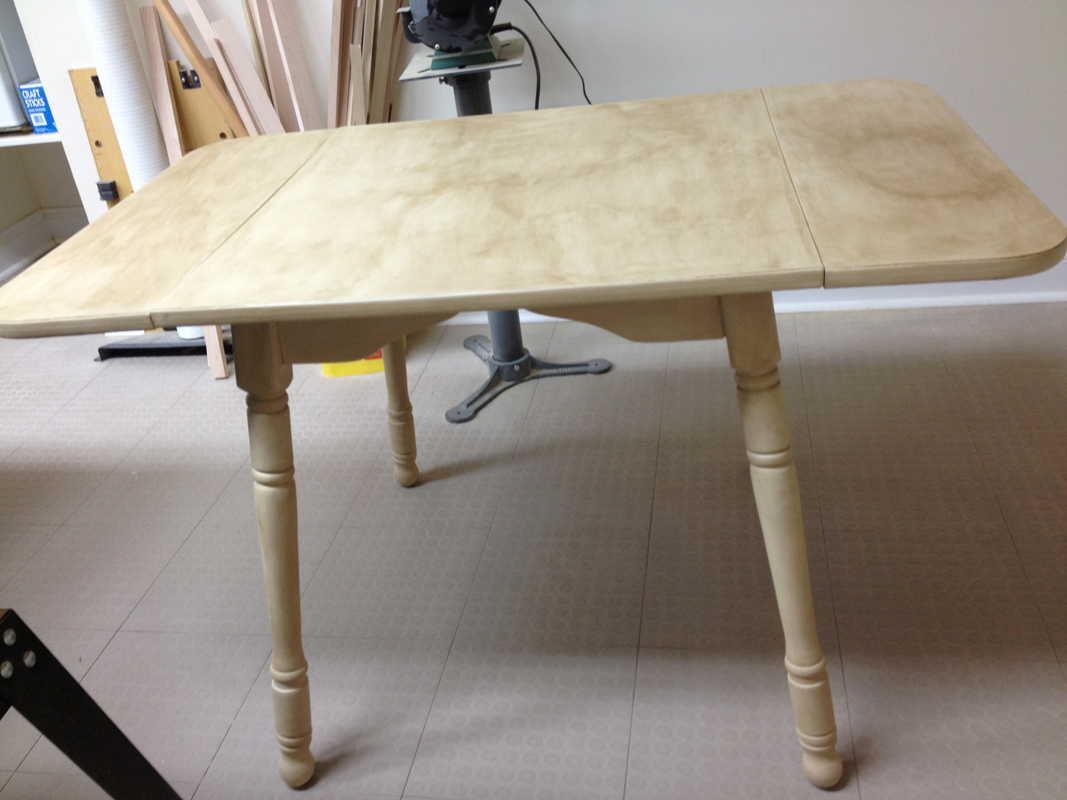
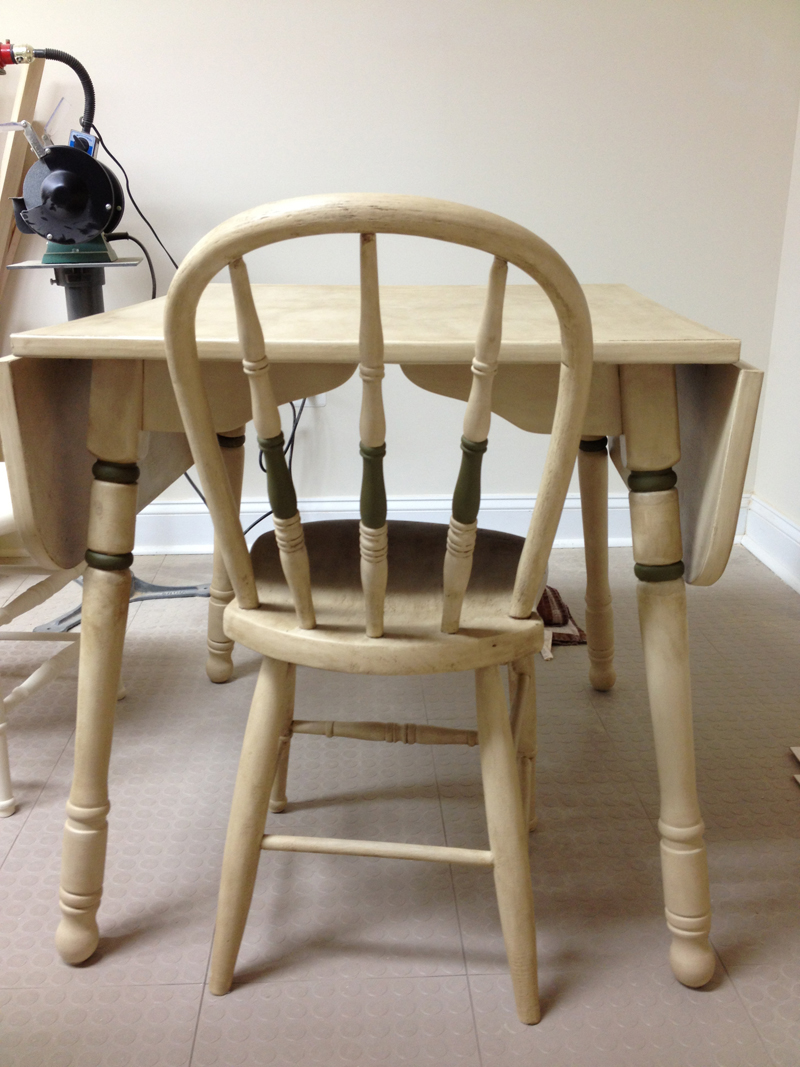
The table legs and leaves had already been treated with the clear wax. The larger surface of the table had not yet been waxed.

That shot immediately above shows the difference between clear wax and dark wax.
I could have left it alone after applying the clear wax, but I wanted a more aged look. So I applied the dark wax, too.
The table was done! Or so I thought.
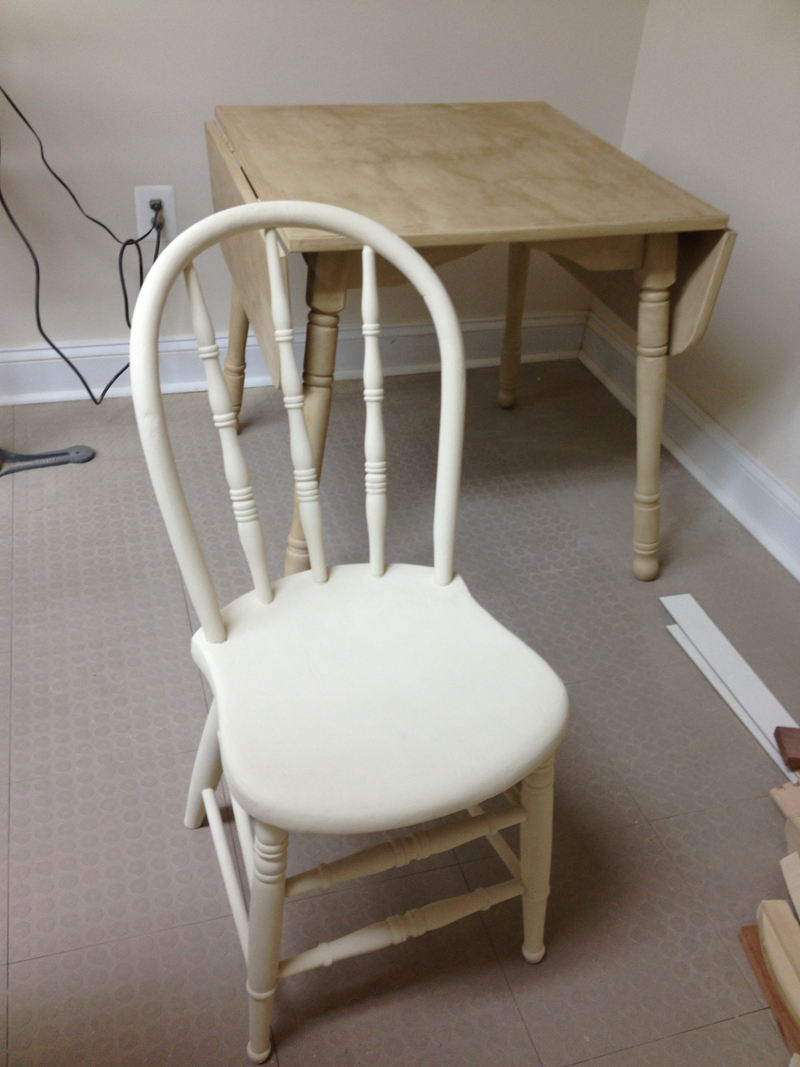
As I was applying the clear wax to the first chair, I couldn’t help but think it needed some color. Yes, the dark wax would be adding some color, but I thought it needed something else. I didn’t want to get too crazy with color, since this was being done for my Dad, but it was just missing something.
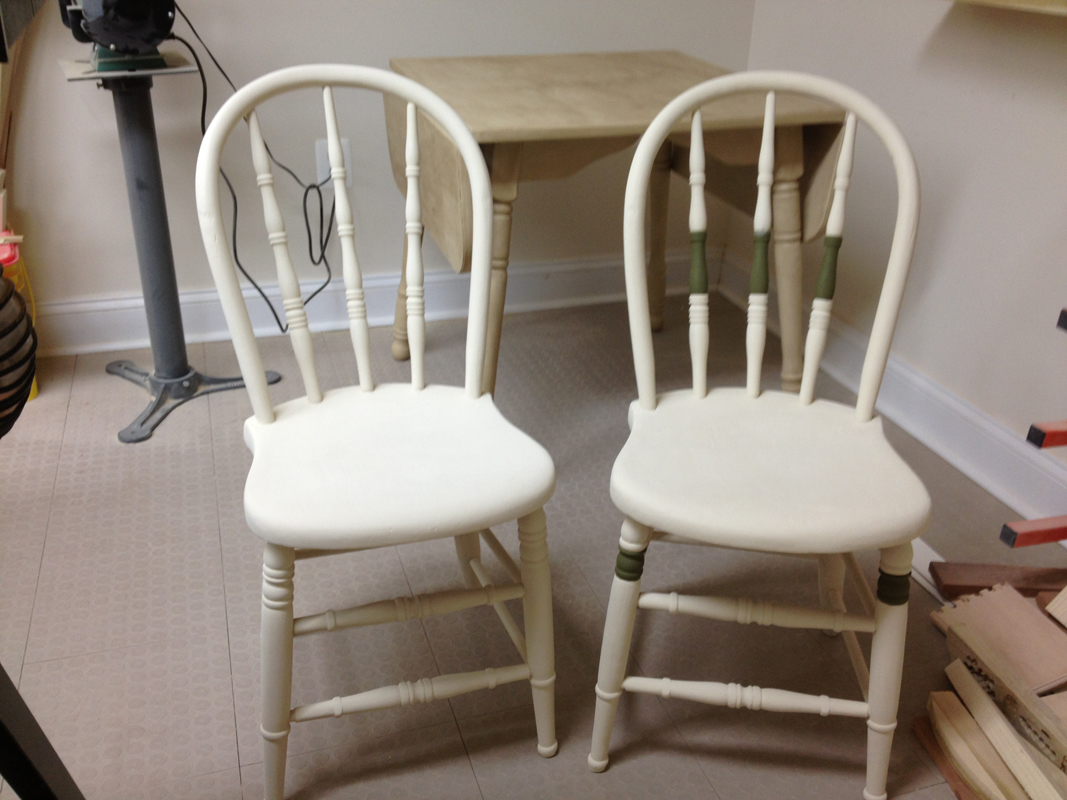
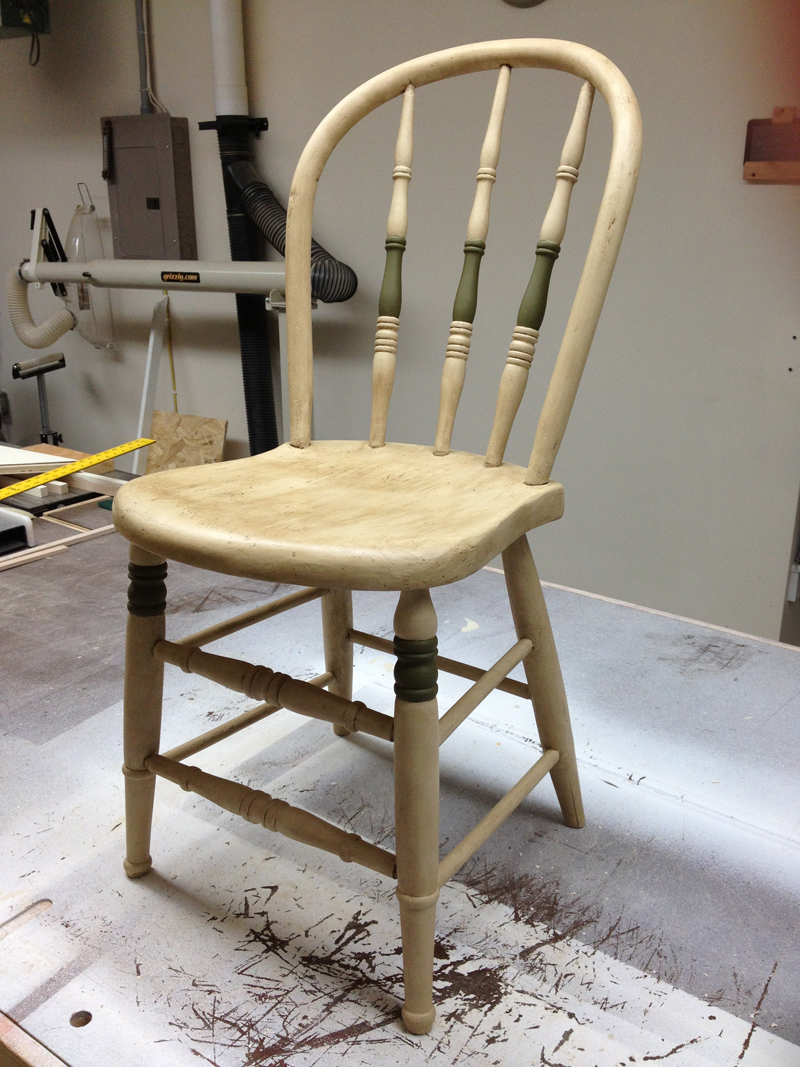
So I added a bit of Olive to the chair. I loved it. But once I sat the chair beside the table, I realized the table needed accenting, too. That’s what I mean about evolving…
Yep, that bit of Olive was exactly what the chair and table needed.
See how the dark wax gets in all the nooks and crannies, highlighting the imperfections. That’s what adds character. If you are looking for a cleaner, more-modern, or more-finished look, don’t use the dark wax.
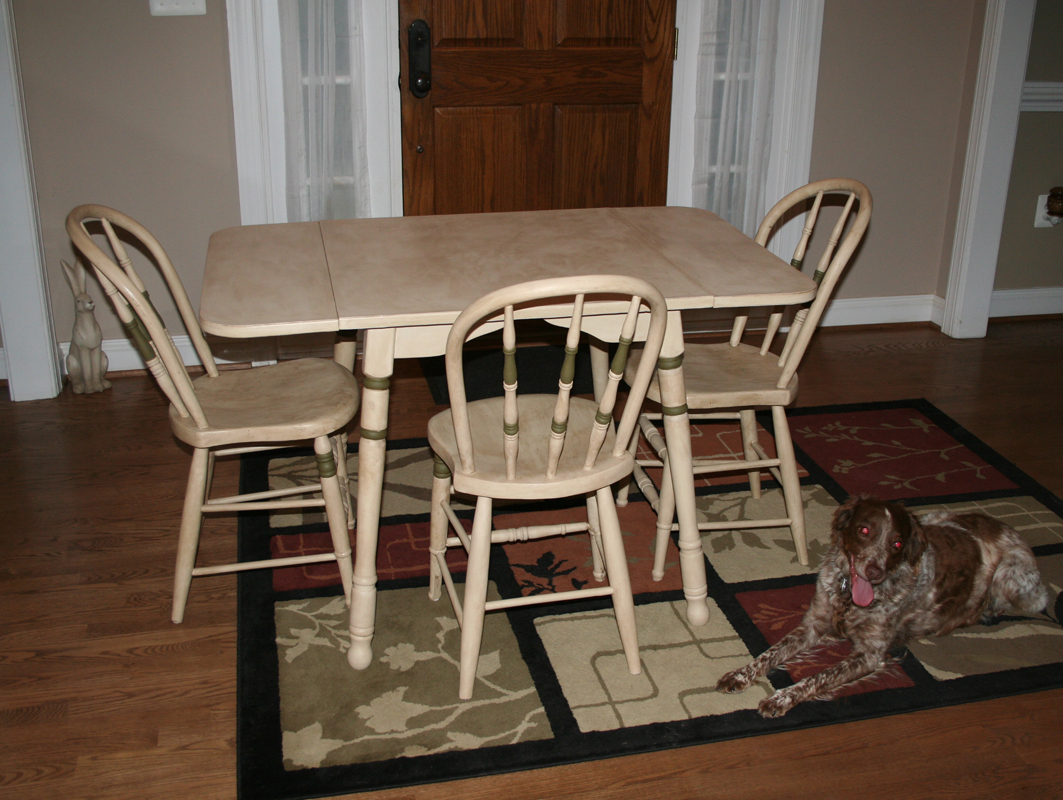
I really do feel as if I just finished an art project. Not to say that this is a masterpiece or anything, it just feels like I have given these things new life. I mean, you can’t deny the transformation.
I did remove some of the dark wax from the top of the table before pronouncing the project complete. I liked the look, but a table-top should look clean. And I thought it sort of looked grungy.
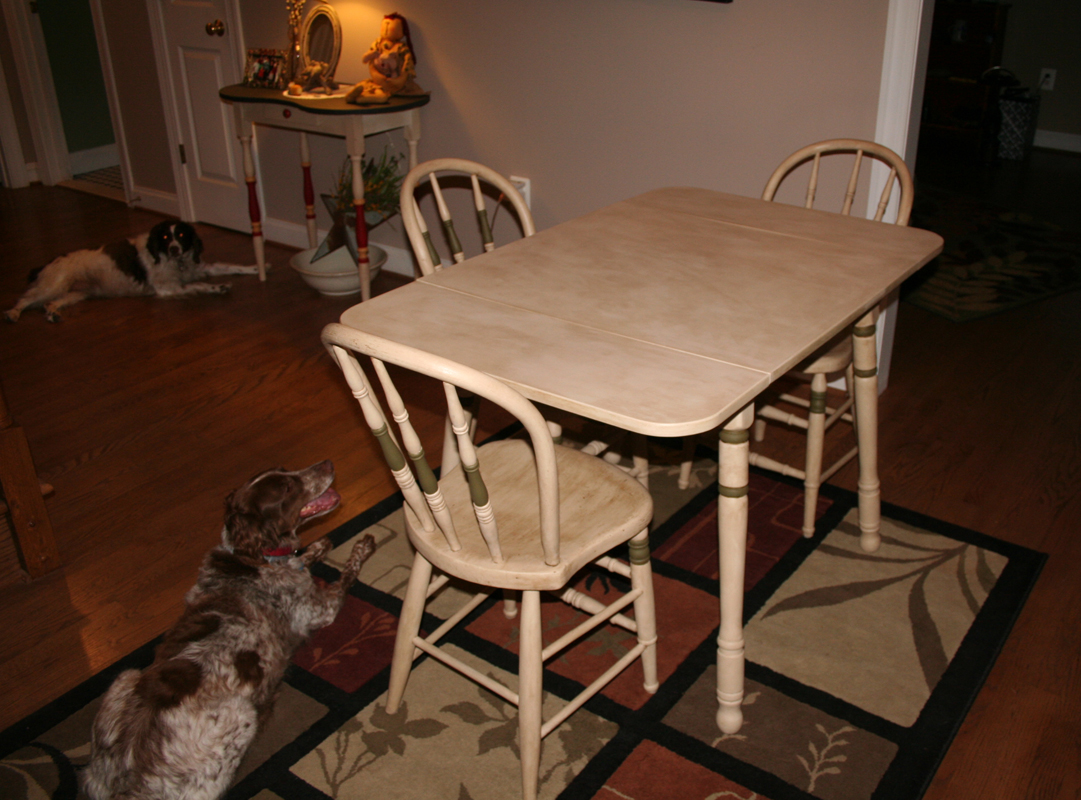
How cute is that? 🙂

The most-important part? Dad really likes his new-to-him table and made-over chairs.
Now you know how it’s done. What do you think?
Great walk through on the paint job…
Thanks, KA. It’s fun watching the pieces transform and never knowing for sure what direction you’ll take until you get there.
Shared on Facebook….Twitter and Annie Sloan pages…BRILLIANT!!!!!
Janet xox
The Empty Nest
Great job on the transformation. I think I would have given up frustrated before the table was done.
I really like the look of the dark wax. Very nice!!
Thanks, Brandy. I do get frustrated sometimes as my projects always seem to take far longer than I think they should!
It looks awesome! I wonder if I can get that paint up here in Canada, need to look into that.