Are you ready?
It took a while. First, I had to decide on a color. Then I had to make the time.
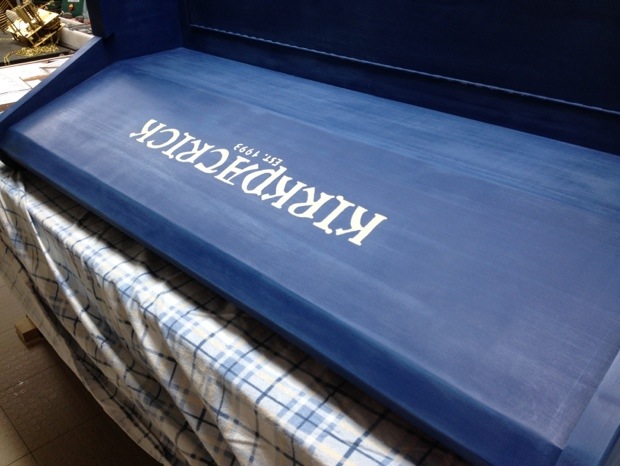
Originally, I was going to do the bench in black. Or red. Or some combination of the two. But then I decided to borrow a blue from one of my lighthouse images.
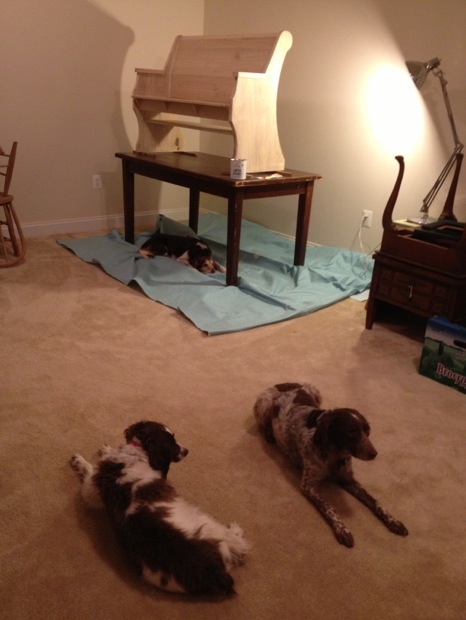
This is what I started with.
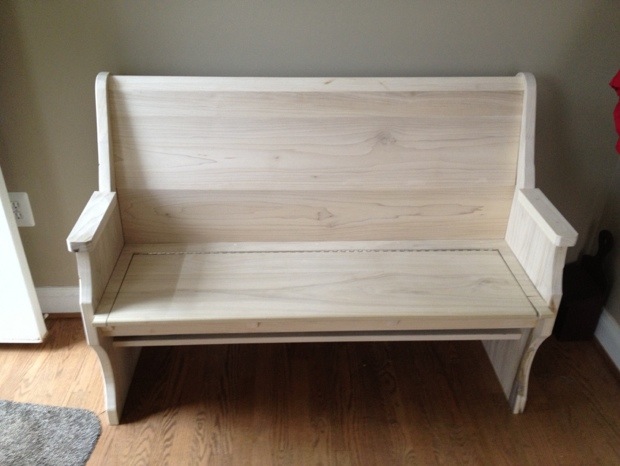
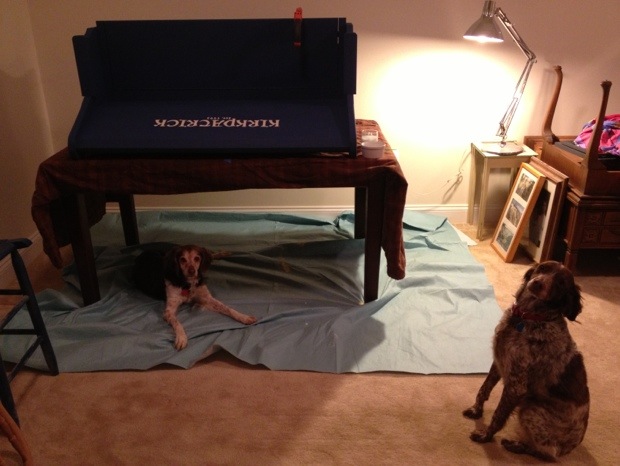
Hubby is very proud of this bench. As he should be. He designed and built it from scratch. Using raw, un-milled lumber.
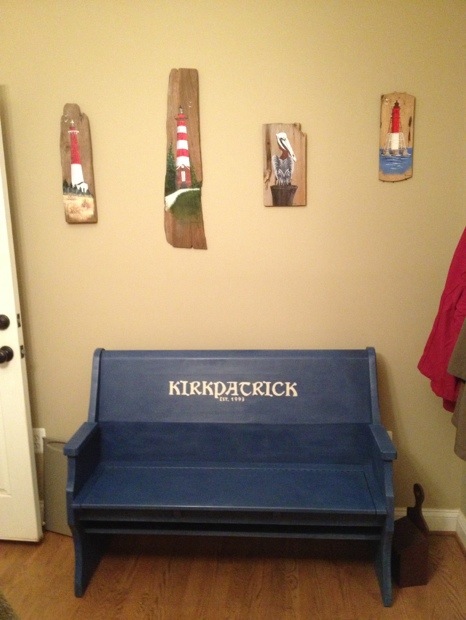
The shoe compartment is quite clever, don’t you think?

It makes that corner of our breakfast room much more orderly. And that’s just what he wanted.
I didn’t use any special techniques. It’s just Napoleonic Blue Annie Sloan Chalk Paint finished with Clear Wax. I sanded it lightly after waxing, intending to apply Dark Wax, too, but I like the way it looks as it is.
The thing I like about painting items is that they evolve as you paint. I hadn’t planned on adding any decorative elements. And I thought I was going to make the armrests white.
At the last minute, I decided the armrests should be the same color as the bench. The more I looked at the bench, the more I thought it needed some sort of design. So I decided to stencil our name on the back, along with the year we were married.
Of course, I didn’t have any stencils, so off I went to see Janet Metzger, my favorite ASCP Stockist, to get some letter stencils.
She didn’t have any in the size I needed. I told her I’d just run to Wal-Mart, but then she said, “You don’t need a stencil. Just do your letter on paper, rub chalk on the back, and trace on the front to transfer the stencil.”
It sounded easy enough. But after I did what she said, I ended up with a scary, chalky mess.
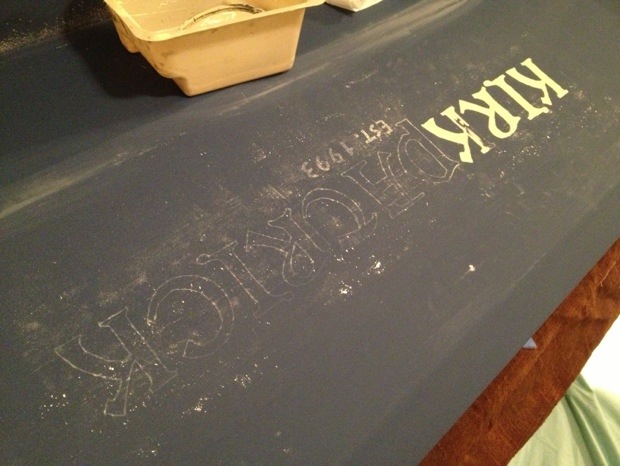
Honestly, at that point, I was scared that I’d wrecked the piece. Or at least did enough damage to require another coat of paint.
The outlines were there, though, so I pressed on. I had to do some freehand painting to fill in the letters, which was a slow process requiring a steady hand.
When I was finished, and sure the paint was dry, I cleaned the bench off with a barely damp paper towel.
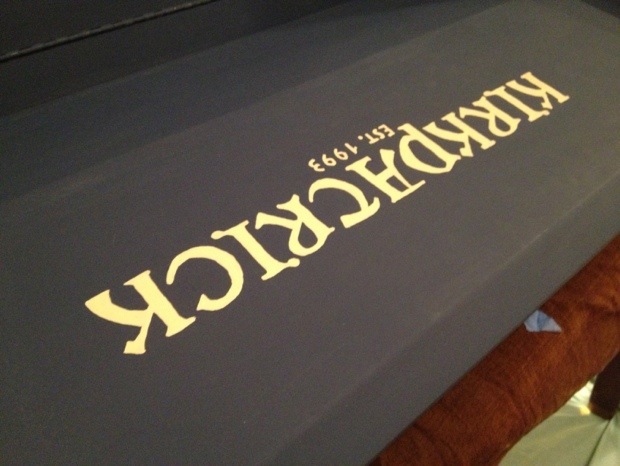
Then it was time for wax.
I am really very pleased with the end product.
And here’s the bench, again, in its place.
Do you love it as much as I do? 🙂