Those of you new to this blog, or have only gotten to know me recently, may not know that Hubby and I built the WV Place ourselves. From scratch. Mostly during weekends over the course of four years (2005 to 2009). We did hire folks to do major stuff like clearing, grading, installing the septic system, and finishing the concrete slab, but we did most of the work. With some help from friends and family along the way. It’s all documented here.
We’re no strangers to construction-type stuff. But we’ve had our fill. That’s why seeing the damage was disheartening, but not completely overwhelming. And Hubby had a really, REALLY cool tool to make the labor easier. Stay tuned…
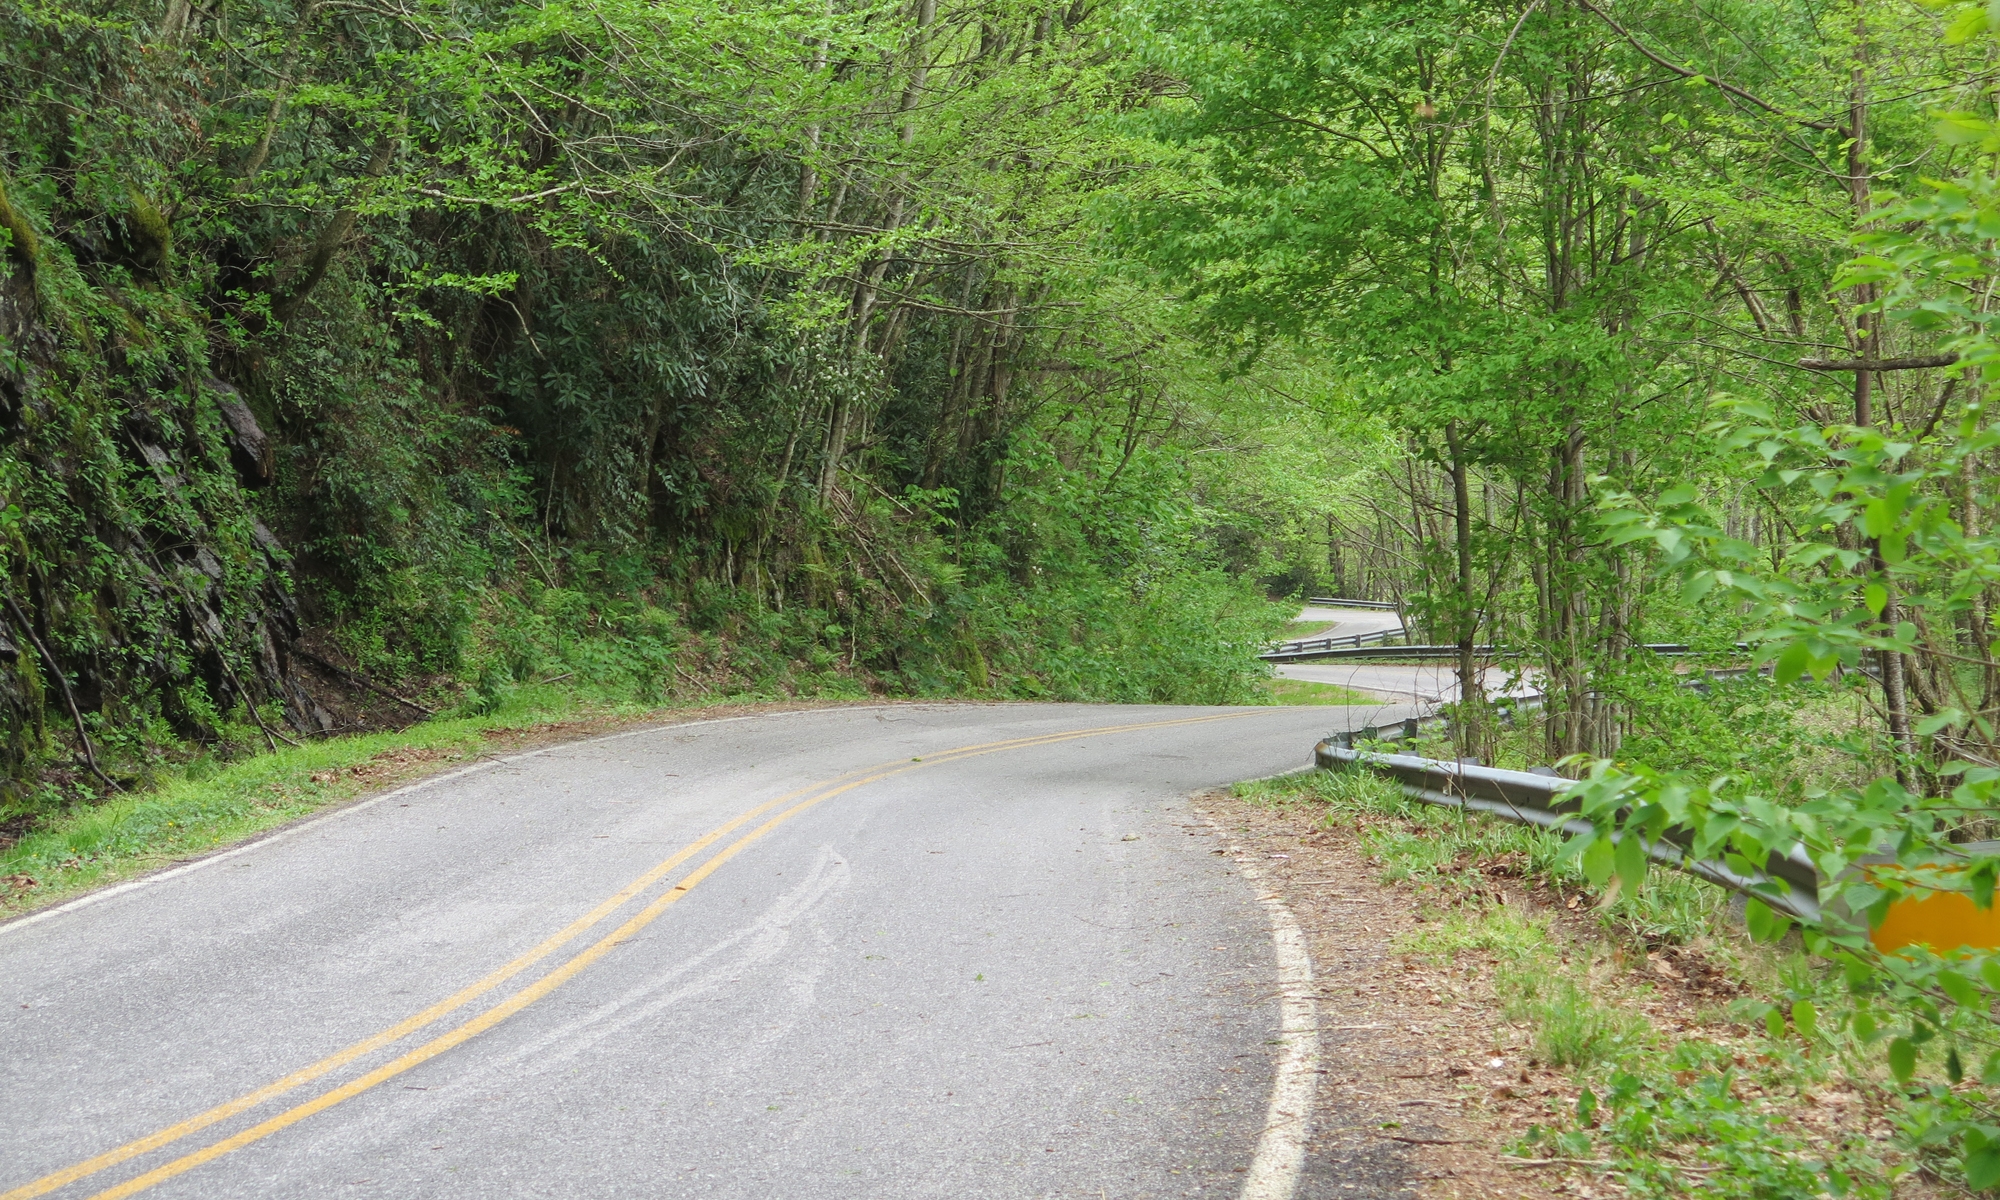
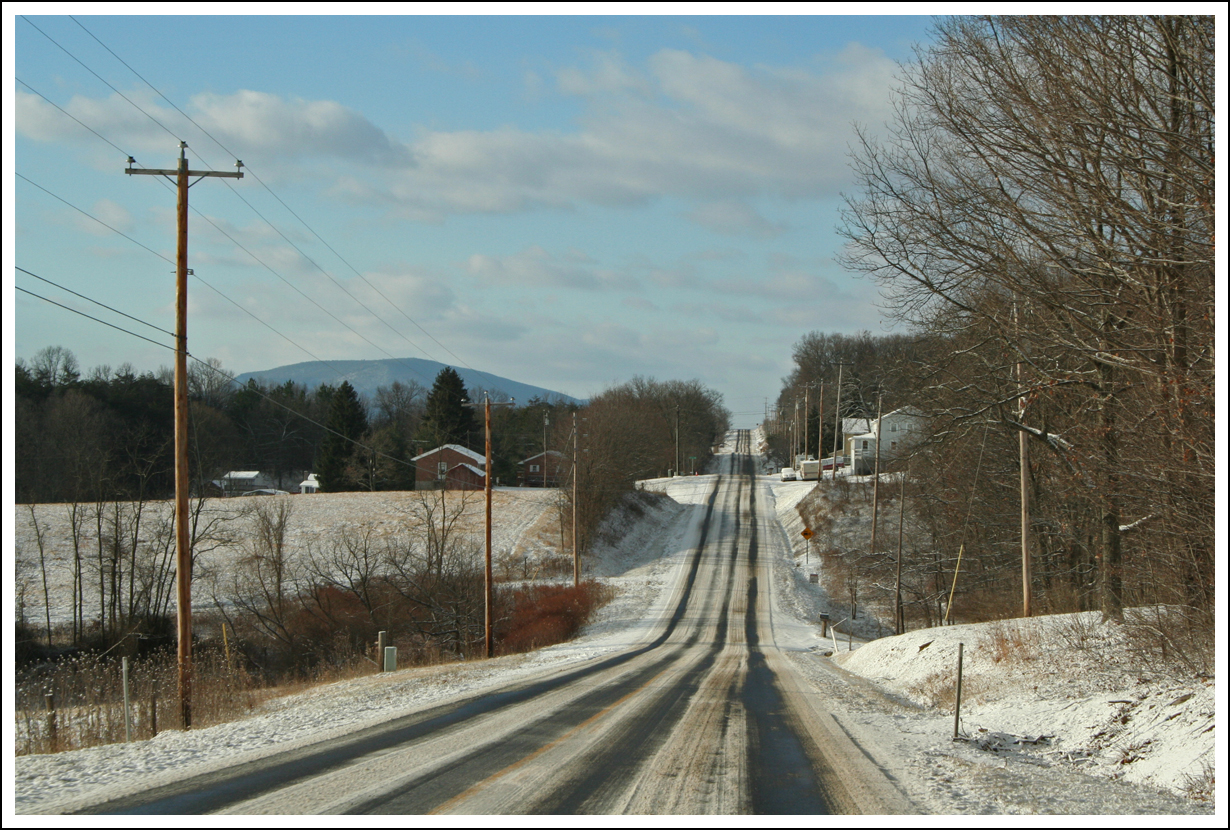
The drive up on Saturday was actually pretty…
…but also a bit slick.
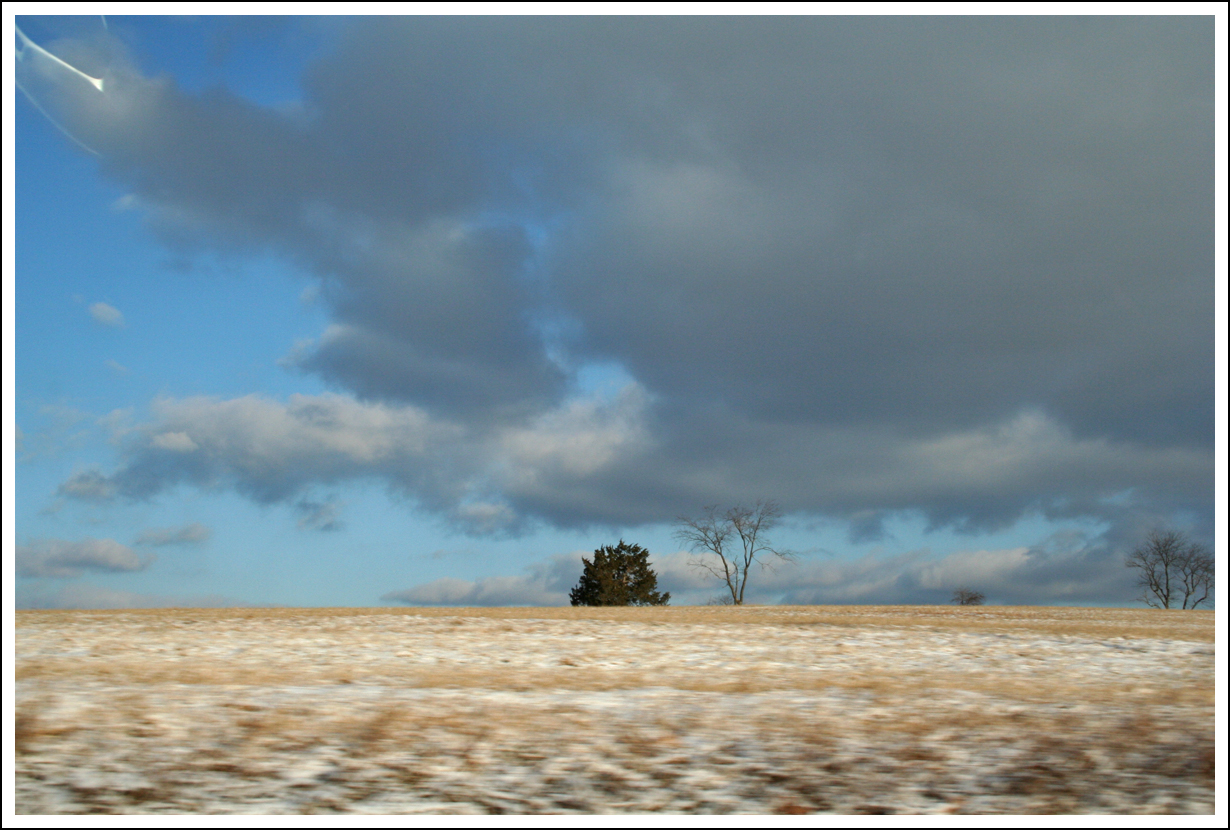
I’m a sucker for wintry skies.
The ride was uneventful. We arrived safely, unloaded all of our stuff, and started work.
Step one, for me, was taking pictures to share with you. There are a lot of them. It felt like old times when, during the construction process, I pretty much documented the whole adventure.
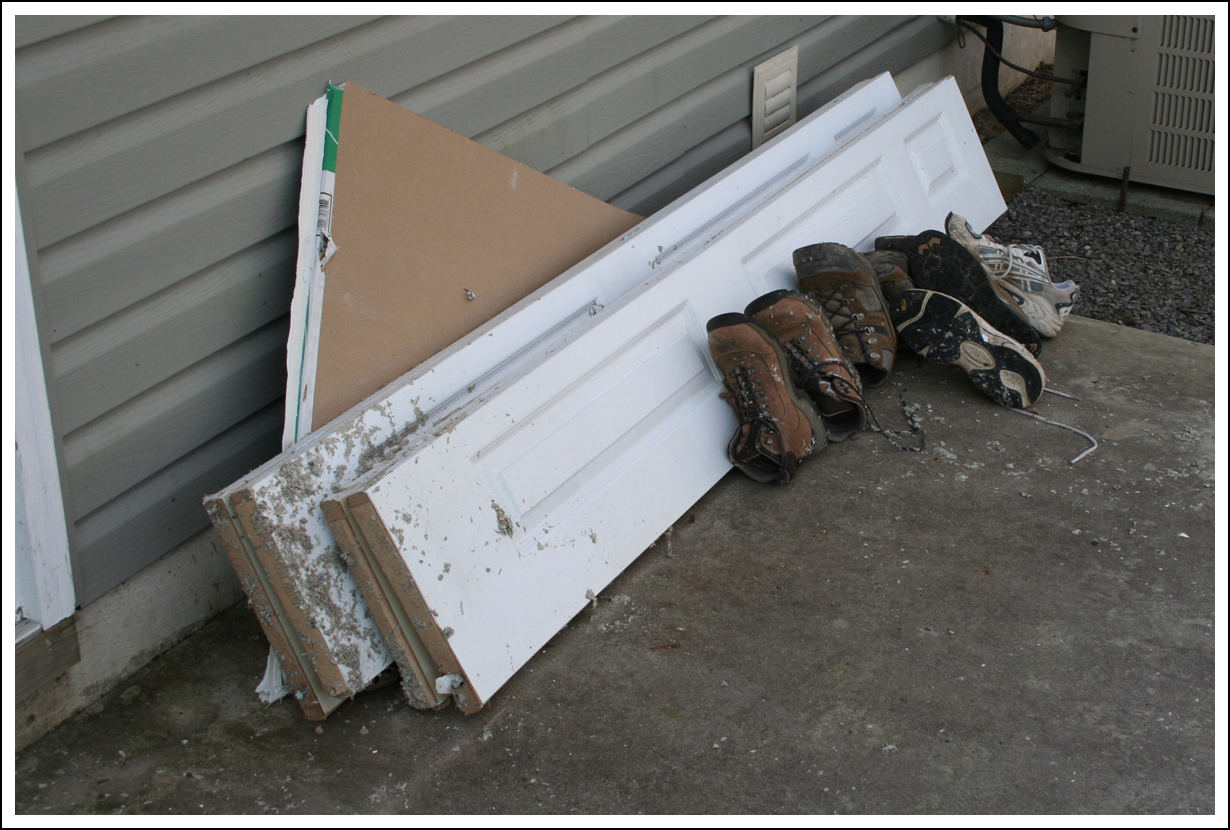
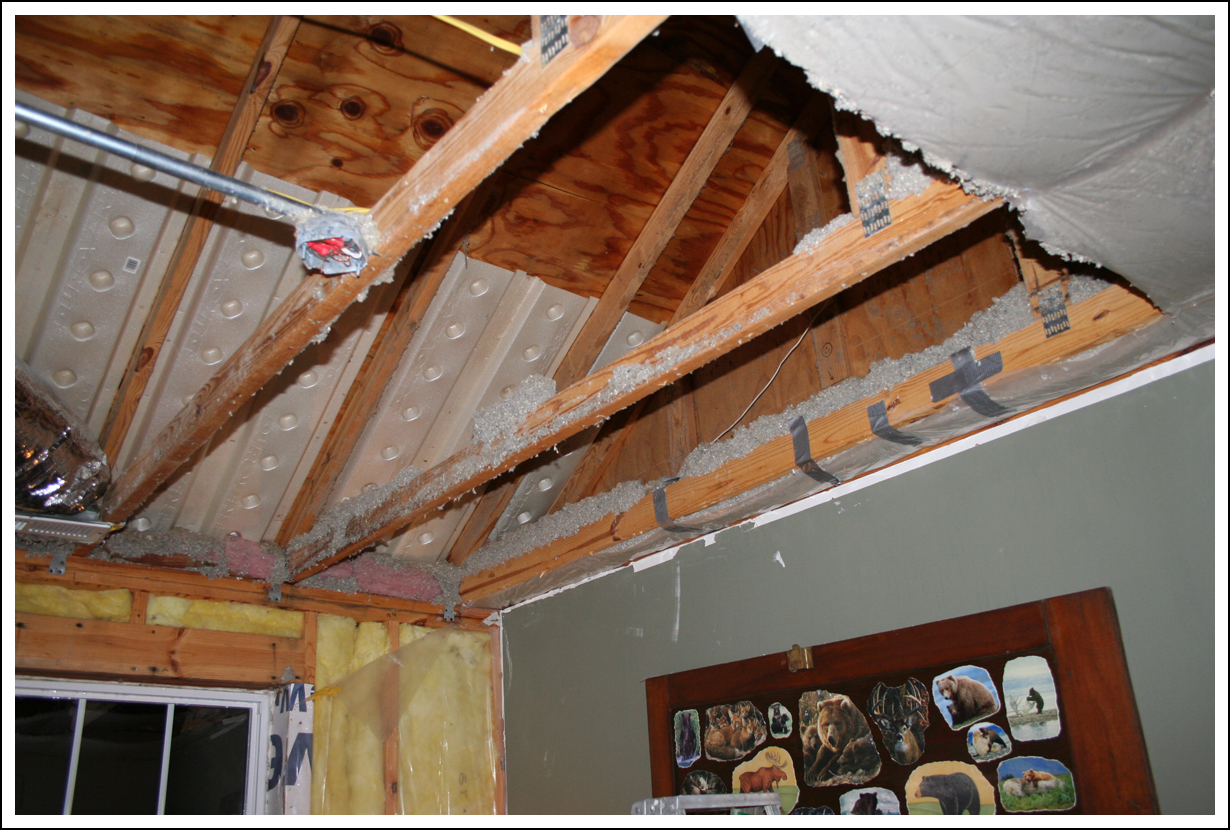
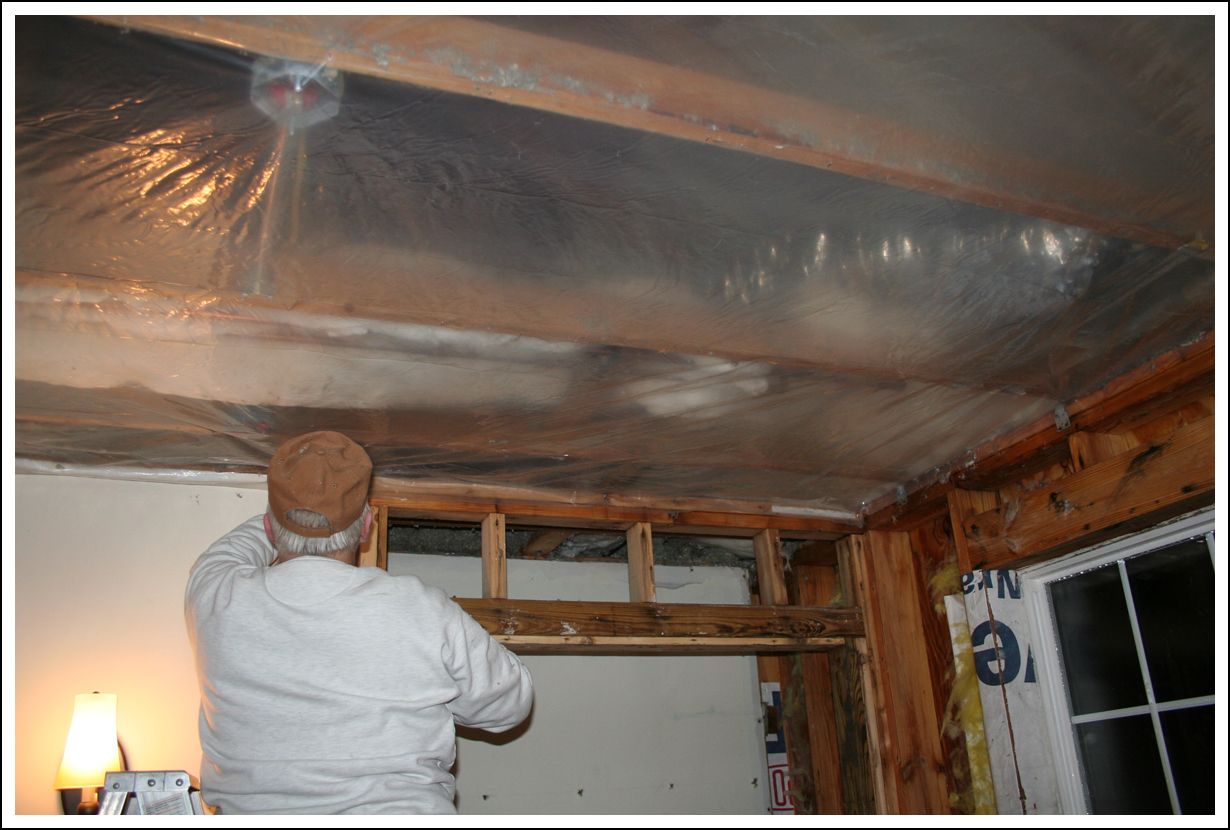
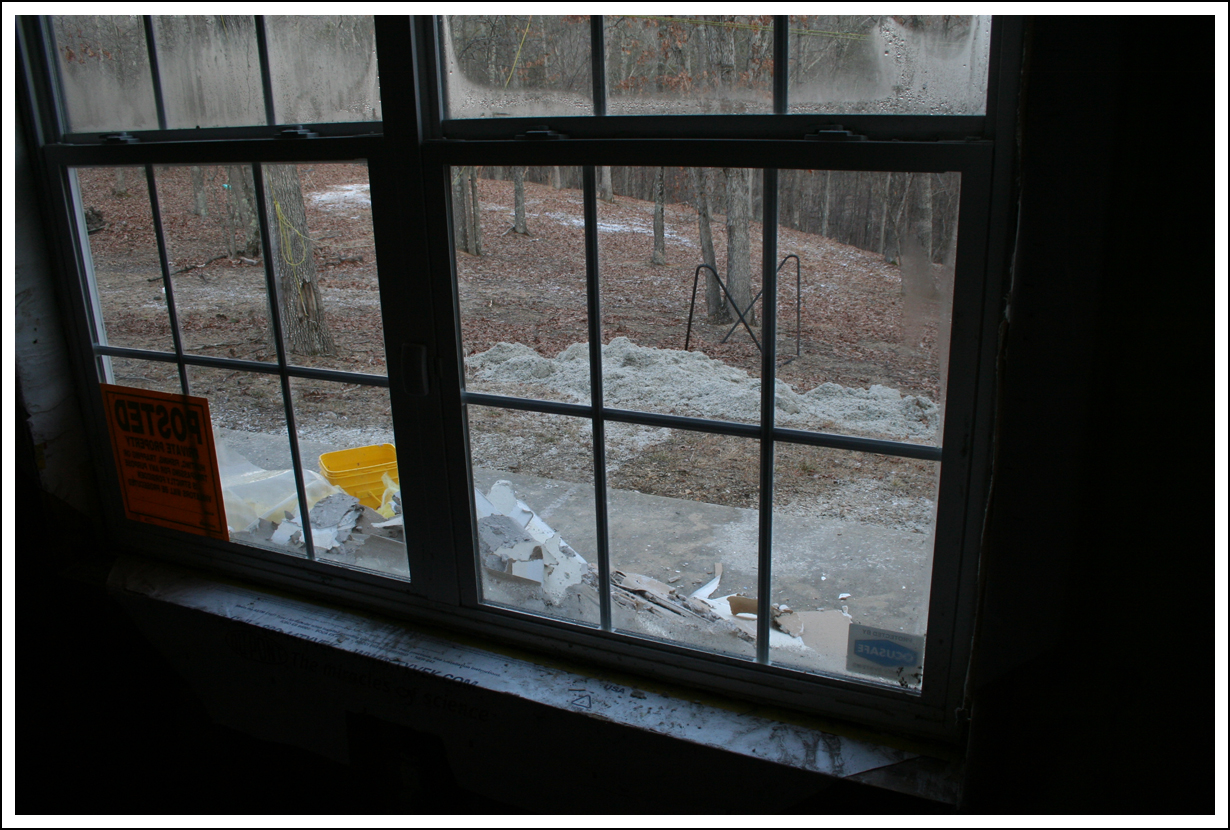
Here’s what the place looked like when we arrived.

Some of the sheetrock was already down. What you see missing in these first pics is what fell during the leak and the couple danglers Hubby removed during his previous visit.
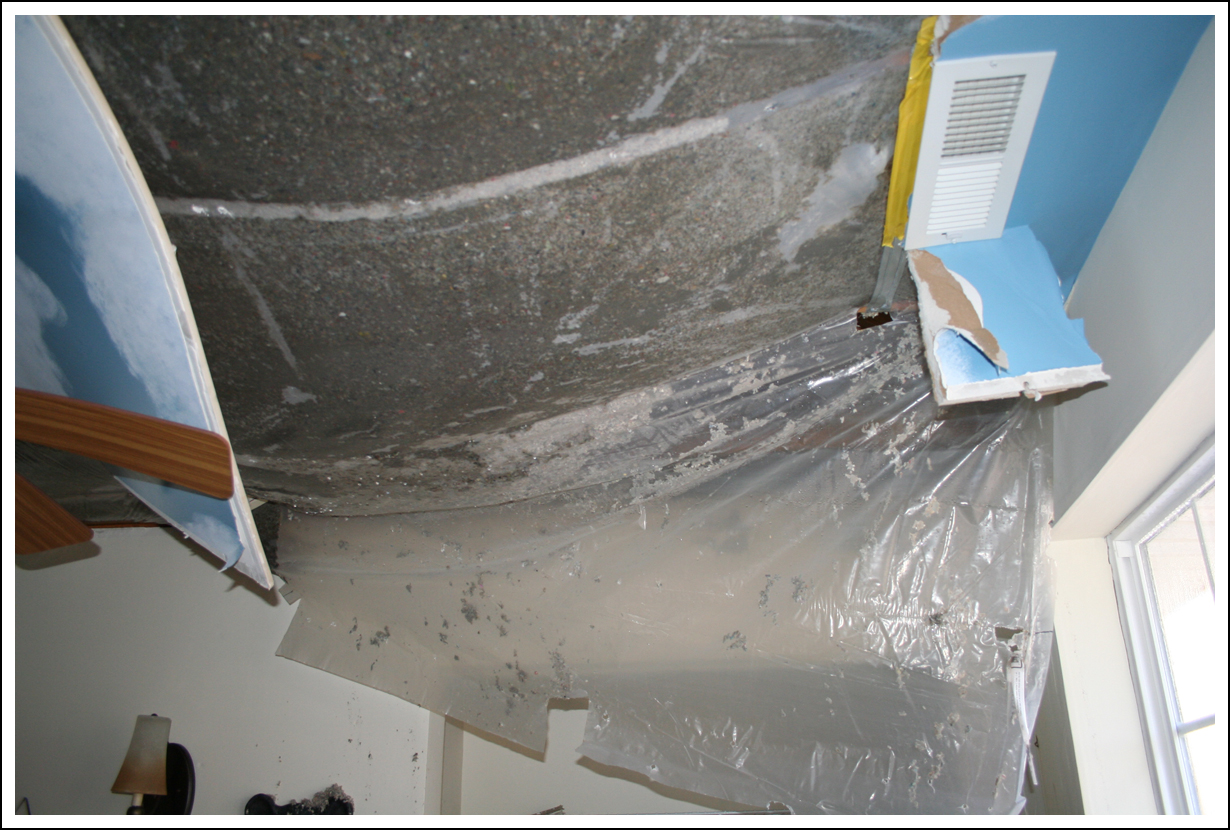
If there were still a bed in the room and I was laying on Mike’s side, that would be my view.
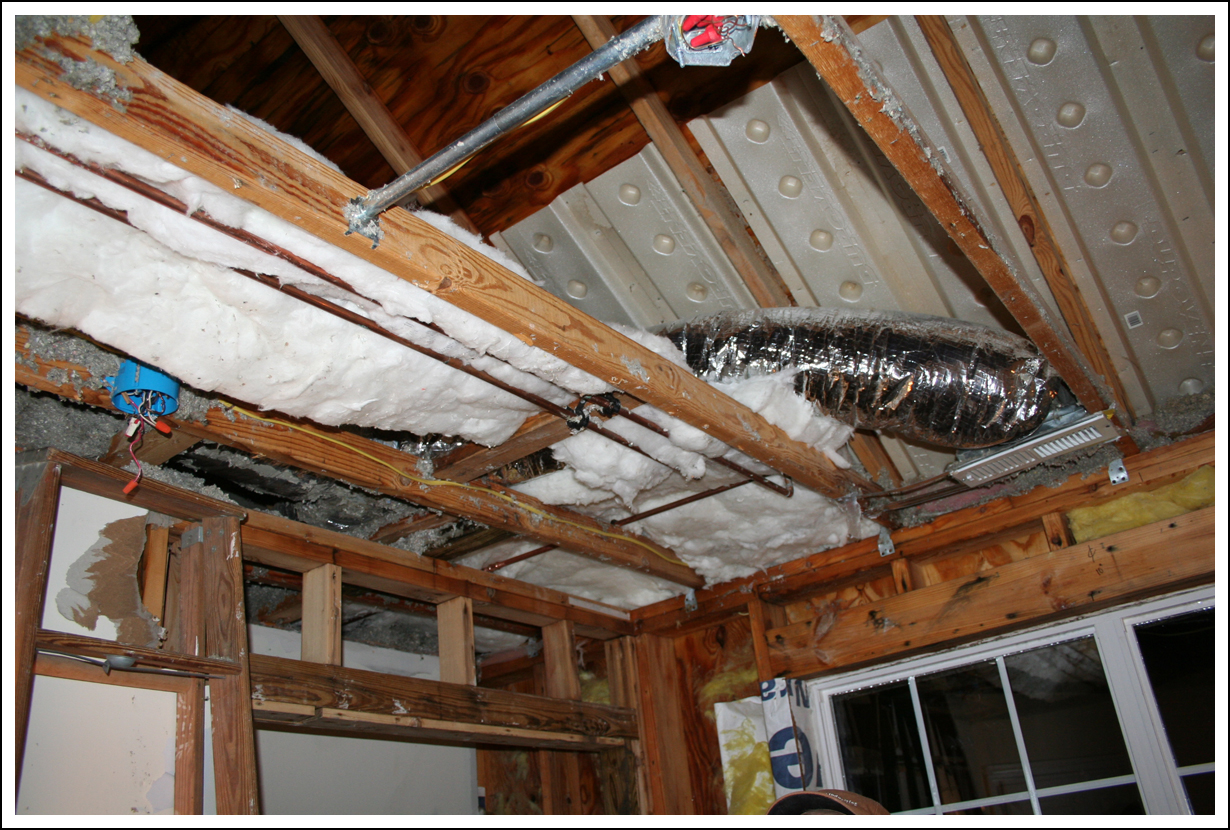
Our first objective was to find the location of the actual leak(s).
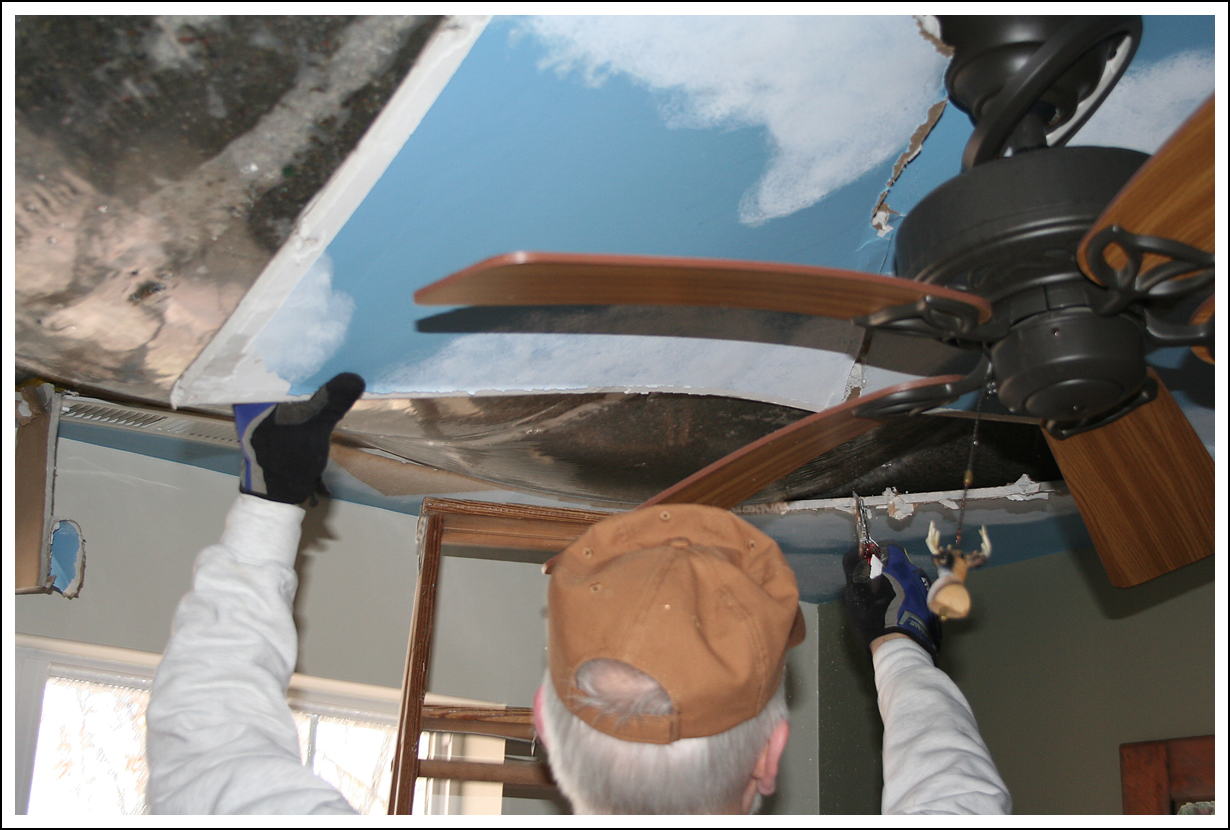
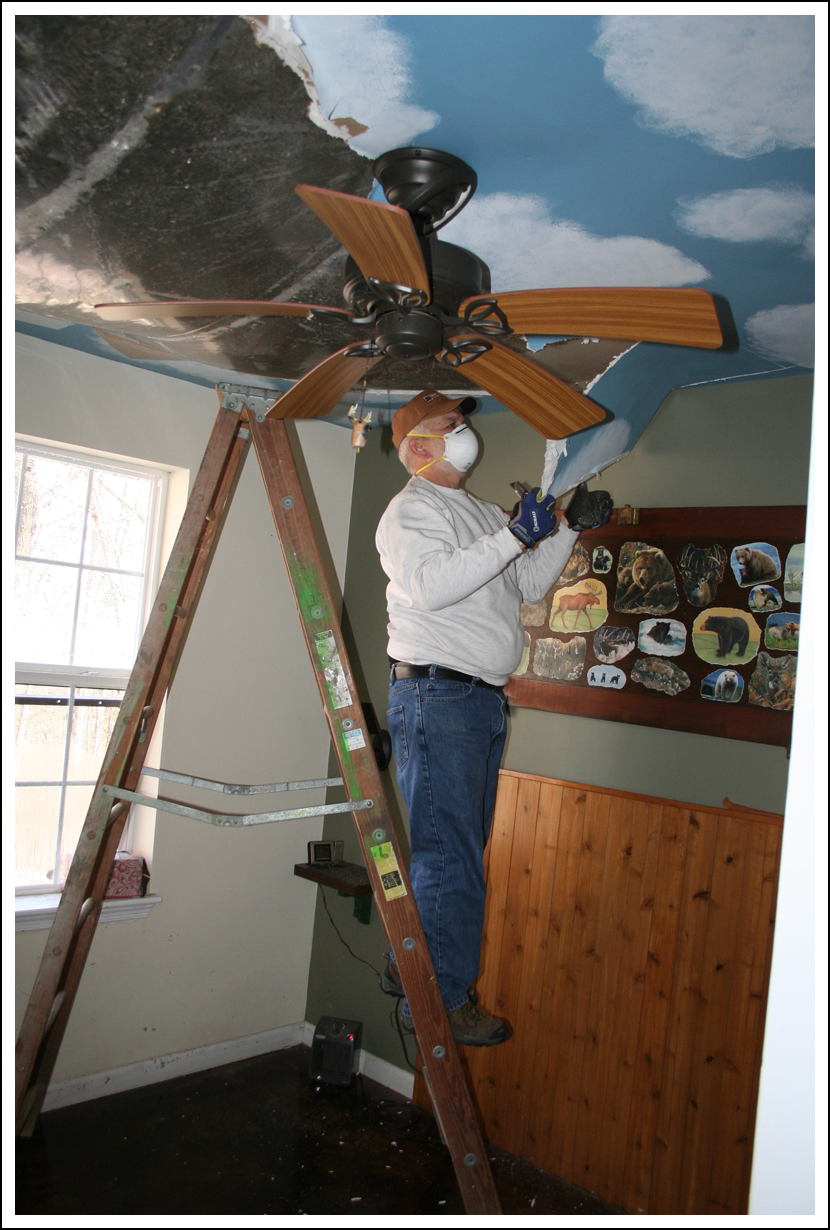
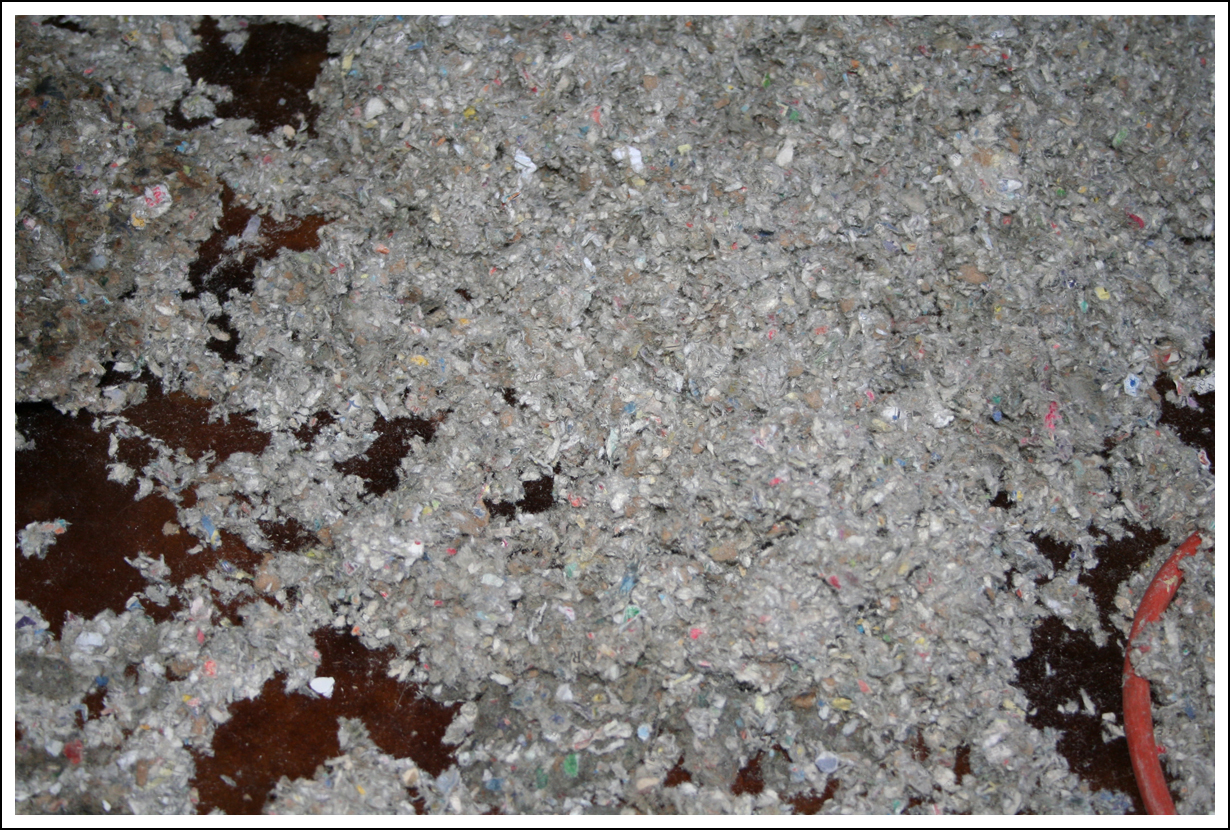
Removing the saturated sheetrock wasn’t very hard. And only a little messy. Cutting the plastic to release the insulation was the REAL mess. It’s blown-in cellulose, which is essentially pulverized newspaper. Messy, but non-toxic. And very dusty.

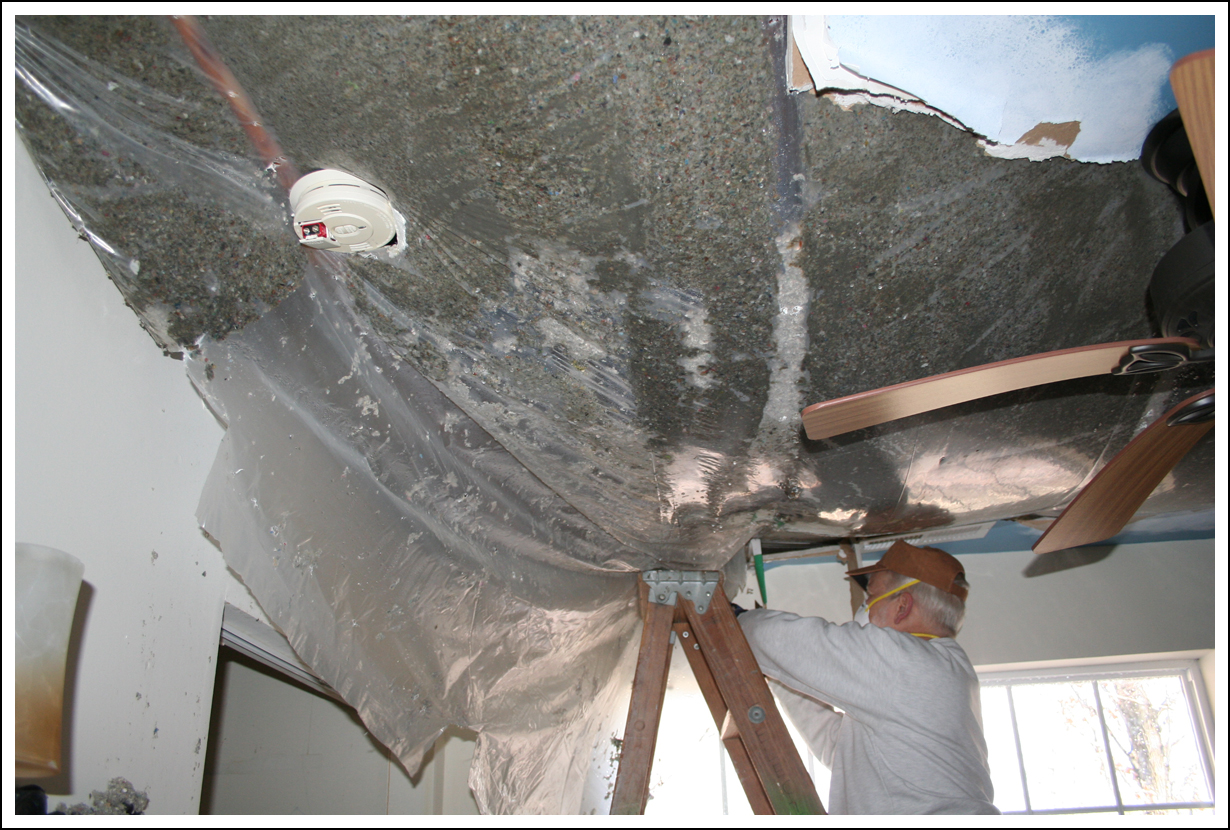
That’s what it looked like coming down.
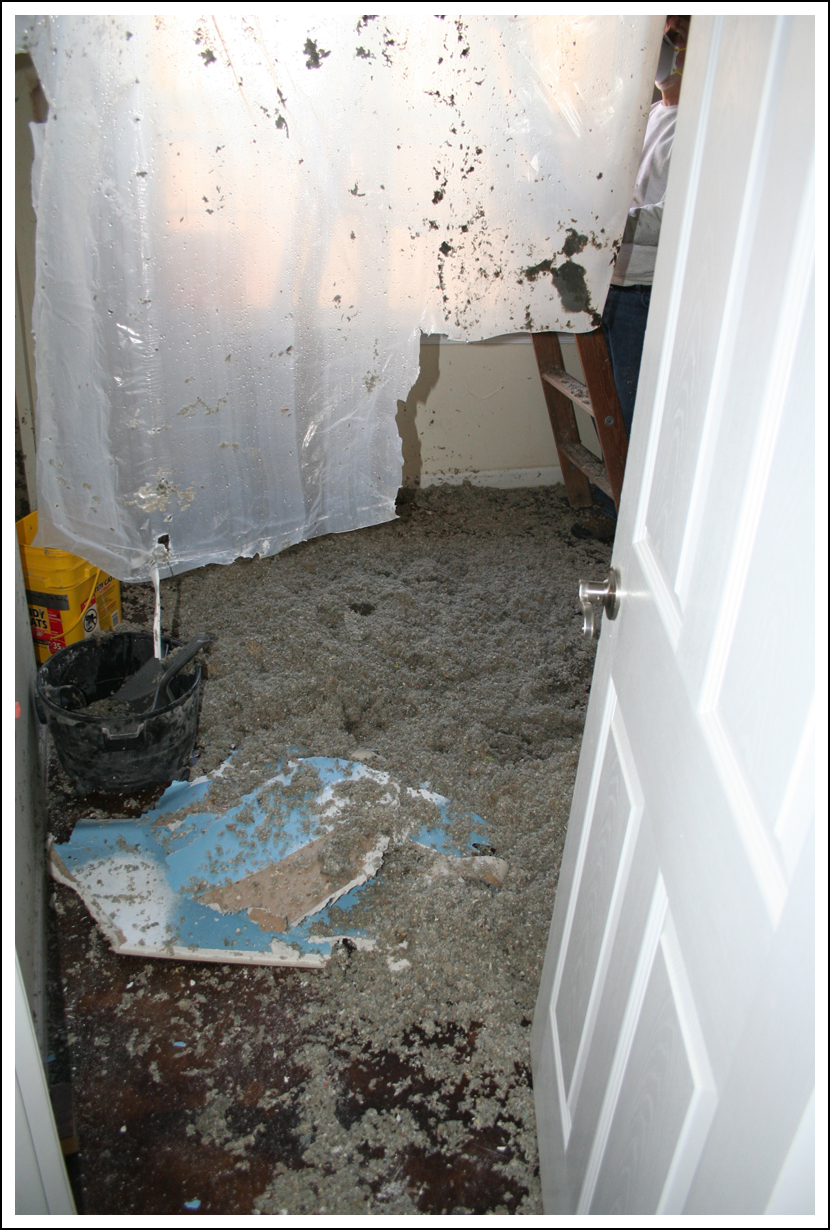
Messy, messy, messy. But we were prepared…

Hubby does the hard work, I do the simple stuff. Which usually means clean-up, acting as go-fer, providing moral support, fetching stuff, etc. All very important, of course, just not real glamorous.
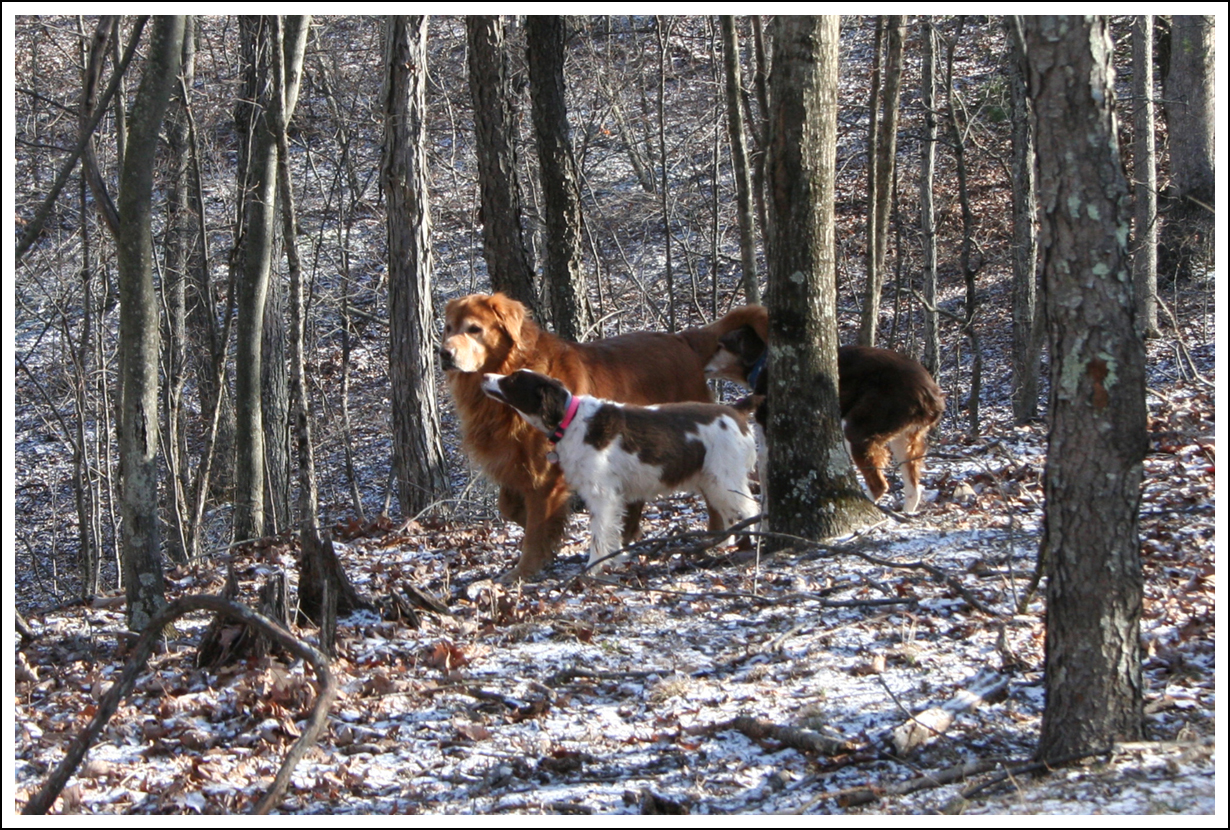
While we were working, the girls were having their fun outside. Meg went and got her friend, Buddy. We hadn’t seen him in a long time and were all happy he came by to visit.
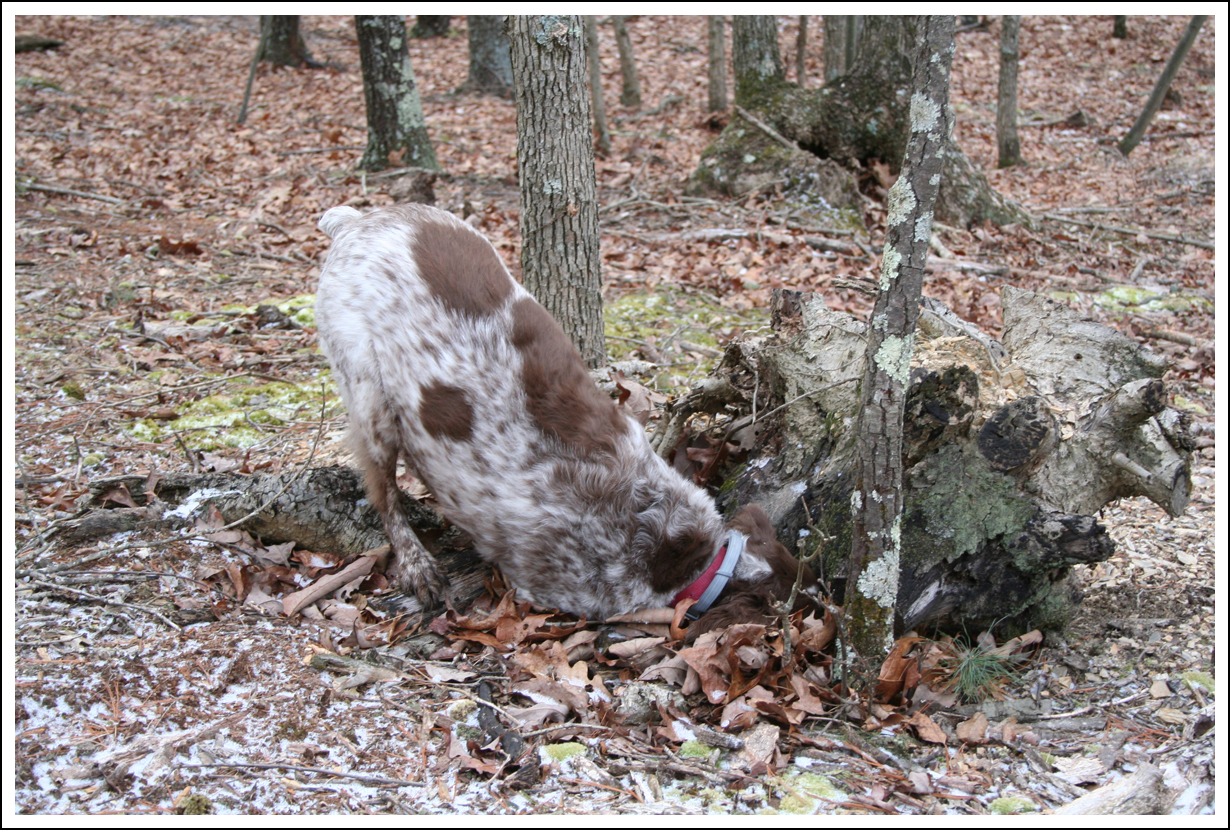
K found a treasure, too, which I promptly took away from her.

Treasures like that are usually very stinky (this one was quite frozen), so I hate putting them in the trash. So I usually just hang them out of the girls’ reach.
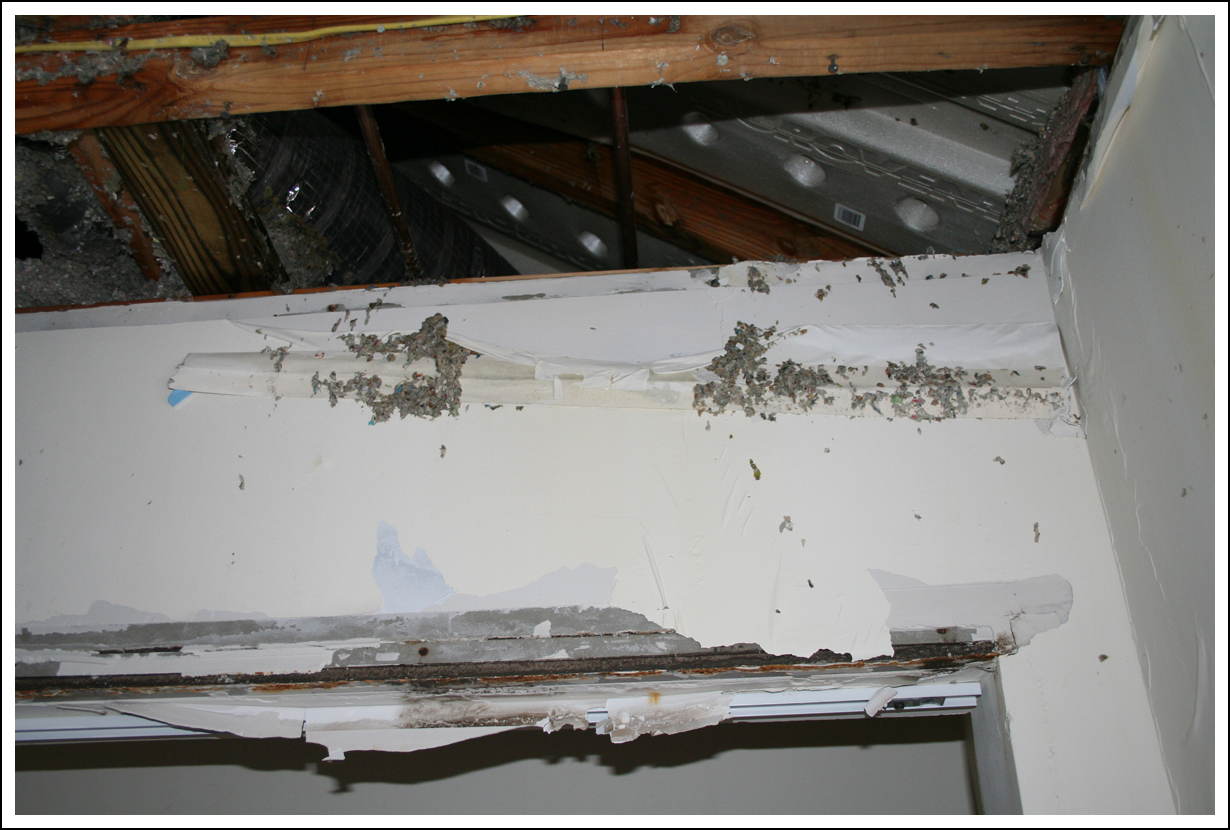
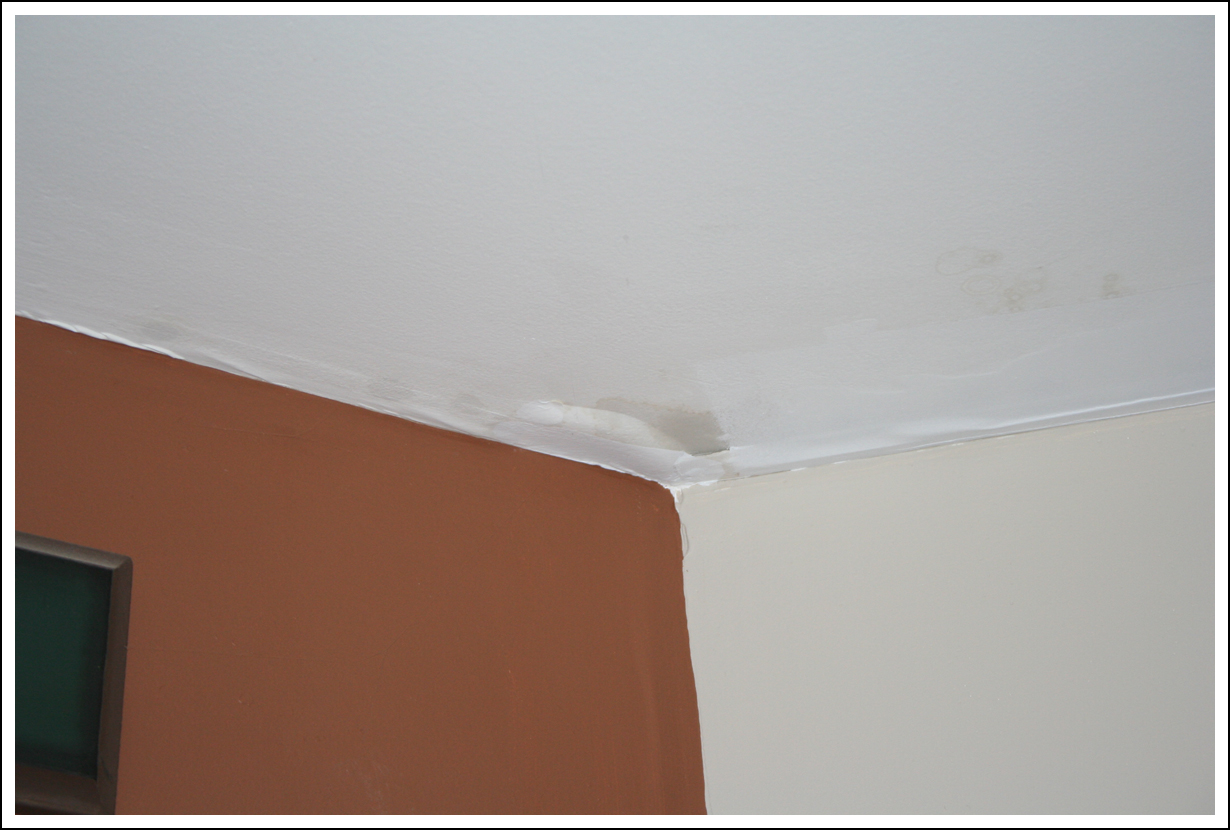
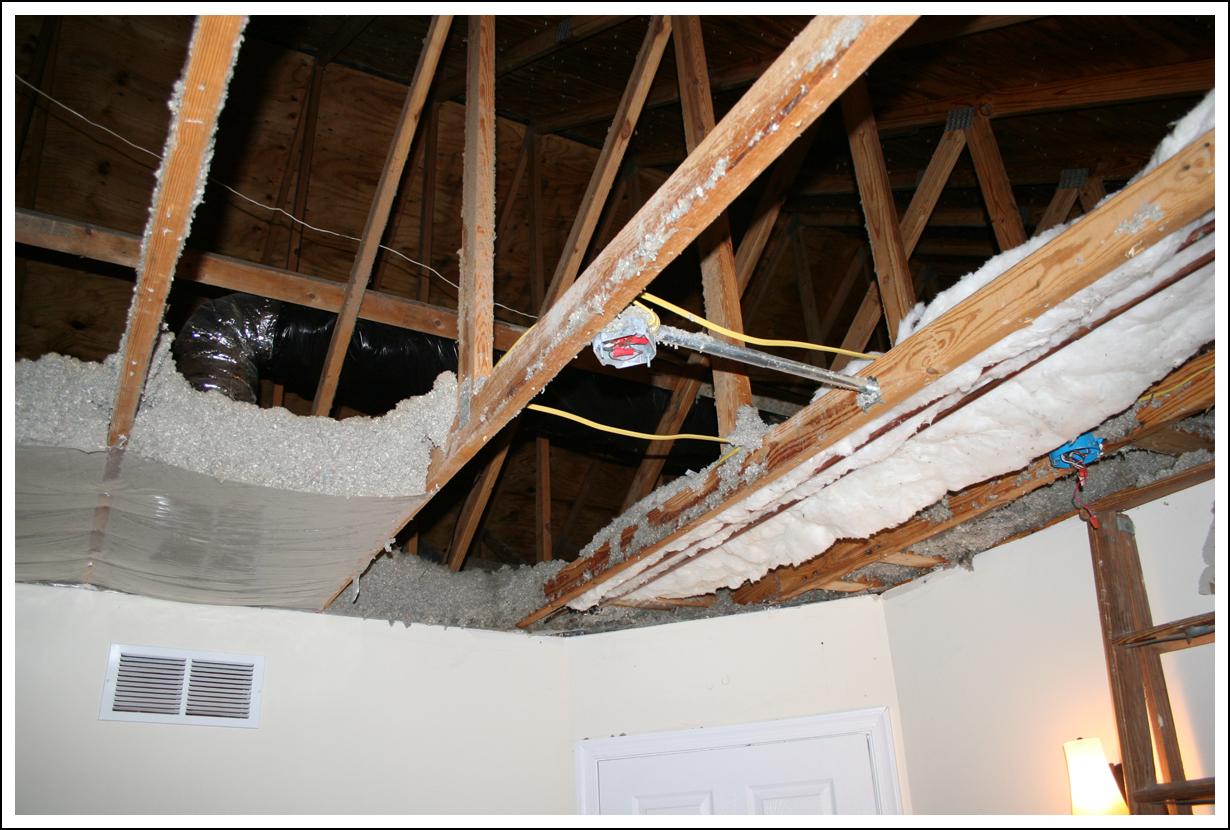
We knew about where the leak(s) was/were. It’s pretty clear when seeing the paint on that wall. Sure enough, the break (only one!!!) was right above the closet. Which would explain the ruined closet doors.
During Hubby’s previous visit, he noted that every hard surface in the place was covered with lots of condensation. We were quite relieved to find that it had all dried out. We thought for sure we’d be drying everything off before we could do anything else. There was still a lot of humidity in the air, just no surface wetness to mop up.
The leak was in the hot water line, which explained the condensation. You know how steamy the bathroom gets after a long, hot shower, right? Imagine an hours-long shower…
Hubby had a stroke of pure genius when he decided to take our electric leaf vac along. Sucking that stuff up into a bag was SOOOO much easier than having to use a shovel.
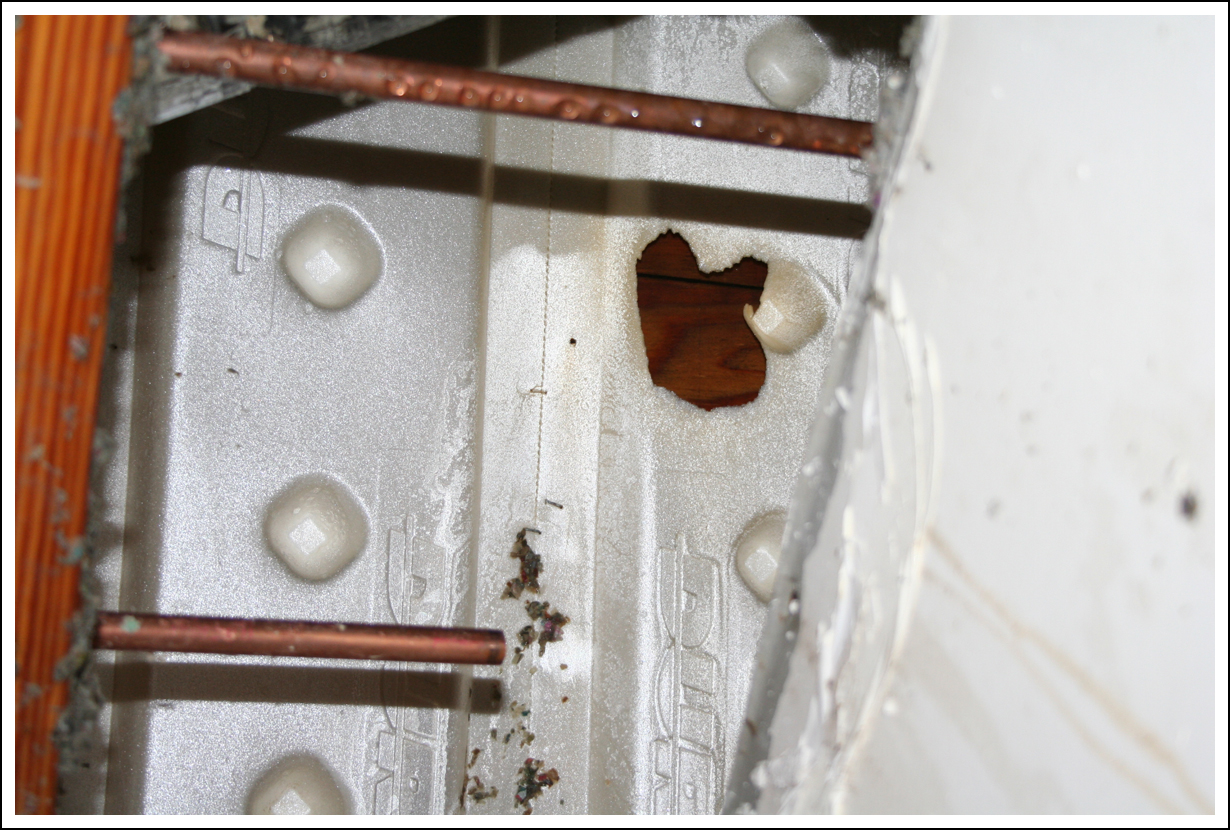
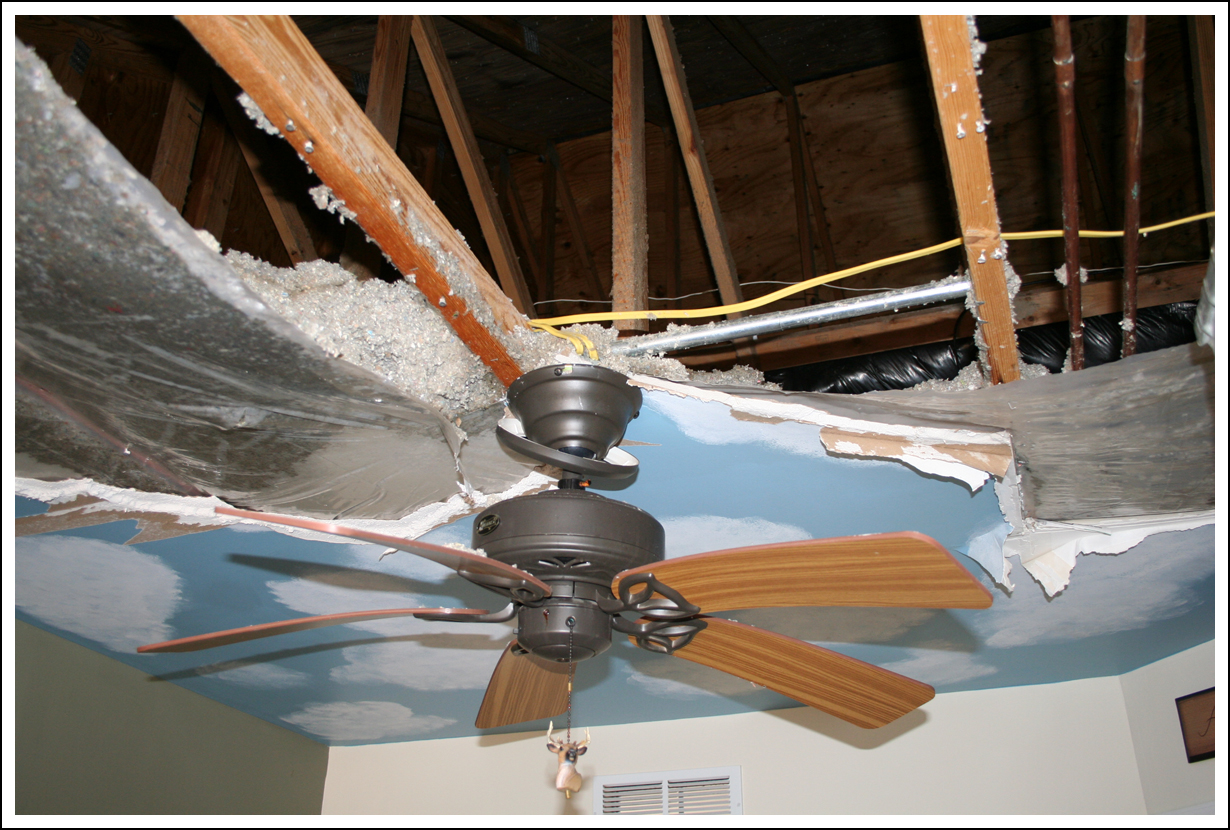
See that hole in the foam stuff (extruded foam rafter vent)? That’s from where the very hot water was shooting upward (about two feet/two-thirds of a meter) and hitting the roof.
Now here’s where the really cool tool comes into play. Replacing broken sections of copper piping is never easy. Soldering is typically required. And if not done EXACTLY right, the joints will leak. Hubby is pretty good at soldering, but says it’s a huge PIA. I have never actually done any soldering of pipes, but I have witnessed a lot. (Remember, we plumbed the entire house.)
Why is it such a pain? Used pipes still hold water, which makes soldering much more difficult. It’s harder to work overhead. The temperature in that space was about 20 degrees F (roughly -7 C). Four separate solders would have been needed. It’s dangerous to use a propane torch around insulation. Etc., etc.

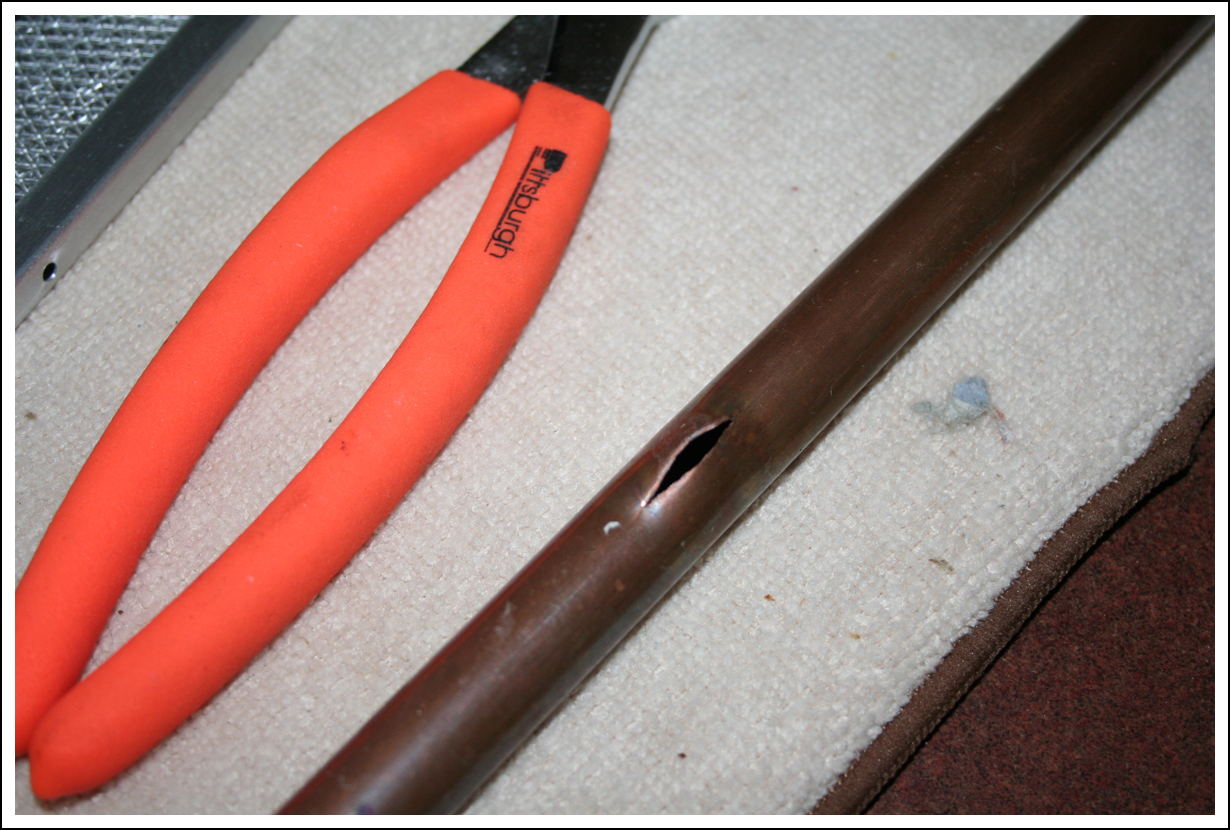
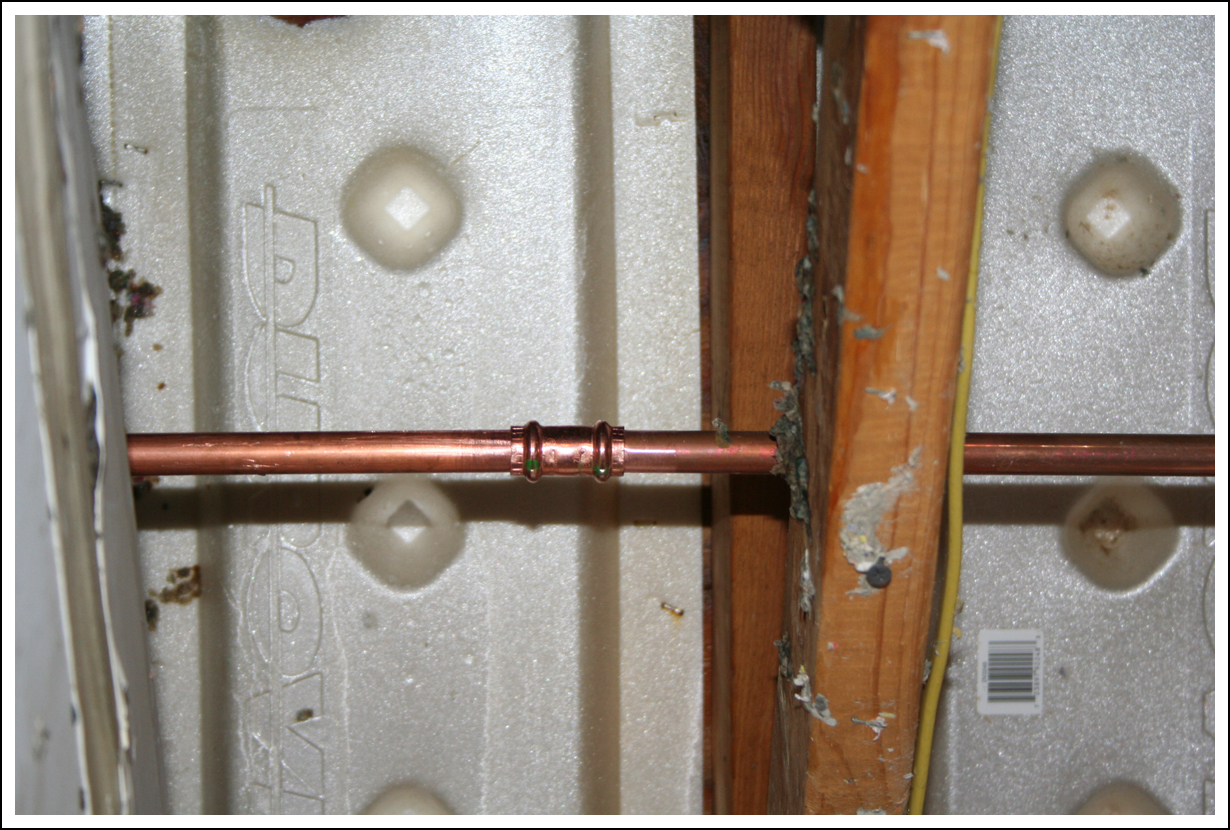
After removing the damaged section of pipe, which was right above the closet, Hubby had to install new pipe.
Are you ready to see the cool tool Hubby borrowed?

Enter the Ridgid Pro Press, a fast, reliable way to join copper piping. This is not something your average home-owner would buy, since it costs about $1,600. You may be able to rent one, but Hubby was able to borrow this one from his employer.
Using special fittings…
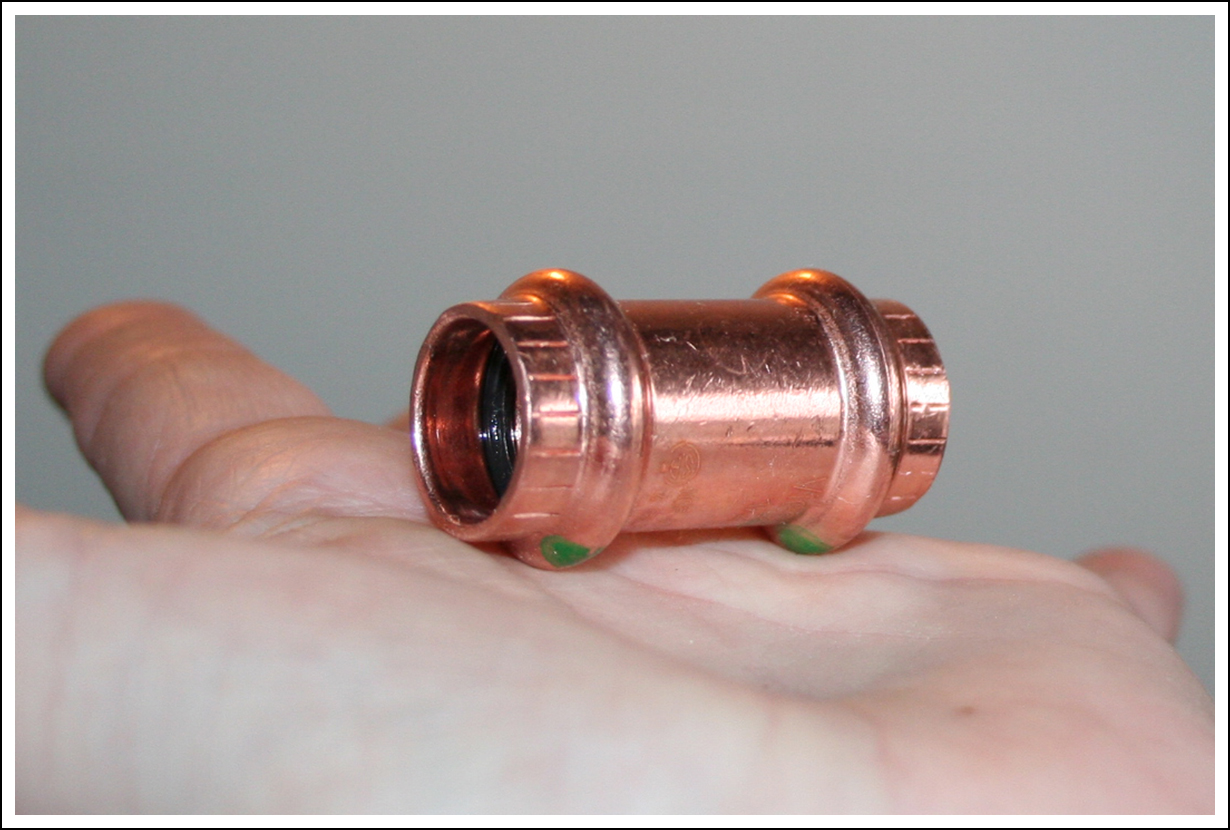
…each join literally takes five seconds.
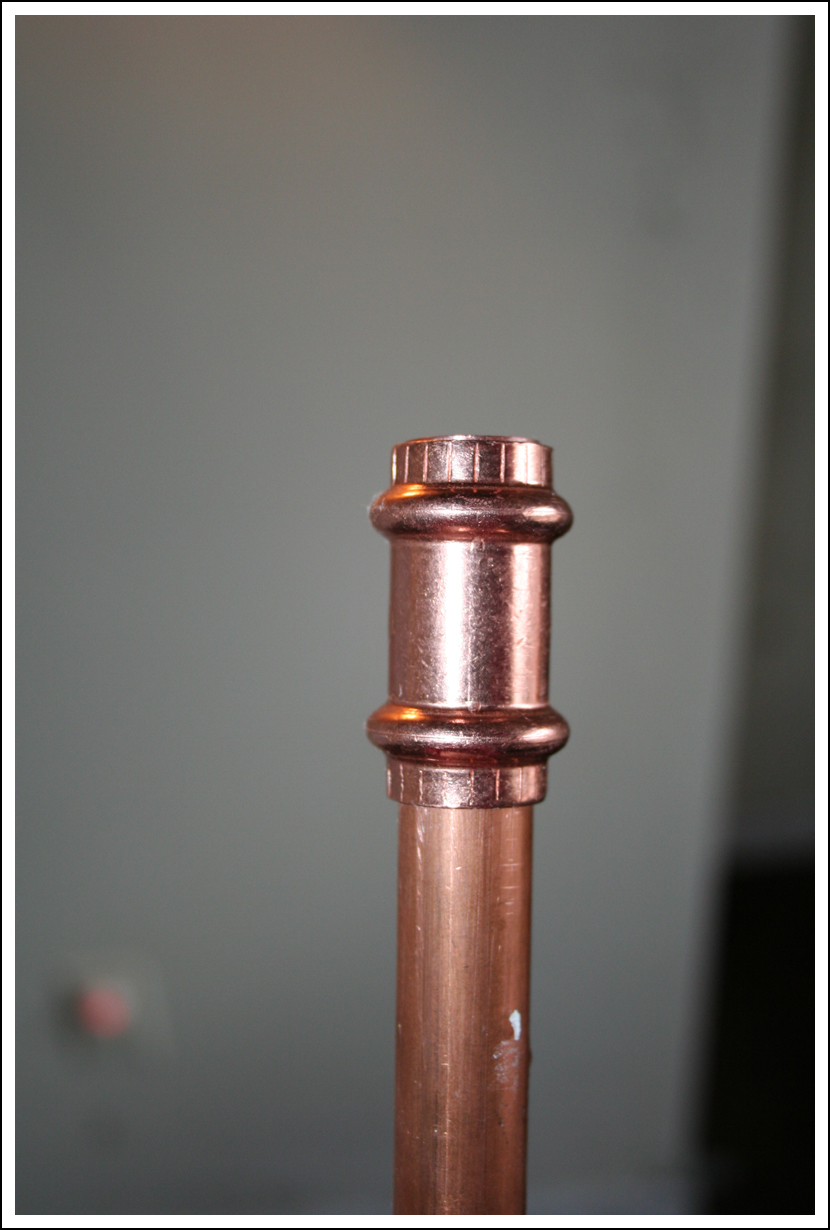
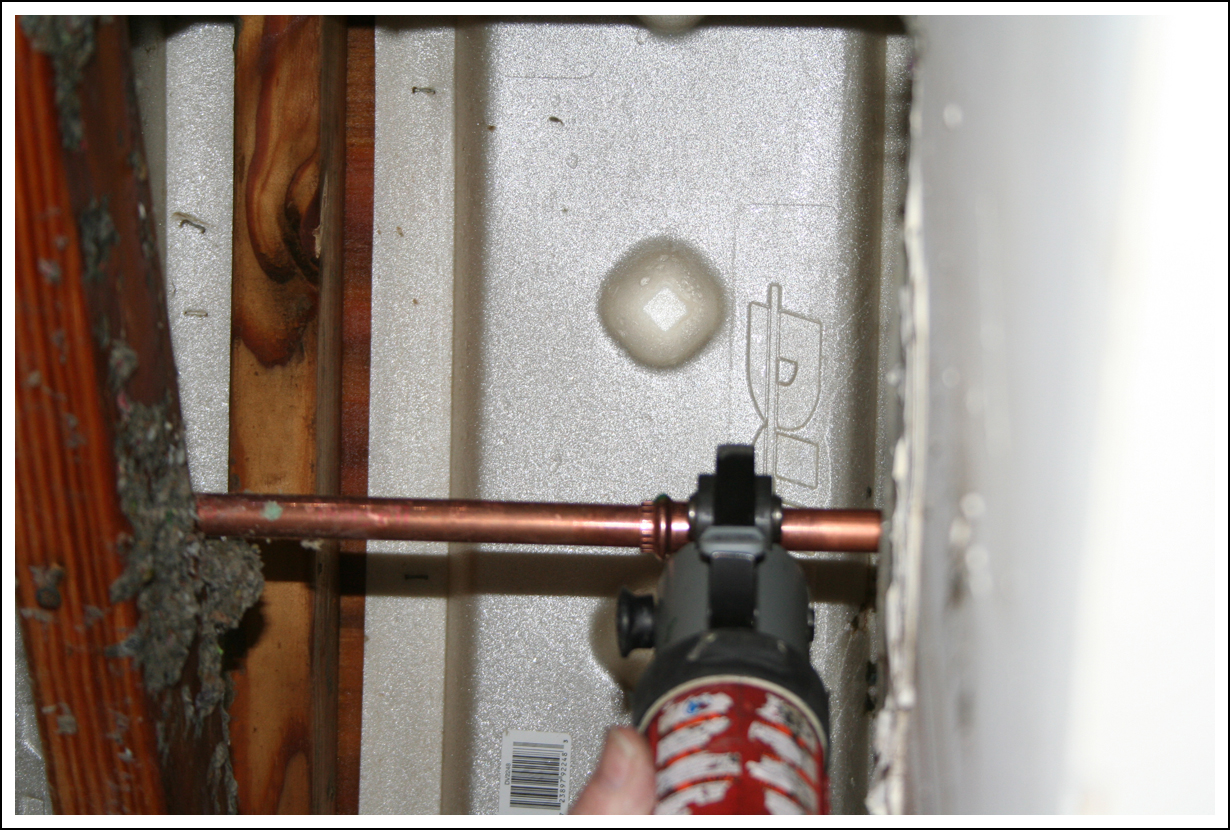
Easy-peasy. Really. It made the job so much more bearable.
Once it was in, the scary part was turning the water back on. We were both ecstatic to find NO MORE LEAKS. Woo hoo!
After the leak was isolated and repaired, we could get back to ripping out the damaged sheetrock.
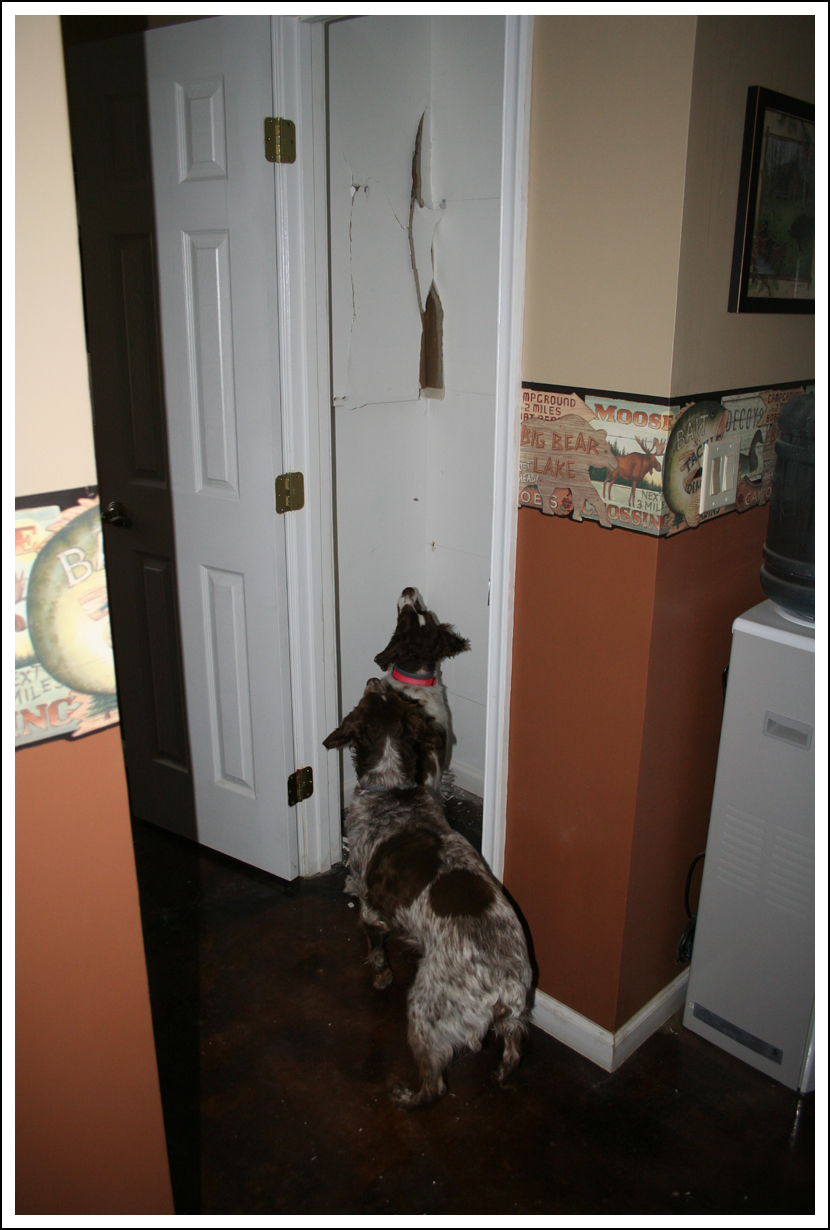
This coat closet, which open in the hallway, backs to the bedroom wall and closet. It needs to be replaced. Hubby barely leaned on the closet wall from inside the bedroom, causing this hole, which really weirded the younguns out.
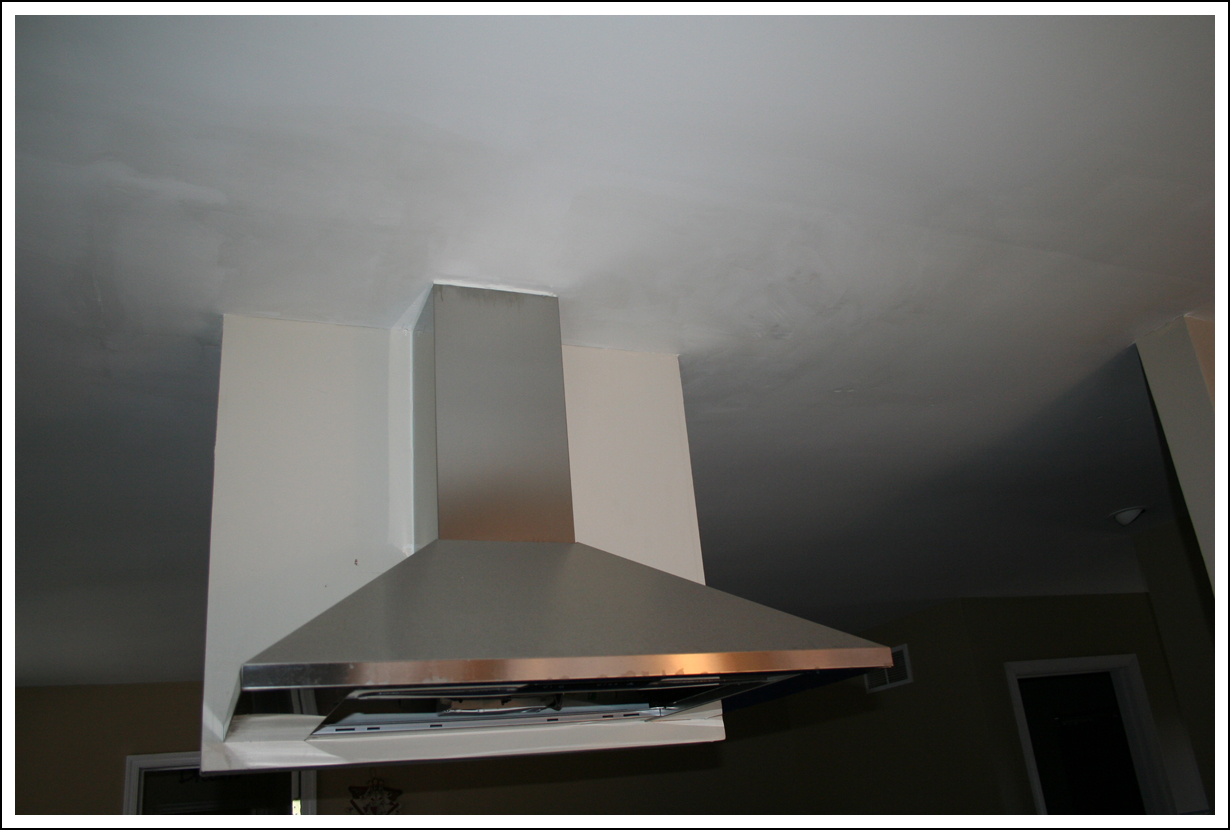
Those pipes lead into the kitchen. Some of the water followed those pipes, which is what damaged the kitchen ceiling. But damage is mostly isolated to the area below those pipes as the overflow drained out through the rangehood.
One of the reasons we had to remove so much sheetrock and insulation is so stuff can dry out. It can’t be replaced until the wood has dried. Another big reason was so we could reinstall some vapor barrier to seal the house off from the attic.

The plastic was necessary to prevent the heat from escaping into the attic. Once it was in place, the house warmed-up considerably.
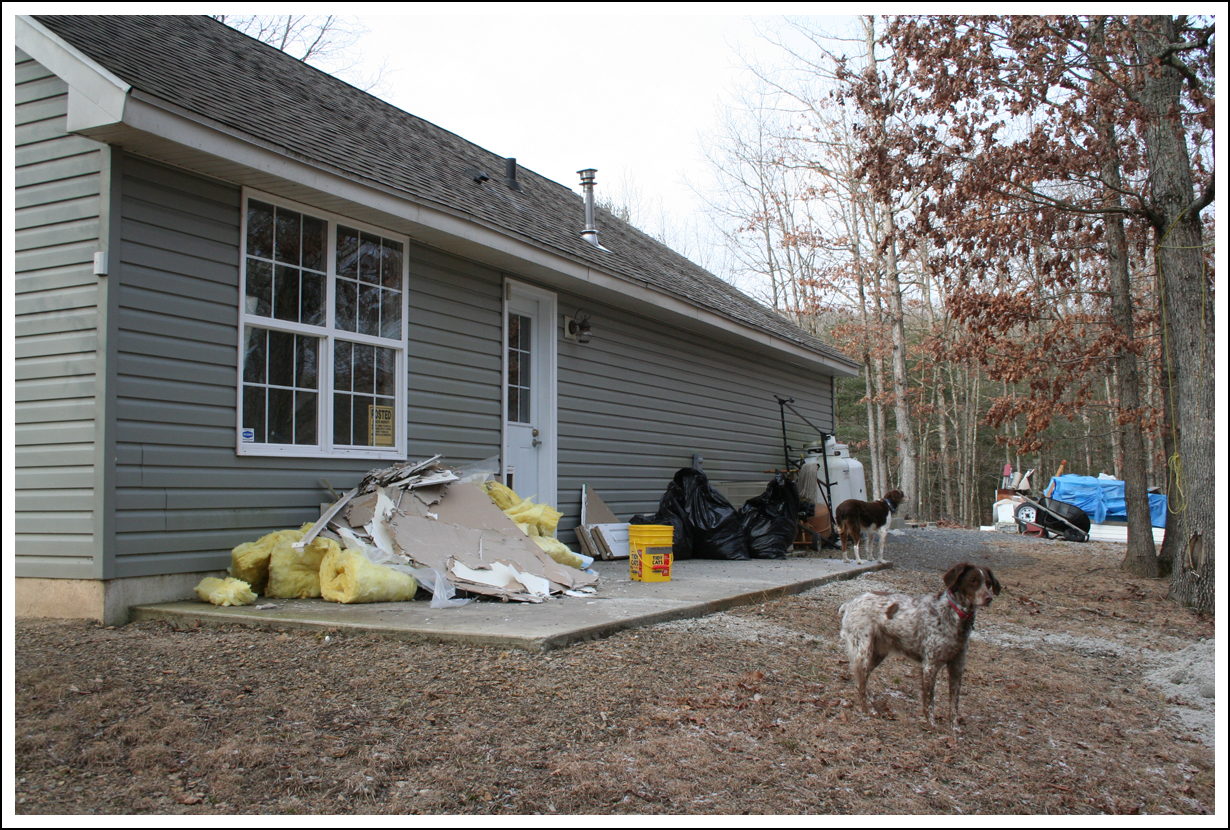
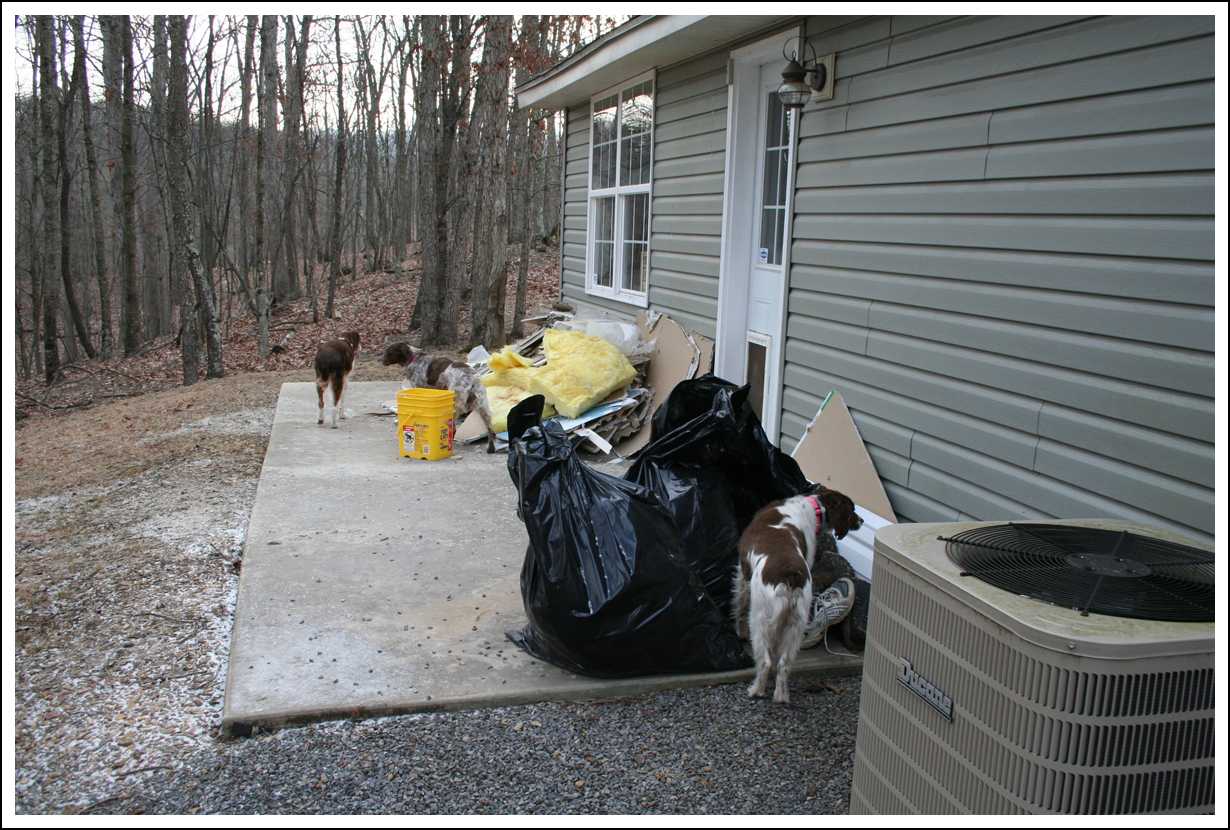
There’s some of the construction debris. The contractor will remove that along with whatever trash they have to take.
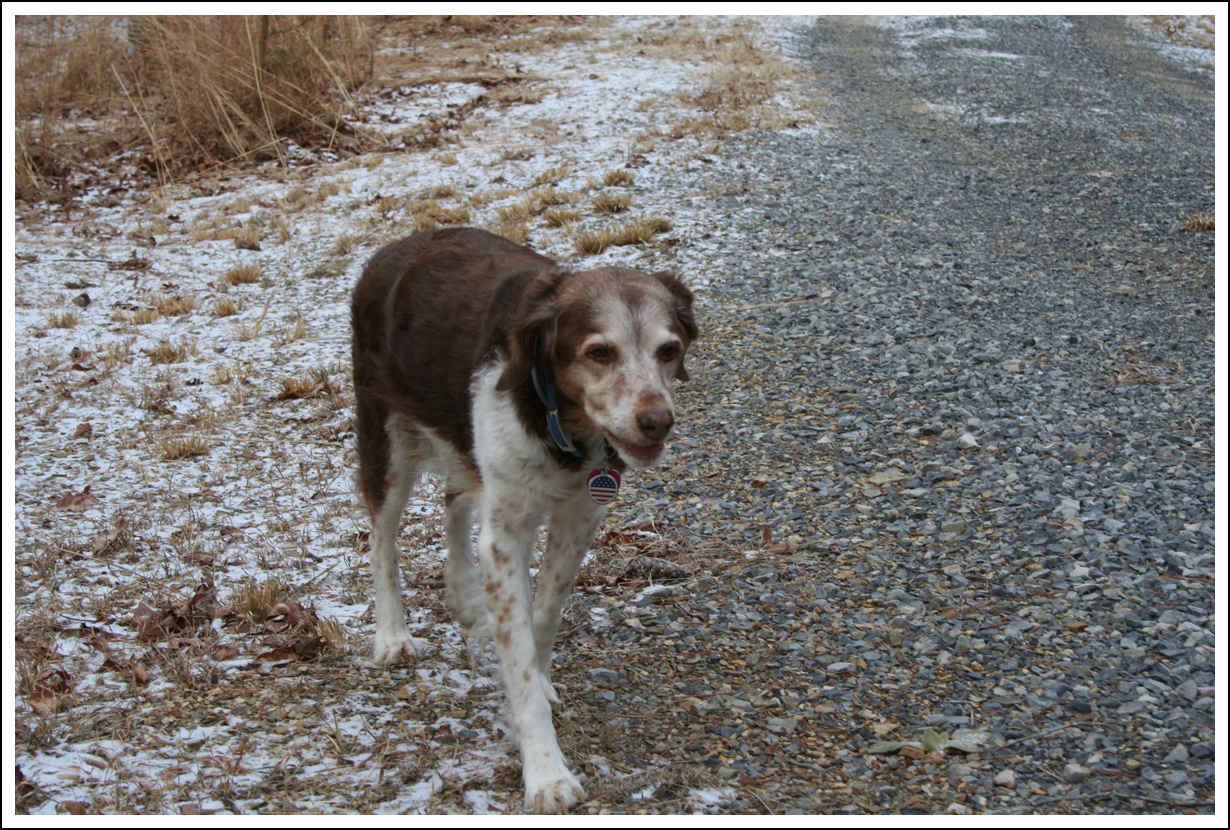
These pics were taken during my morning walk with the girls.
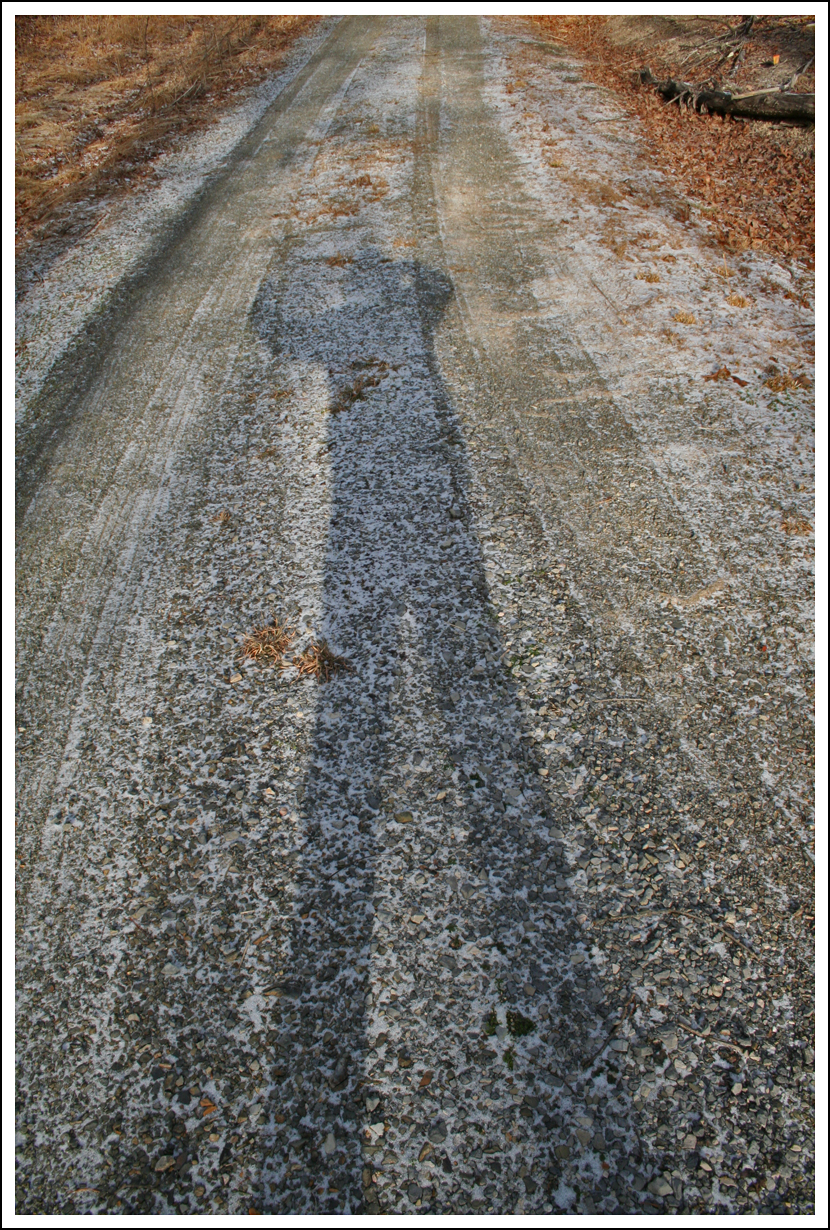
The girls were thrilled to go on our regular morning stroll.
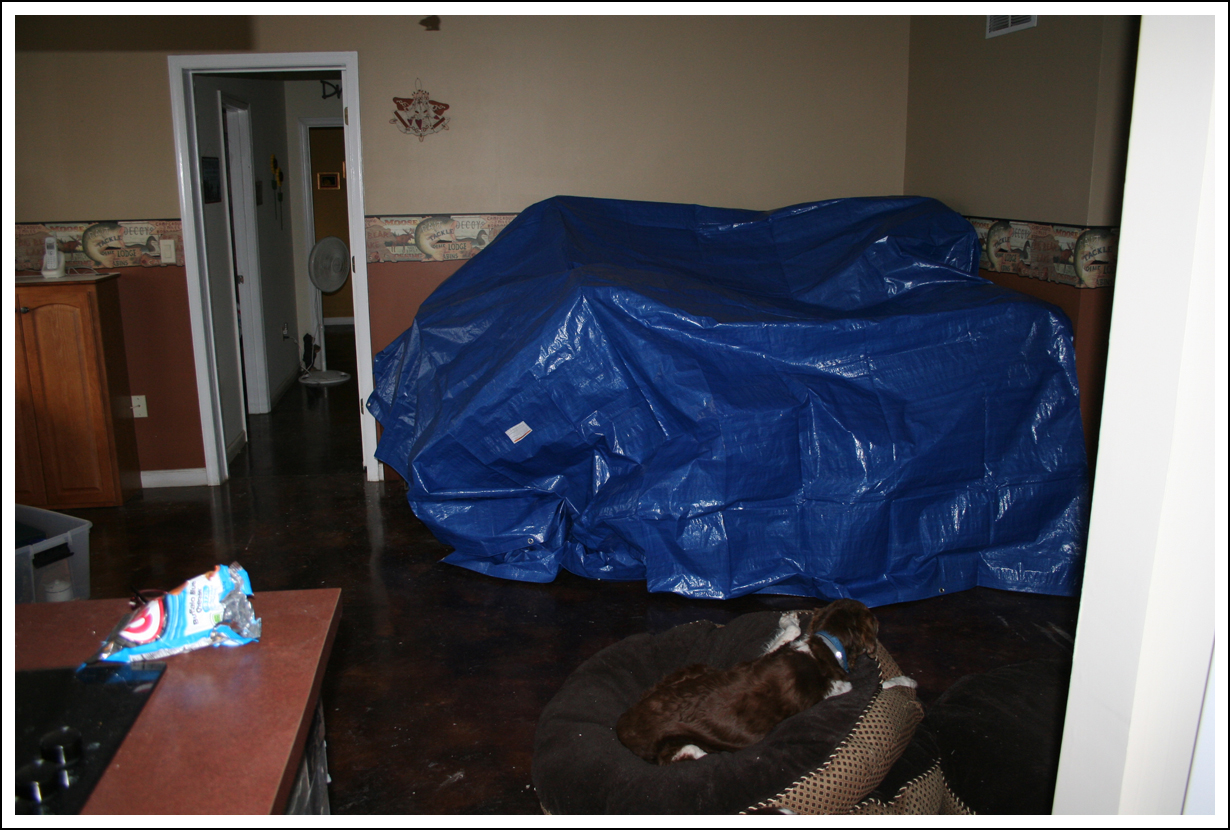
We also had to get the place ready for the repair crew, which just meant moving and covering stuff. Lots of drywall dust to come…
See that pile of insulation? Over time, it’ll be dispersed by the wind.
I asked Belle, nicely, to sit by the pile to give y’all a sense of scale. Apparently, she misinterpreted my request to mean…
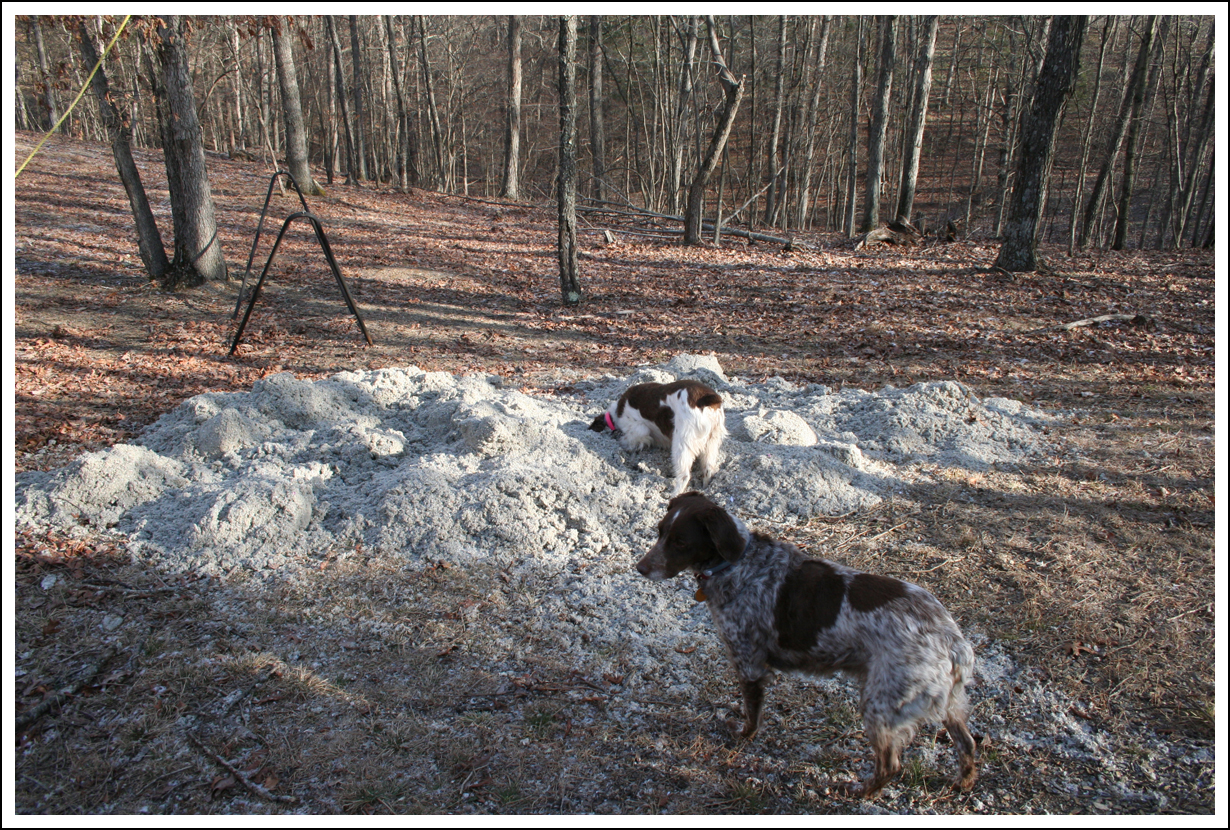
…which made for a very dusty dog.
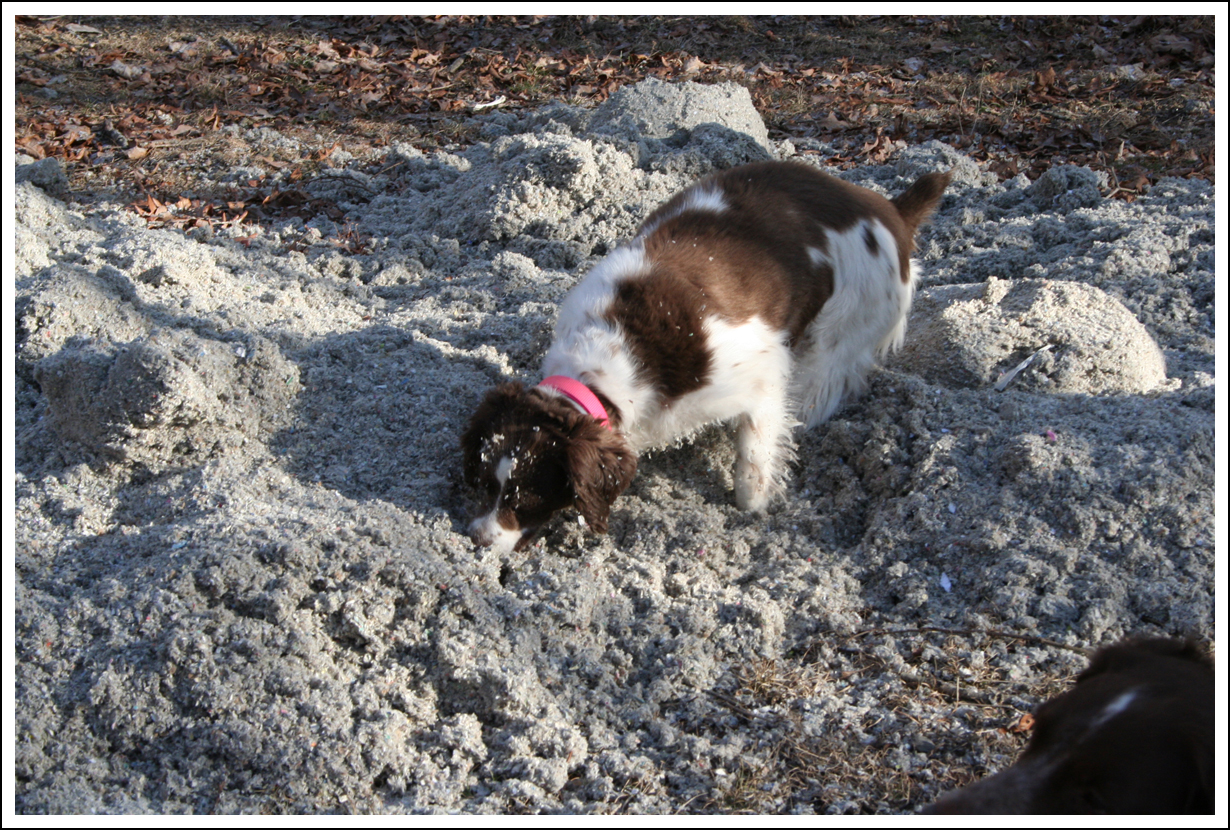
Sigh.
It actually brushed off pretty easily.
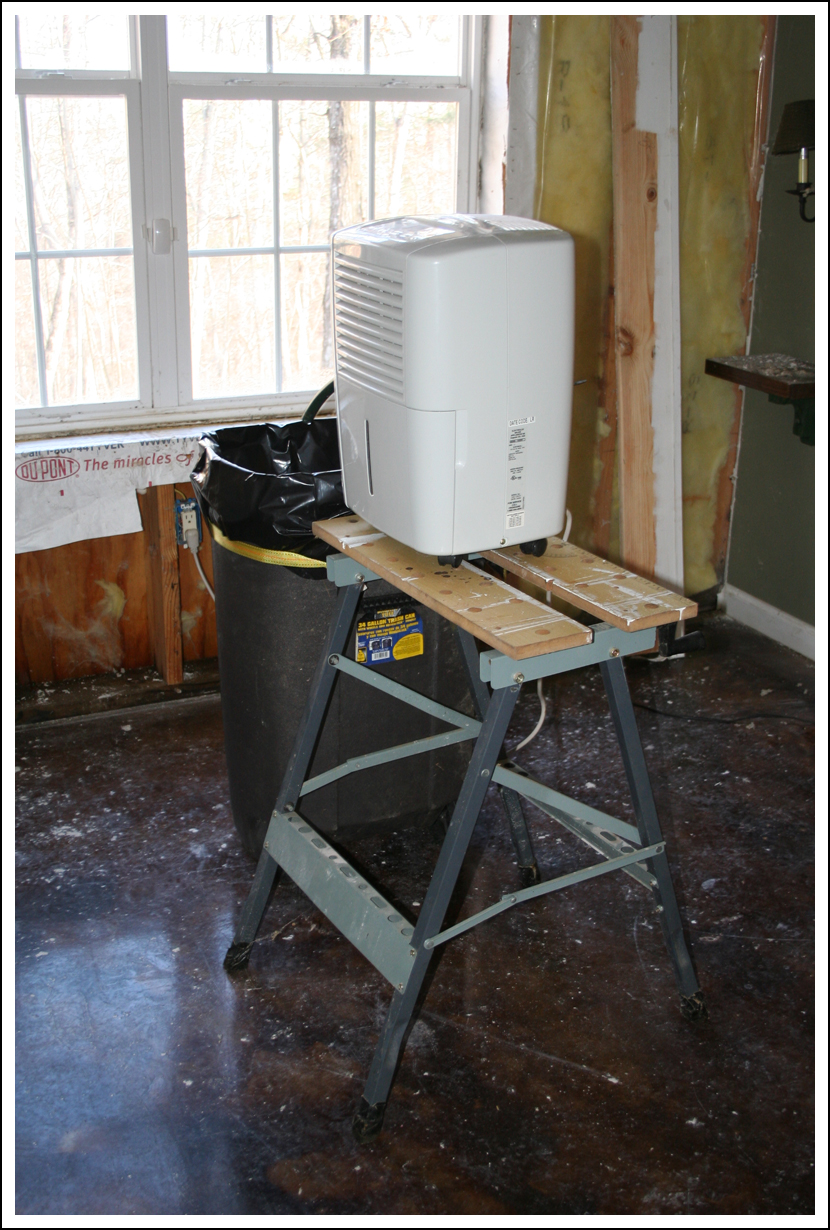
We left the dehumidifier running. It’s draining into a big trash can. We are both curious to see how much water it pulls out of the air.
And that was our WV adventure for the weekend. Poor Hubby was pooped.
If you’re interested in that Pro Press tool, I found a YouTube video showing it in action.
So, whattya think? How amazing is that Hubby? Pretty handy, that’s for sure. 🙂
WOW – I am impressed – you both knew exactly what needed to be done and had at it!!! I am super impressed with the ProPress Tool – that baby is awesome!!! I know the “pain” of having to solder pipes
Looking forward to seeing pics when the place is back together again!!!
I’m so sorry.
You guys are in my thoughts and prayers.
You sure deserved those big drinks lastnight.
Love & Hugs
Ps some beautiful photos too
Donna, Mike is the one who knew what needed to be done. He thinks he is normal, but I think he’s amazing. It was a huge job that we knocked out in less than a day. I just do what I’m told. Mostly. 🙂
Trace, the drink was much anticipated and thoroughly enjoyed!
I cannot believe how you did all of the repairs in one day !! Time for a break before the next snow!!
Jill, that husband of mine is driven when it comes to getting stuff done.
I know the first pic was probably taken from a moving car, but I just love it. I especially love how in the upper left corner it looks like we’re about to be visited by extraterrestrials haha.
Seeing all that damage just made my heart sink. 🙁 I can’t even imagine how you guys must’ve felt being right there in it.
I agree with Donna that that tool is bad ass! And I agree with Trace that a ginormous sangria margarita was definitely in order!
Thanks, Shan. I really liked that shot, too. And the lens flare, but I wasn’t thinking extraterrestrials. The discovery of the mess last week was the most disheartening time. We were super relieved when we got there to see stuff had dried out, which I think lightened the entire mood for the day. And REALLY relieved that there was just one leak. The sangria margarita afterward DID hit the spot.
Wow, what a lot of work. I guess technically it could have been worse, but that doesn’t make it any easier to deal with.
Great job getting in there with the repairs. You and I sound like we have the same job – clean up, go-fer, fetcher, etc. Every hubby needs a lovely assistant right?
That was a sneaky tool he borrowed, I’d never seen that type of repair. I figured you’d be using Shark Bite copper fittings (popular around here and code approved). We used the push fit ones in our bathroom when we renovated. http://www.sharkbite.com/
Brandy, our hubbies would be lost without our assistance. Or stuff would take a lot longer, anyway. LOL. Mike says that the Pro Press is a contractor-grade tool, but said he thinks the same people make the Shark Bite fittings. Those are more consumer-grade. He’s used them before, and would have used them here if the Pro Press weren’t available.
Kathy:
What a mess ! I like the Go-Fer and I also like your new header. You must be a PS wizzard.
Looks like that Pro Press is a mechanical joiner, sort of like the Pex to Copper adapters which are also pressed. Sure makes life easier. Out here in the West our pipes come up from the floor/ground, not overhead unless you are in the basement. We generally have flooded floors when pipes burst. How about installing pipe insulation, electric with timers or temp sensors to turn them on when you are away.
anyway nice job getting it cleaned up so fast. I keep looking at that mess, I wouldn’t know where to start
bob
Riding the Wet Coast
Bob, not a PS wizard by any stretch, but I appreciate your kind words. You got the gist of the Pro Press. If this house had a basement or crawlspace, the pipes would be underneath. But it sits on a concrete slab, and the slab radiant heat pipes. You can see that here: http://toadmama.com/slab_prep.html. We added some insulation to those pipes. The problem was that the cellulose had settled below the pipes, insulating them from the interior heat. Now that they are also insulated from above, it should be fine. Also, we usually keep the heat at about 50 when we are away, which was too low. All should be good now. We hope. 🙂
What a mess! It looks like it was very tiring for you guys, but the girls looked happy to be out romping about.
Dar, the girls LOVE the WV Place. 🙂
That Mike is a handy guy. Looks like most of the damage is to sheetrock, paint and insulation. Nothing too pricey.
Andrew, you are correct. Nothing too pricey, for which we are grateful. Mike really is a jack-of-all-trades. He constantly amazes me, but doesn’t think it’s a big deal.